I love exploring thrifty art designs for my nails because it allows me to express my creativity without spending a fortune. Using budget-friendly materials, I can experiment with different styles without feeling guilty about costs. I've discovered that everyday items, like old sponges and toothpicks, can become essential tools for unique designs. Plus, social media is a goldmine for inspiration, offering trends and tutorials that help me replicate stunning looks at home. Embracing thrifty nail art not only brings me joy but also aligns with my eco-friendly values. Stick around, and I'll share more about these fun techniques!
Key Takeaways
- Thrifty nail art allows for affordable self-expression, enabling you to showcase your personality without overspending.
- Using budget-friendly materials fosters creativity and experimentation with different styles without financial guilt.
- Unique designs created through thrifty methods bring personal joy and satisfaction, enhancing your artistic journey.
- Eco-friendly options in thrifty nail art align with sustainability values, promoting environmental health while expressing creativity.
- Social media platforms offer endless inspiration for thrifty nail art, making it easy to replicate trending designs at home.
Benefits of Thrifty Nail Art
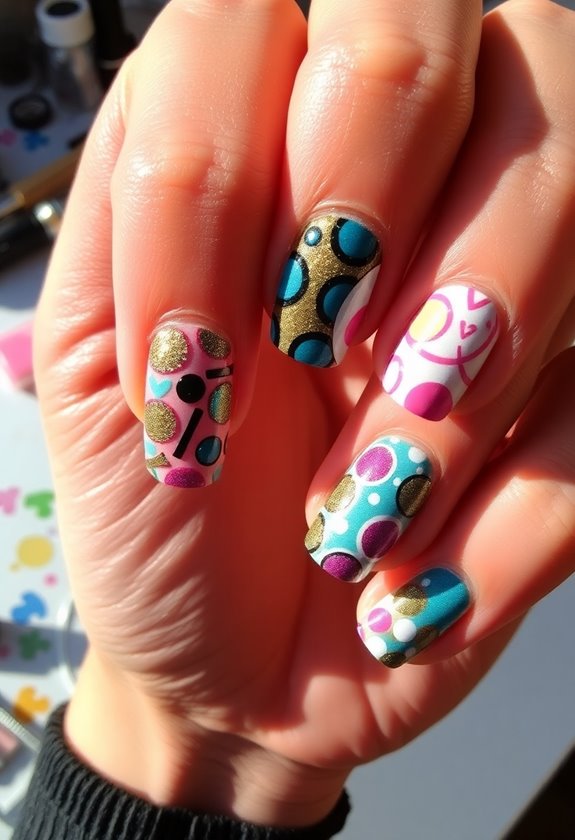
Discovering the benefits of thrifty nail art has transformed my approach to self-expression. I've found that exploring the latest nail art trends doesn't have to break the bank. Using budget-friendly materials, I can experiment with different styles and techniques without feeling guilty about the cost. Whether it's using inexpensive nail polish or repurposing items I already own, I love how creative I can get. Plus, the thrill of creating unique designs on my nails brings me joy every time I look down. I've learned that being thrifty doesn't mean sacrificing quality or creativity; it actually enhances my artistic journey. Embracing this approach has opened up a world of possibilities and allowed me to showcase my personality in a fun, affordable way.
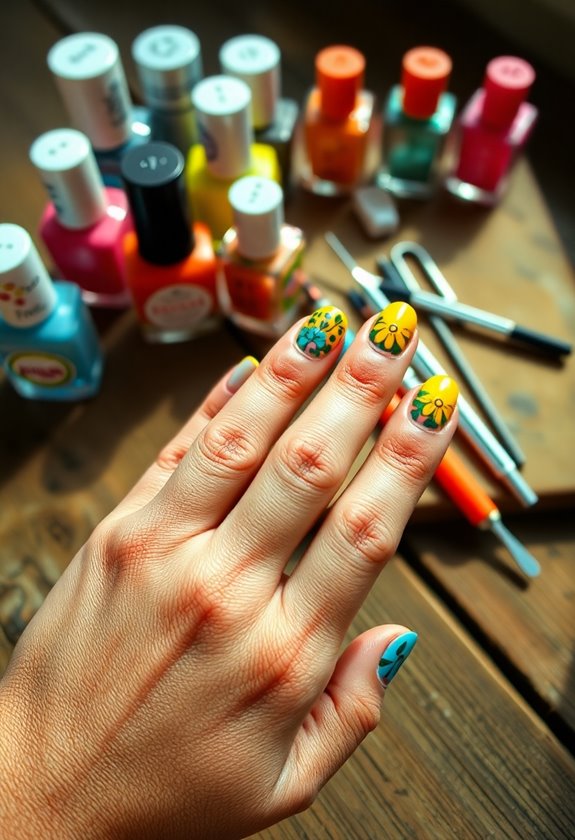
Essential Tools and Supplies
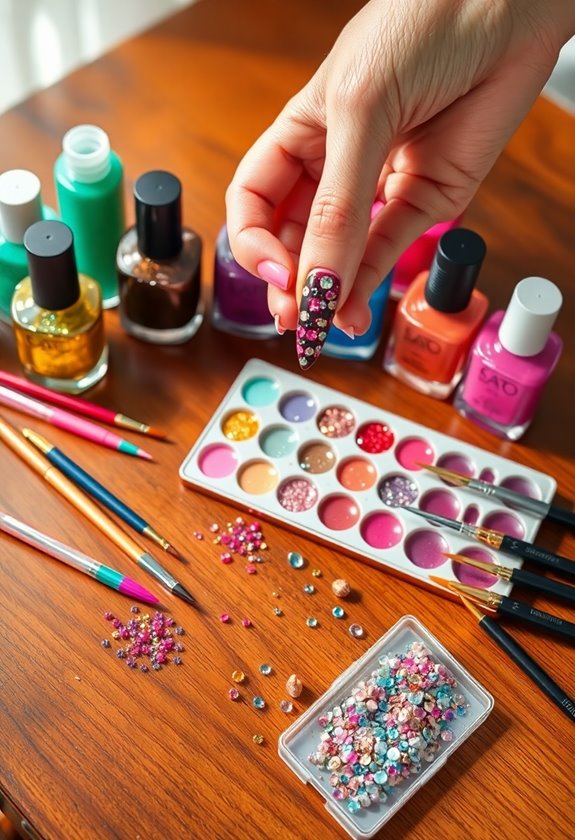
Embracing thrifty nail art has made me realize how significant it is to have the right tools and supplies on hand. First, I always keep essential nail art tools like dotting tools, nail brushes, and striping tape in my kit. These items help me create various designs without breaking the bank. You don't need to splurge on expensive products; budget supplies can work wonders too. For instance, I often repurpose old makeup sponges for gradient effects or use toothpicks for intricate detailing. Additionally, a good quality top coat is vital for sealing my designs and making them last longer. By having these essentials, I can release my creativity and enjoy beautiful, thrifty nail art at home.
Creative DIY Techniques
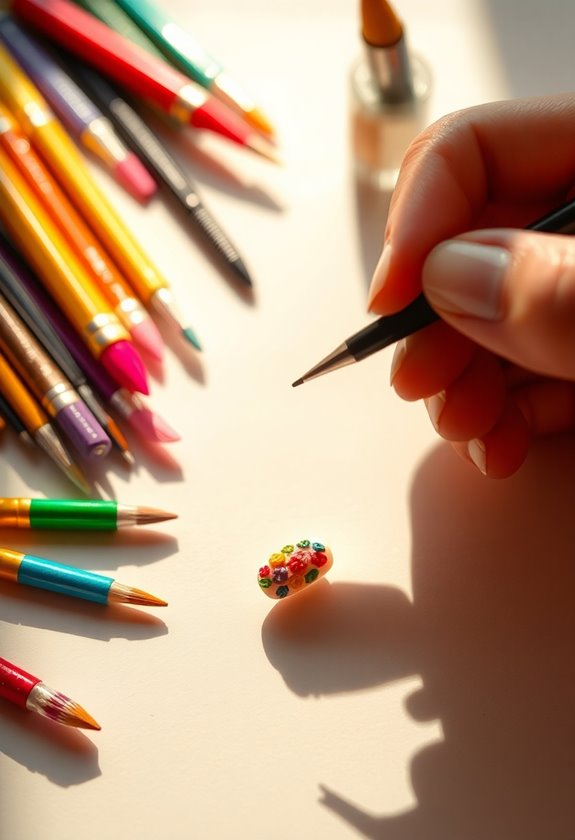
Creating unique nail designs at home opens up endless possibilities for self-expression. I love experimenting with various nail art techniques, using budget-friendly materials I can easily find. Here's a quick table of some fun techniques you can try:
| Technique | Materials Needed | Skill Level |
|---|---|---|
| Dotting | Dotting tools, polish | Beginner |
| Striping | Striping tape, polish | Intermediate |
| Sponging | Makeup sponge, polish | Intermediate |
| Stamping | Nail stamp kit, polish | Advanced |
| Water marbling | Water, nail polish | Advanced |
These techniques let me release my creativity while keeping costs low. So grab those supplies, and let's get started on our nail art journey!
Inspiration From Social Media

Scrolling through social media feeds, I often find a treasure trove of nail art inspiration that sparks my creativity. Platforms like Instagram and TikTok are filled with trending styles that showcase everything from minimalist looks to bold, intricate patterns. I love how viral designs can quickly sweep through the community, turning simple nail art into a global phenomenon. I've picked up countless ideas by following nail artists who share step-by-step tutorials, making it easy for anyone to replicate these looks at home. Whether it's a chic ombré effect or whimsical nail decals, social media keeps me connected to the latest trends. It's amazing how a quick scroll can turn into a burst of inspiration for my next nail design!
Customizing Your Nail Designs
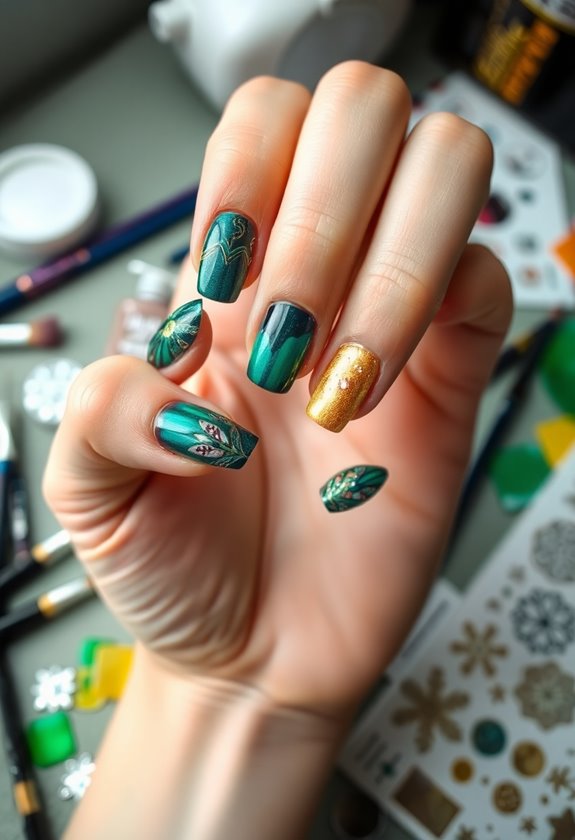
Customizing your nail designs can transform an ordinary manicure into a personal statement that reflects your unique style. I love playing with different color combinations and nail themes to express myself. Here are four ideas to get you started:
- Seasonal Themes: Embrace colors and patterns that represent each season, like pastels for spring or warm tones for autumn.
- Personal Favorites: Incorporate your hobbies or interests, such as floral designs for nature lovers or geometric shapes for a modern twist.
- Color Contrast: Experiment with bold contrasts, like black and gold or neon hues, to make your nails pop.
- Minimalist Touches: Sometimes, less is more; a simple design with a muted palette can be incredibly chic.
Get creative, and let your nails tell your story!
Eco-Friendly Nail Art Options
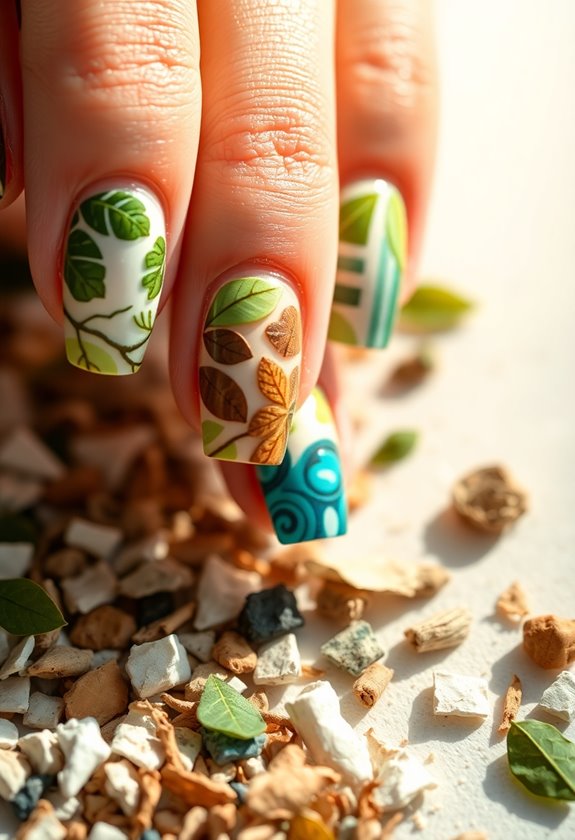
Sustainability is becoming increasingly important in our everyday choices, and that includes our nail art. I've found that using eco-friendly options not only makes my nails look fabulous but also aligns with my values. By choosing sustainable materials, like bamboo brushes and biodegradable glitter, I can create stunning designs without harming the planet. I love experimenting with natural pigments, which come from plants and minerals, giving my nails vibrant colors without the toxic chemicals found in conventional polishes. Plus, many brands now offer eco-friendly nail products that are cruelty-free and vegan. Embracing these eco-friendly nail art options allows me to express my creativity while contributing to a healthier Earth. It's a win-win situation for both my nails and the environment!
Cost-Effective Nail Care Tips
When it comes to nail care, there are plenty of budget-friendly tips I've picked up over the years that keep my nails looking great without breaking the bank. Here are some of my favorite cost-effective nail care strategies:
- DIY Nail Treatments: Use natural oils like coconut or olive oil for moisturizing. They're affordable and effective!
- Buy in Bulk: Stock up on affordable nail products during sales to save money in the long run.
- Limit Salon Visits: Opt for at-home manicures and pedicures using budget nail maintenance techniques.
- Repurpose Old Tools: Clean and reuse brushes and files instead of constantly buying new ones.
These tips have helped me maintain beautiful nails while sticking to my budget!
Frequently Asked Questions
How Long Does Thrifty Nail Art Typically Last?
Thrifty nail art typically lasts about one to two weeks for me. I love finding affordable nail care options that still offer great nail art longevity, so I can switch up my designs frequently!
Can I Use Regular Paints for Nail Art?
Oh sure, let's just slap regular paint on our nails! I've tried it, and let's just say my nail art techniques turned into a colorful mess. Stick to nail polish for best results, trust me!
Are There Specific Nail Shapes Better for Thrifty Designs?
I've found that certain nail shape suitability really enhances thrifty art designs. For instance, square or almond shapes offer great surfaces for detail, while design inspiration flows more easily with longer, more tapered nails.
How Often Should I Change My Nail Designs?
Changing my nail designs feels like a whirlwind of colors and patterns! I usually switch them up every two to three weeks, keeping an eye on seasonal trends to stay fresh and fabulous with my nail design frequency.
What Are Common Mistakes to Avoid in DIY Nail Art?
When I immerse myself in DIY nail art, I've learned to avoid common misconceptions like skipping base coats and overloading brushes. Mastering basic nail art techniques makes all the difference in achieving that polished look I love!