If you ask me, chic nail art doesn't have to cost a fortune. I love using basic tools like dotting tools and makeup sponges to create stunning designs without breaking the bank. Around the house, I find items like toothpicks or rubber bands to add unique touches. Repurposing old jewelry or scraps for embellishments not only saves money but adds a personal flair. Seasonal themes can guide my color choices, ensuring my nails reflect the current vibe. By exploring simple techniques and creative solutions, I keep my nail art fresh and exciting. Stick around, and you'll uncover even more clever ideas!
Key Takeaways
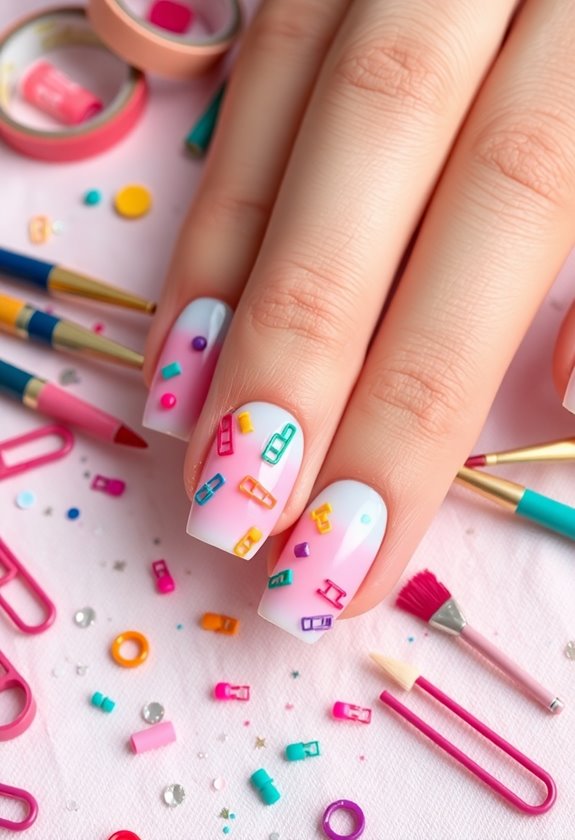
- Utilize household items like rubber bands and tape for creative, chic designs without the cost of specialty tools.
- Repurpose old jewelry as unique nail embellishments to add a touch of elegance on a budget.
- Experiment with gradient techniques using makeup sponges for a trendy, professional-looking finish.
- Incorporate seasonal themes into your designs for a stylish look that reflects current trends without additional expenses.
- Create intricate patterns using dotting tools or toothpicks, showcasing creativity while keeping costs low.
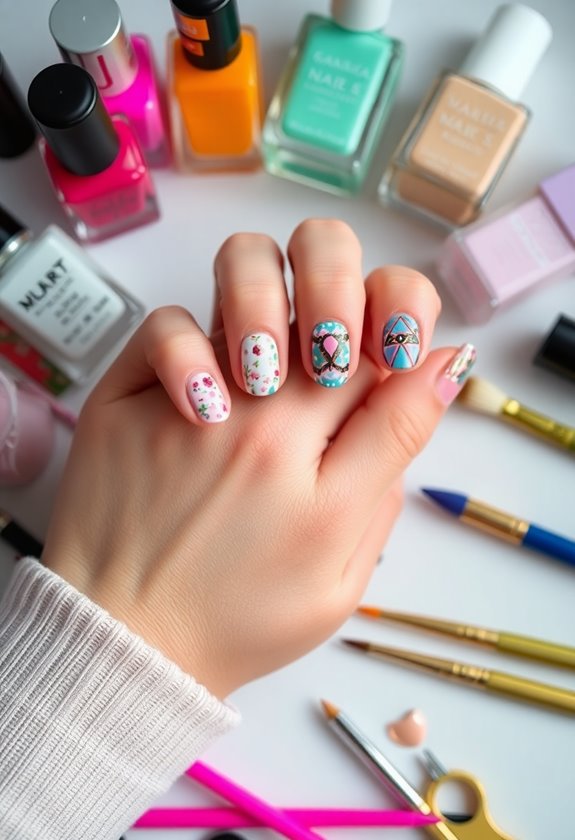
Essential Tools for Nail Art
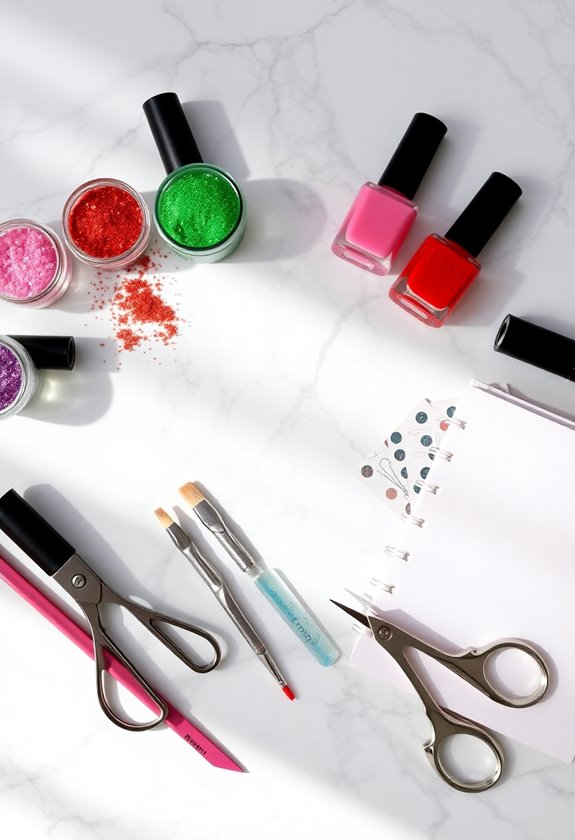
When I immerse myself in nail art, I always make sure to have a few indispensable tools on hand. First off, a good set of brushes is vital; they allow me to create intricate designs with ease. I also can't forget about dotting tools—they're perfect for adding those tiny details that make my nails pop. For prepping my nails, a quality nail file and buffer are non-negotiable. I love that I can find budget-friendly supplies without sacrificing quality. Finally, a clear top coat is essential for sealing my designs and giving them that professional finish. With these nail art tools, I can release my creativity and enjoy the process, all while staying within my budget!
Creative Use of Household Items
There are countless ways to elevate your nail art using everyday household items. I've found that creativity thrives when I explore my surroundings. Here are some fun techniques you can try:
| Technique | Description |
|---|---|
| Toothpick Designs | Create intricate patterns easily. |
| Sponge Techniques | Dab for cool gradient effects. |
| Rubber Band Patterns | Use them to make unique stripes. |
| Tape Art | Line your nails for crisp designs. |
| Coffee Filter Stamps | Stamp for artistic textures. |
| Plastic Wrap Effects | Crumple for a marbled look. |
| Cotton Ball Swirls | Swirl for soft, blended colors. |
| Straw Dots | Dip and dot for fun accents. |
Try these ideas, and let your imagination run wild!
Upcycled Nail Art Supplies
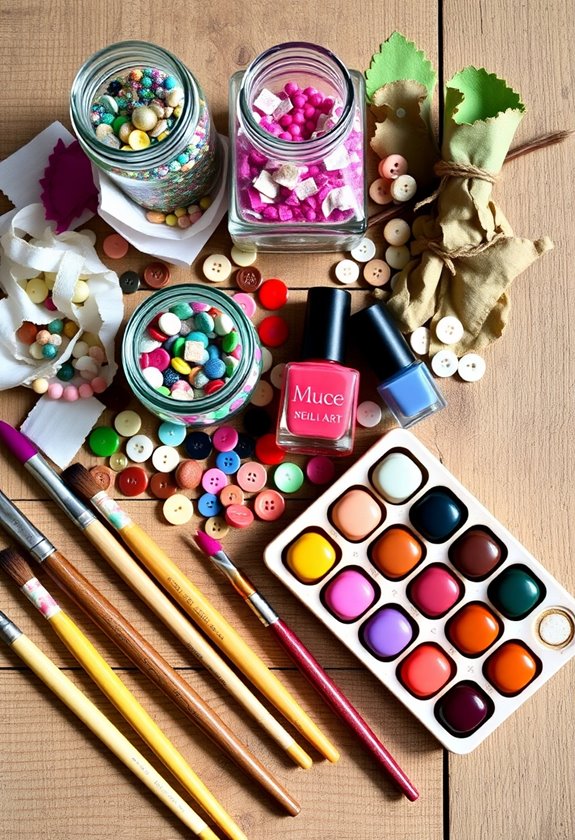
Using household items can spark creativity, but upcycling nail art supplies takes it to a whole new level. I love transforming recycled materials into stunning nail art treasures. For instance, old jewelry can become unique embellishments; just cut off a piece and glue it onto your nails for a chic touch. You can also use scraps of fabric or paper to create textured designs—just cut them into fun shapes and seal them with a clear coat. Even empty nail polish bottles can be repurposed as mixing containers for custom colors. By embracing DIY embellishments, I find not only a way to save money but also a chance to express my style while being eco-friendly. Give it a try; it's incredibly rewarding!
Simple Techniques for Stunning Designs
Nail art doesn't have to be complicated to look stunning. I've found that a few simple techniques can elevate your designs without breaking the bank. Here are my top three favorites:
- Gradient Techniques: Using a makeup sponge, apply two or more colors to create a beautiful gradient effect. It's easy and adds depth.
- Negative Space: Leave parts of your nails unpainted for a chic, minimalist look. You can use tape to create geometric shapes or stripes.
- Dotting Tools: With just a dotting tool, you can create intricate patterns or accents. It's versatile and perfect for adding a personal touch.
These methods are not only cost-effective but also allow your creativity to shine through effortlessly!
Seasonal Themes for Nail Art
Embrace the beauty of each season with nail art that reflects the changing times of the year. Here's how I bring seasonal themes to life on my nails:
| Season | Design Ideas | Keywords |
|---|---|---|
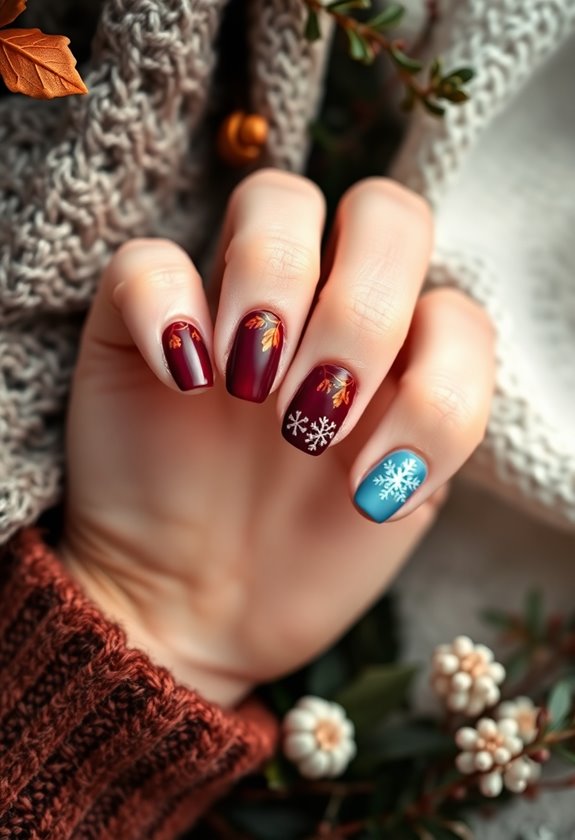
| Fall | Warm hues, leaves | Fall foliage, cozy patterns |
| Winter | Snowflakes, icy blues | Winter wonderland, holiday sparkle |
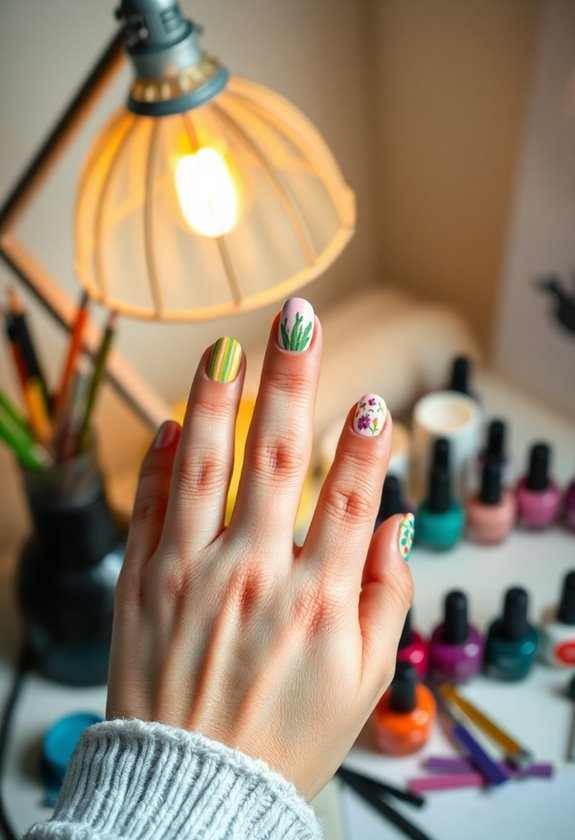
| Spring | Floral patterns | Spring blooms, festival flair |
| Summer | Bright colors, sun | Summer vibes, beachy designs |
Affordable Nail Art Tutorials
After celebrating the beauty of seasonal themes, I want to share some affordable nail art tutorials that anyone can try at home. These budget-friendly techniques not only save you money but also spark your creativity! Here are three simple ideas for nail art inspiration:
- Polka Dot Fun: Use a bobby pin to create playful polka dots with any nail polish you have.
- Gradient Effect: Sponge on two or three colors for a stunning ombre look that's easy to achieve.
- Tape Designs: Use painter's tape to create geometric patterns; just stick it on your nails, paint over, and peel off for a chic finish.
These tutorials are perfect for experimenting without breaking the bank! Enjoy creating!
Color Combinations That Pop
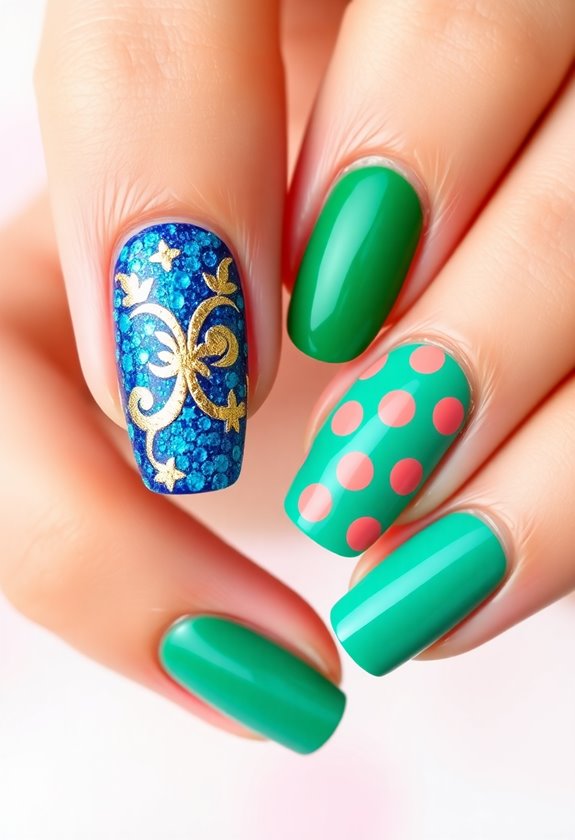
When it comes to nail art, the right color combinations can truly elevate your look. I love experimenting with vibrant palettes that catch the eye and make a statement. For instance, you can't go wrong with a bold teal paired with a sunny yellow; the contrast is just stunning. Another favorite of mine is deep plum alongside a soft lavender—these contrasting shades create a chic yet playful vibe. Don't shy away from mixing unexpected colors like coral and mint; they can turn heads! Remember, the key is to balance your designs, so consider using one dominant hue with an accent. Trust me, these combinations will not only pop but also showcase your creative flair!
Nail Art Trends to Try
As I explore vibrant color combinations, it's exciting to see how nail art trends evolve each season. This year's trends are all about creativity and self-expression, making it the perfect time to try something new. Here are three nail art trends you should definitely consider:
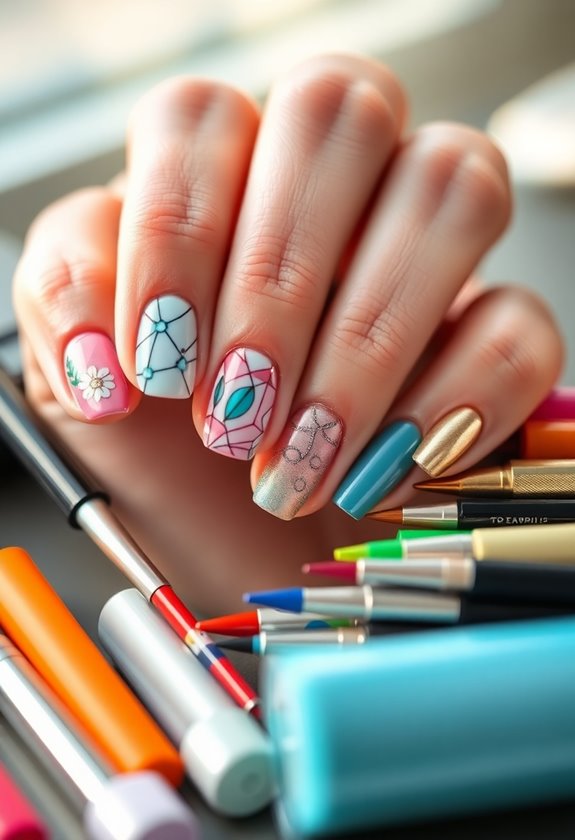
- Minimalist Designs: Less is more! Simple lines and small dots can create a chic, understated look.
- Geometric Patterns: Bold shapes and angles are making a statement. I love how these designs can be tailored to any color palette.
- Mixed Textures: Combining matte and glossy finishes adds depth and interest to your nails.
These trends are not just stylish but also budget-friendly, making them perfect for any thrifty stylist looking to elevate their nail game!
Maintenance Tips for Lasting Manicures

To keep your manicures looking fresh and fabulous, it's vital to adopt some simple maintenance tips that extend their longevity. I've found that regular nail care is key to ensuring your polish lasts longer and looks vibrant. Here are some essential tips I swear by:
| Tip | Benefit |
|---|---|
| Use a base coat | Enhances polish longevity |
| Apply a top coat | Seals in color and shine |
| Moisturize cuticles | Prevents breaking and peeling |
| Avoid hot water | Reduces chipping risk |
Frequently Asked Questions
What Are the Best Budget-Friendly Brands for Nail Art Supplies?
When I search for budget-friendly brands for nail art supplies, I find that some lesser-known gems offer fantastic budget nail tools. It's thrilling to discover affordable options that elevate my nail art techniques without breaking the bank!
How Can I Remove Nail Art Without Damaging My Nails?
When I need nail art removal, I always use safe techniques. Soaking my nails in acetone-free remover and gently pushing the art off keeps my nails healthy and intact. It's simple and effective!
Can I Create Nail Art on Natural Nails?
I love using various nail art techniques on my natural nails. With proper natural nail care, you can create stunning designs while keeping your nails healthy. It's all about balance and creativity, don't you think?
How Long Do Nail Art Designs Typically Last?
Nail art designs usually last about one to three weeks, depending on nail longevity factors. I've found that using quality products and following design durability tips really helps my art stay vibrant longer.
Are There Any Health Risks Associated With At-Home Nail Art?
I've found that at-home nail art can pose risks if proper hygiene isn't followed. I prioritize nail health and infection prevention by sterilizing tools and avoiding harsh chemicals, ensuring my DIY designs don't compromise my nails.