I've found that you can create amazing summer manicures without breaking the bank! Bright neon color blocking is a fun option, using bold shades like electric pink and lime green. If you love fruity vibes, try fruit-inspired nail art featuring cheerful watermelons or pineapples. For something soft, the ombre effect with pastels creates a dreamy look. Nautical stripes and anchors add a chic coastal feel, while a DIY glitter gradient gives your nails that extra sparkle. Whichever style you choose, you'll turn heads at summer gatherings. Curious to discover more budget-friendly ideas? There's plenty I can share!
Key Takeaways
- Bright neon color blocking requires minimal supplies, making it an affordable way to create bold summer nail art.
- Fruit-inspired designs can be achieved with simple dotting tools and inexpensive nail polishes for a playful look.
- The ombre effect with pastels uses a sponge technique that maximizes color impact without needing professional tools.
- Nautical stripes and anchors can be created with tape and a few polish colors, creating a chic look on a budget.
- DIY glitter gradients are easy to make with basic supplies, adding sparkle to your summer nails without breaking the bank.
Bright Neon Color Blocking
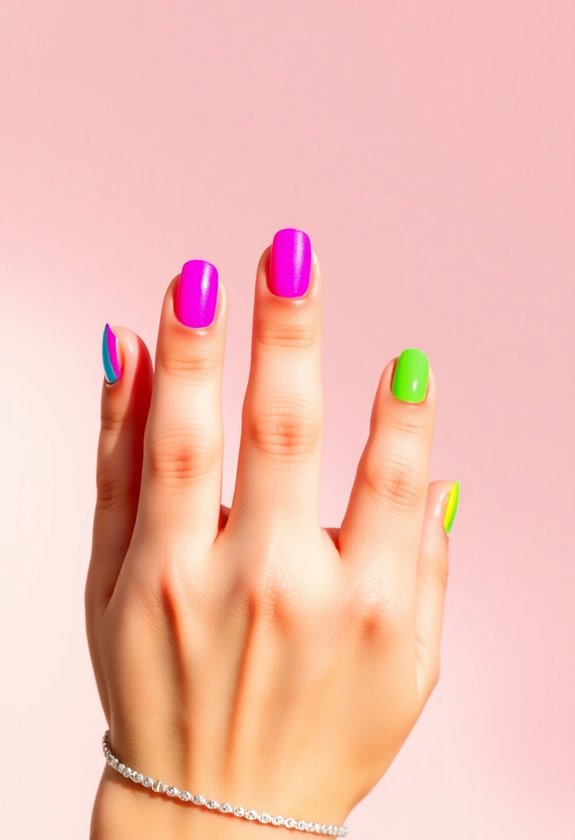
Embracing the vibrant energy of summer, I love experimenting with bright neon color blocking for my manicures. There's something invigorating about neon nail art that instantly uplifts my mood. I start by selecting a few bold shades—think electric pink, lime green, and sunshine yellow. I apply a base coat to protect my nails and then use tape to create sharp lines between the colors. This way, I can play with different patterns, whether it's diagonal stripes or geometric shapes. It's fun to see how these summer color trends come alive on my fingertips. Plus, it's a great conversation starter at summer gatherings. Trust me, nothing screams summer like a fresh set of neon nails!
Fruit-Inspired Nail Art
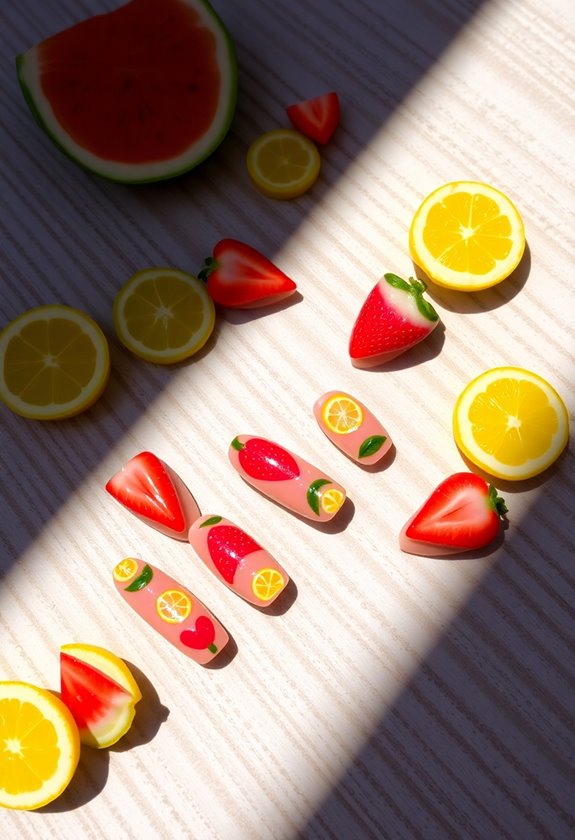
There's something undeniably invigorating about fruit-inspired nail art that perfectly captures the essence of summer. I love experimenting with tropical fruit designs, bringing those vibrant colors right to my fingertips. For a fun look, I often paint watermelon nails, complete with juicy green rinds and bright pink flesh. Citrus slices add a zesty touch, and I can't resist incorporating berry patterns for a playful vibe. Pineapple art is a must-try too, with its cheerful yellow and green hues. Don't forget kiwi accents; they add unique fruit textures that really pop! Each design radiates summer vibes and brings a sense of joy. So grab your nail polish and let's get creative with these fruity inspirations!
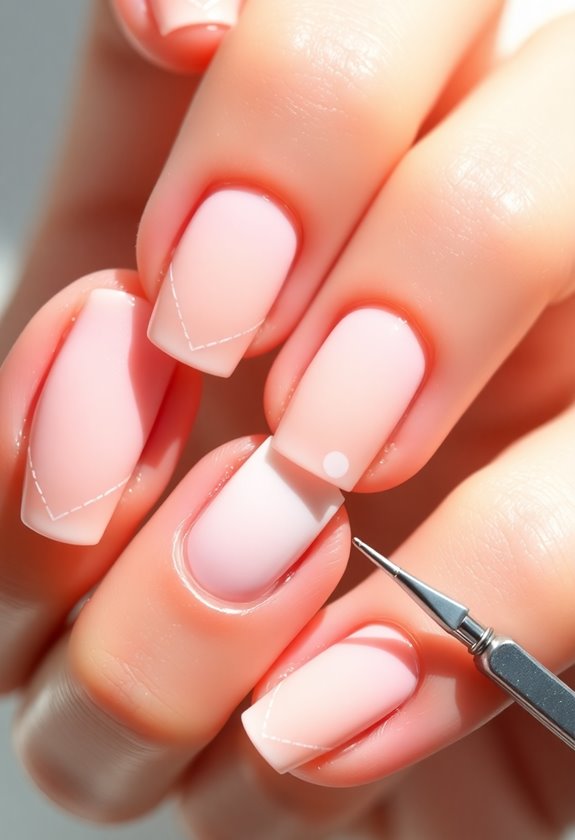
Ombre Effect With Pastels
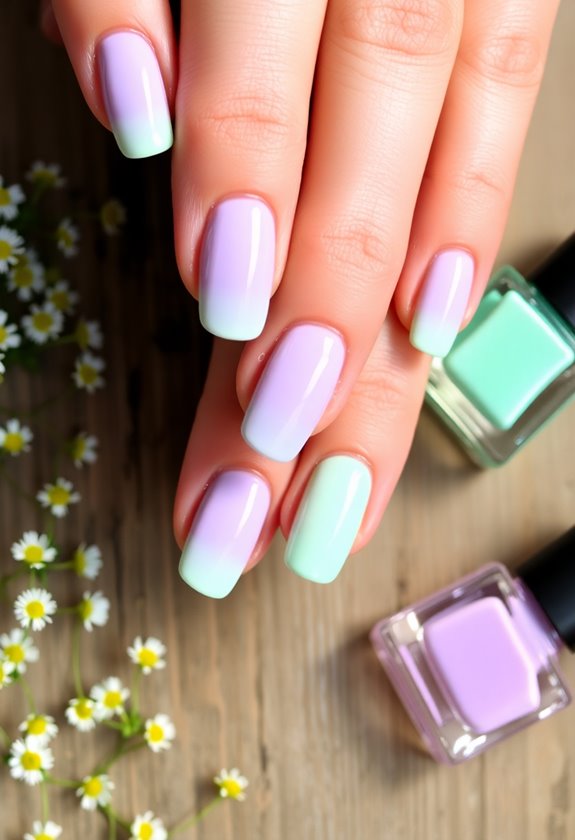
Pastel ombre nails are a stunning way to embrace the soft, dreamy colors of summer. I love how pastel color blending creates a seamless shift between shades, making my nails look effortlessly chic. To achieve this look, I start with a light base coat and then choose two or three pastel shades that complement each other. Using a makeup sponge, I dab the colors onto the tips of my nails, gradually blending them down towards the cuticle. This technique gives a beautiful gradient effect that's perfect for summer. I usually finish with a glossy top coat to enhance the look and guarantee it lasts. Trust me, these summer ombre styles are not only simple but also incredibly eye-catching!
Nautical Stripes and Anchors
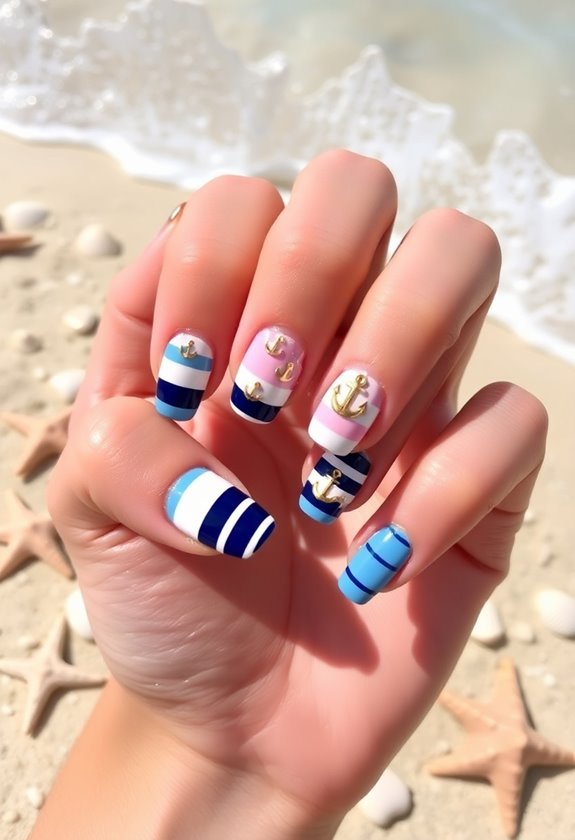
After experimenting with the dreamy pastel ombre, I like to switch things up with a nautical theme that perfectly captures the essence of summer. I find that combining navy and white stripes creates a fresh, coastal vibe. For a fun twist, I play with different stripe variations—thin lines, thick bands, or even diagonal stripes. The key is to keep it playful!
To really bring the theme home, I add anchor placements on a few accent nails. A tiny anchor on my ring finger or a larger one on my thumb makes a bold statement. This combination not only looks chic but also reminds me of breezy beach days. Trust me, this manicure is sure to turn heads all summer long!
DIY Glitter Gradient
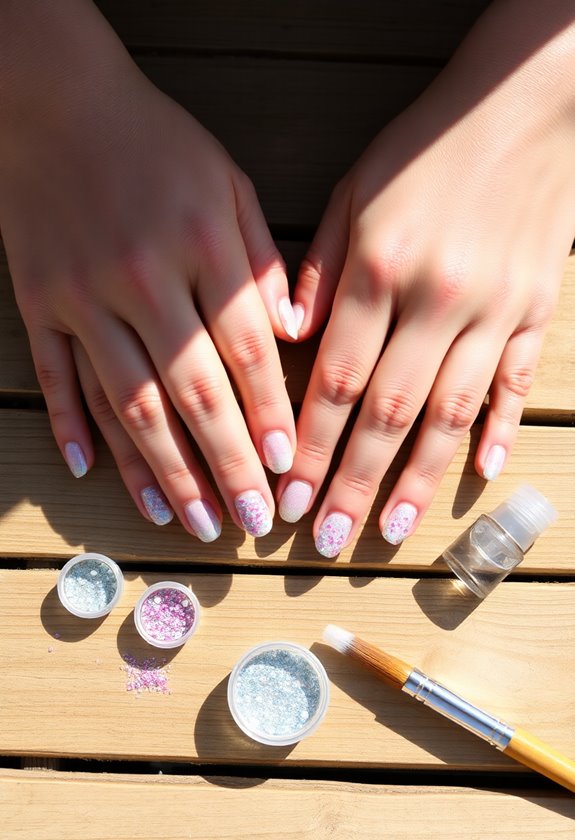
Creating a DIY glitter gradient is a fun way to add some sparkle to your summer manicure. First, choose your base color—something bright and summery works best! Once that's dry, grab your glitter polish and a makeup sponge. For the glitter placement, apply a bit of the glitter polish to the sponge and dab it onto the tips of your nails, gradually working it downwards. This is where the gradient techniques come into play; the more you tap, the softer the shift will be. You can adjust the intensity by adding more layers of glitter. Finish with a top coat to seal everything in and give it a glossy finish. Trust me; this look will turn heads all summer long!
Floral Accents With Stickers
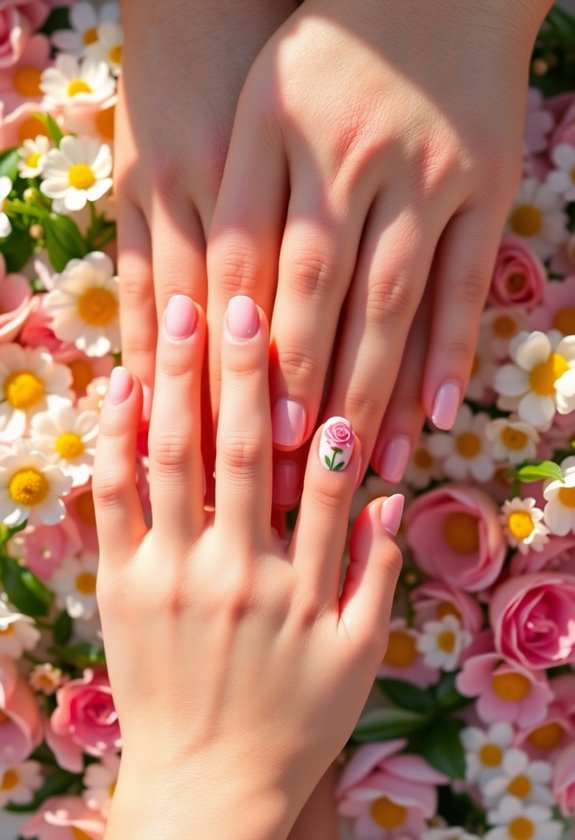
If you're looking to bring a touch of nature to your nails, floral accents with stickers are a fantastic choice. I love how easy they are to apply and how they instantly elevate my manicure. Here are some tips for perfecting your floral sticker placement:
- Choose stickers that match your seasonal color palettes for a cohesive look.
- Mix and match different flower designs for a more playful vibe.
- Apply stickers on a base coat and seal with a top coat to keep them intact.
- Experiment with placements—try corner accents or full nail coverage.
These simple steps can transform your nails into a stunning floral display without breaking the bank. Trust me, you'll love the results and the compliments that come with it!
Minimalist Geometric Designs
Embracing minimalist geometric designs can truly elevate your summer manicure with a modern twist. I love how simple shapes can make such a bold statement. Using line art and negative space, I create eye-catching patterns that are both chic and effortless. Here's a quick guide I've found helpful:
| Design Style | Color Palette | Tips |
|---|---|---|
| Thin Lines | Monochrome | Keep it sleek |
| Triangles | Pastels | Mix sizes for depth |
| Dots and Lines | Bold Colors | Focus on symmetry |
| Negative Space | Neutral Tones | Let the base shine |
These ideas not only look stunning but also fit perfectly into my summer vibe! Give them a try—you won't regret it.
Tie-Dye Techniques for Nails
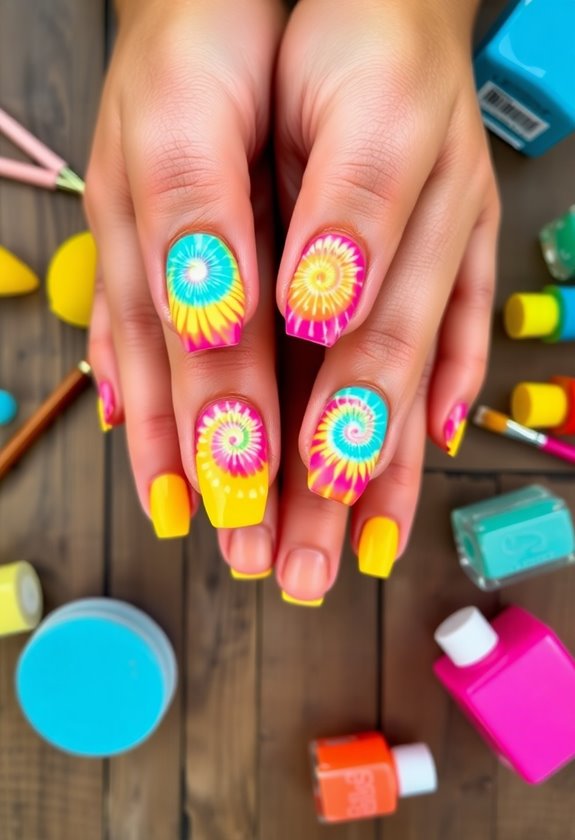
With a splash of color and a touch of creativity, tie-dye techniques for nails can transform your summer manicure into a vibrant work of art. I love using the sponge technique to create stunning watercolor nails that catch everyone's eye. It's surprisingly easy and fun! Here's how I do it:
- Choose a color palette that screams summer.
- Apply a base coat to protect your nails.
- Use a damp sponge to dab on different colors, blending as you go.
- Finish with a top coat for lasting shine.
This method allows you to express your individuality while enjoying a playful look. Trust me, once you try this, your nails will be the highlight of your summer style!
Frequently Asked Questions
What Tools Are Essential for a Summer Manicure at Home?
When I think about essential tools for a summer manicure at home, I grab my nail clippers, buffer, cuticle remover, and vibrant summer colors. Nail care becomes a fun ritual that brightens my mood instantly!
How Can I Make My Manicure Last Longer?
To make my manicure last longer, I follow essential nail care tips. I always use a base coat, avoid hot water, and keep my nails moisturized. Regular manicure maintenance helps me maintain that fresh look effortlessly.
Are There Any Eco-Friendly Nail Polish Brands?
They say you reap what you sow. I've found some fantastic eco-friendly nail polish brands that use sustainable ingredients and offer vegan options. It's a guilt-free way to enjoy beautiful nails without harming our planet!
How Do I Safely Remove Nail Polish Without Damage?
I've found that using gentle nail polish removers with natural ingredients works best. Soak a cotton pad, place it on your nail, and let it sit for a minute. It's a safe removal technique I love!
What Are Some Budget-Friendly Alternatives to Salon Manicures?
Getting a budget-friendly manicure feels like discovering hidden treasure. I love using DIY nail art techniques with budget nail supplies. Simple tools and a little creativity transform my nails without breaking the bank!