I've found seven inexpensive nail designs that are perfect for beginners looking to get creative. First, polka dot nails are super fun and easy to do with just a dotting tool or a bobby pin. Then, striped nail art adds a touch of sophistication with various color combinations. Floral accent nails bring a delicate touch, while the ombre effect creates a stunning gradient effortlessly. Geometric patterns let you play with shapes. Glitter tips and minimalist designs offer a stylish finish without much effort. Stick around, and I'll share more about these trendy designs!
Key Takeaways
- Polka Dot Nails are simple to create and require just a base coat and dotting tools for a fun, personalized design.
- Striped Nail Art offers a sophisticated look with various color combinations and stripe thickness, achievable with tape or a brush.
- Floral Accent Nails incorporate delicate flower designs on a solid color base, adding whimsy and seasonal charm to your manicure.
- The Ombre Effect creates an eye-catching gradient using two complementary colors, easily applied with a makeup sponge for blending.
- Geometric Patterns allow for modern and stylish designs using tape to create shapes, encouraging creativity without needing fancy tools.
Polka Dot Nails
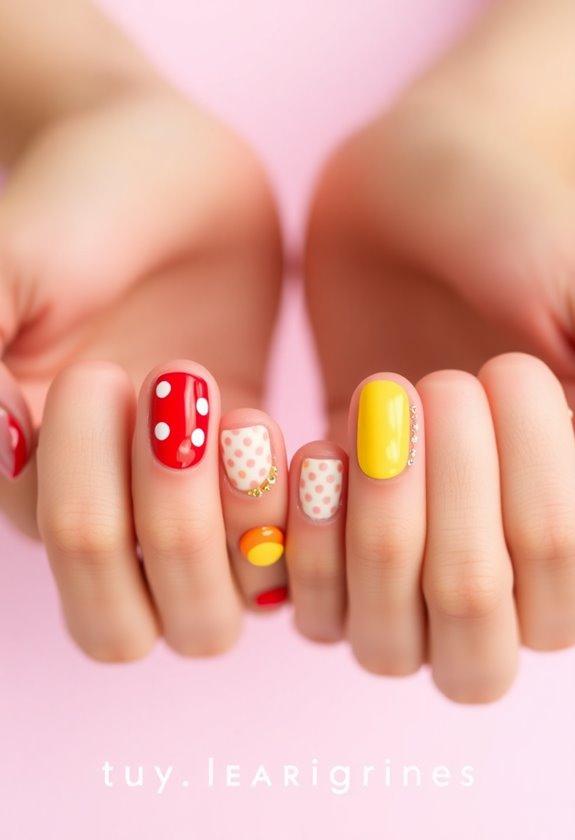
Polka dot nails are one of the simplest and most fun designs you can create, even if you're just starting out. I love how easy it is to mix and match color combinations to suit my mood or outfit. All you need are a few shades of nail polish and some dotting tools. If you don't have those, a bobby pin or a toothpick works just as well!
Start with a base coat in a solid color, let it dry, and then use your dotting tool to add dots in your chosen colors. You can go for a uniform look with regular spacing or get creative with random placements. It's such a great way to express yourself—give it a try!
Striped Nail Art
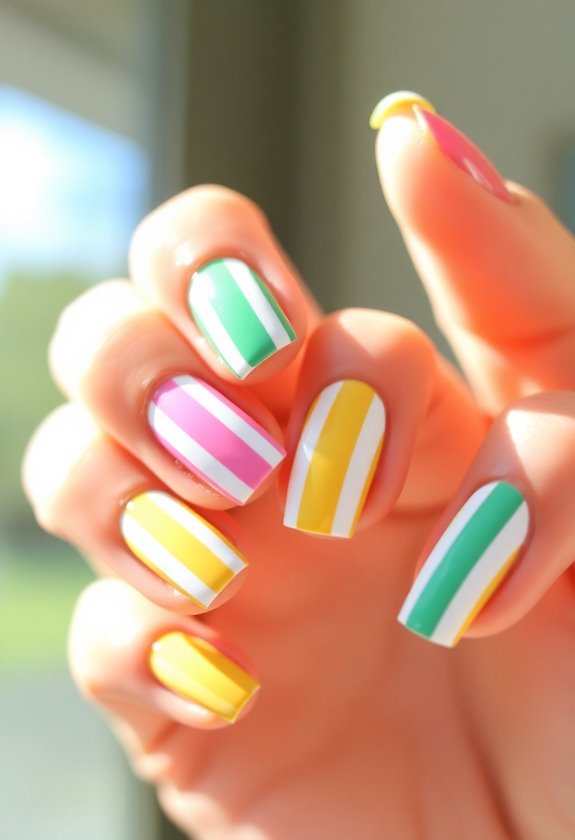
Creating striped nail art is a fantastic way to add a touch of sophistication to your manicure while still keeping it simple. I love experimenting with different striped color combinations to match my mood or outfit. For a chic look, I often choose classic colors like black and white or bold hues like navy and gold.
One of the great things about striped nail art is the stripe thickness variations you can use. Thin stripes create a delicate, elegant vibe, while thicker stripes make a bold statement. You can even mix them up for a playful design! Just grab some tape or a nail art brush, and you'll be on your way to creating stunning striped nails that are sure to impress.
Floral Accent Nails
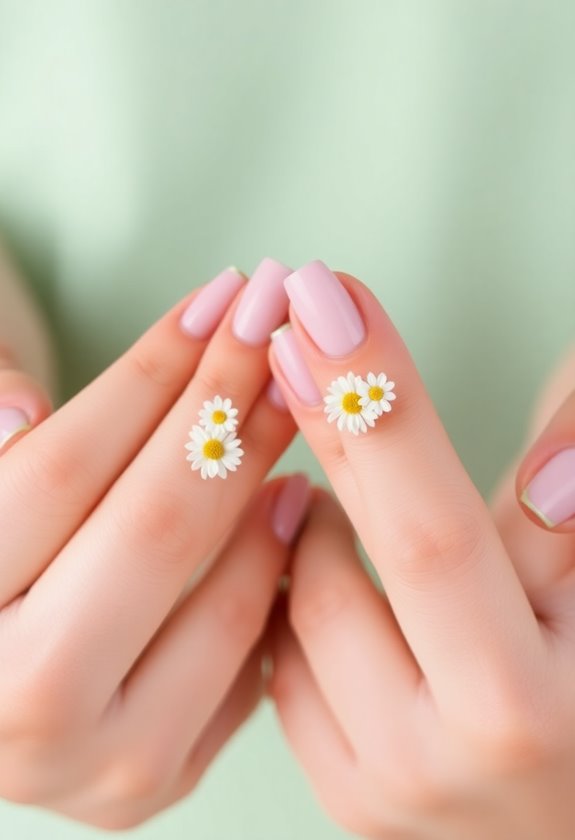
A delicate flower design can instantly elevate your manicure, making floral accent nails a popular choice for those wanting to add a touch of whimsy. I love how easy it is to incorporate these lovely designs into my nail care routine. You don't need advanced skills to create beautiful floral accents; just a steady hand and some nail polish are enough.
For a fresh look, consider seasonal themes like daisies for spring or sunflowers for summer. Simply paint a few nails in a solid color and add flowers to one or two accent nails. It's a fun way to express your personality while keeping your manicure simple and chic. Plus, these designs can be customized to match any outfit!
Ombre Effect
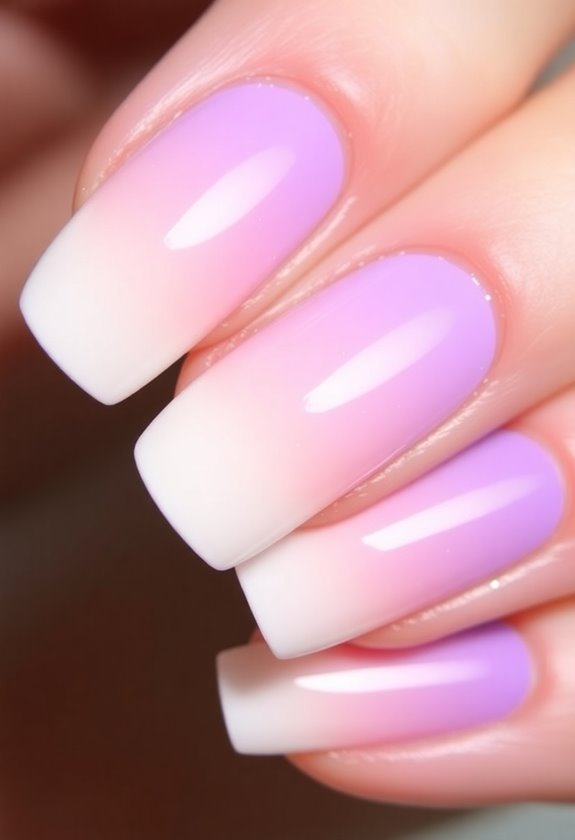
After experimenting with floral accent nails, I found that the ombre effect offers a stunningly simple way to elevate my manicure even further. I love using ombre techniques because they create a gorgeous gradient that looks professionally done without requiring a ton of skill. To start, I pick two complementary colors—I usually go for a light and a darker shade. I apply the lighter color as a base and then use a makeup sponge for color blending. By dabbing the darker shade onto the sponge and gently tapping it onto the nails, I achieve that beautiful shift effortlessly. It's a fun and creative process, and the results are always eye-catching! Plus, it's perfect for any occasion.
Geometric Patterns
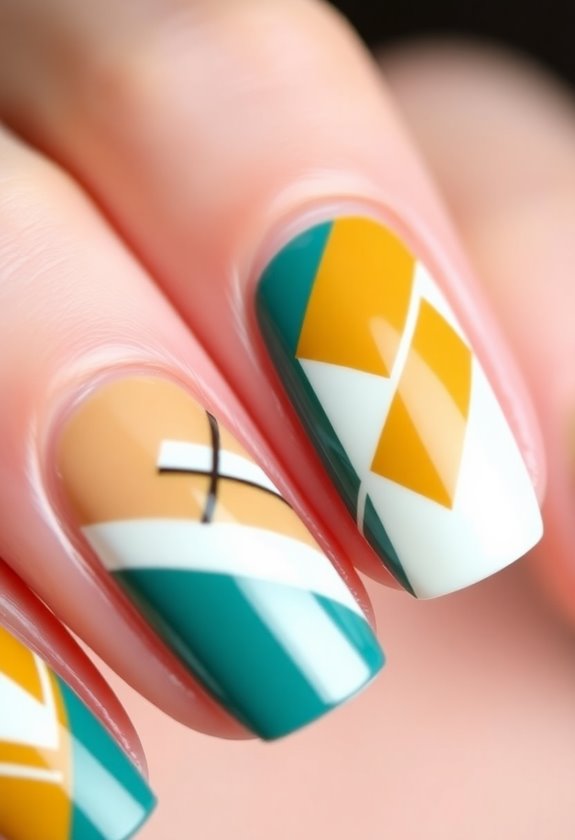
Geometric patterns bring a modern flair to nail art that's both fun and stylish. I love experimenting with asymmetrical shapes and negative space, as they create eye-catching designs without needing to be overly complicated. Simply use tape to section off areas of your nail and paint them in contrasting colors. This technique allows the negative space to shine through, giving your nails a fresh and trendy look.
You can even mix it up by adding stripes, triangles, or squares in varying sizes. The best part? You don't need to invest in fancy tools—just a steady hand and a little creativity. Whether you're going for bold colors or muted tones, geometric patterns can elevate your nail game effortlessly!
Glitter Tips
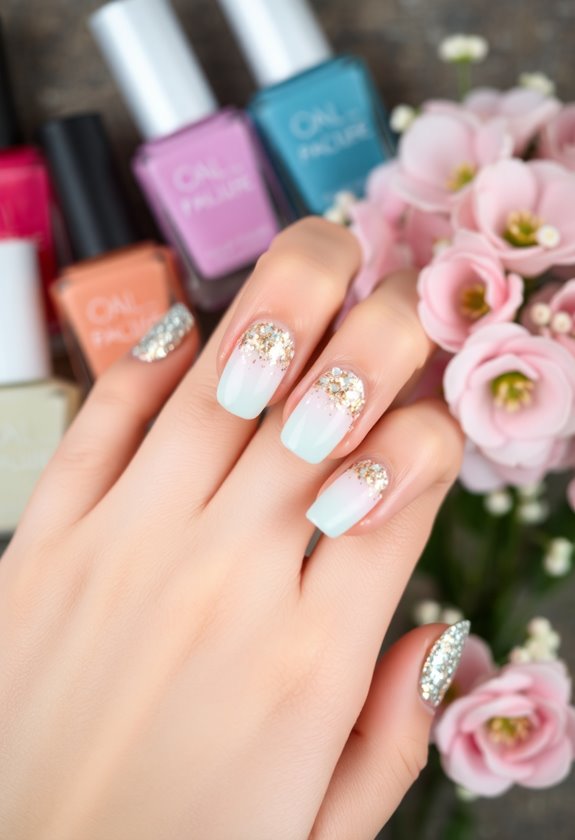
Glitter tips instantly add a touch of sparkle to any nail design, making them perfect for beginners who want to elevate their look without too much effort. I love using glitter gradients for a fun, ombre effect that catches the eye. To create this look, I start with a solid base color and gently blend in glitter from the tips downwards. It's super easy!
Another option I enjoy is confetti tips, where I apply colorful glitter pieces at the tips of my nails. This playful style adds a festive vibe and is perfect for parties or special occasions. Both techniques are quick to master and can transform even the simplest manicure into something dazzling. You'll feel fabulous with glitter tips!
Minimalist Nail Designs
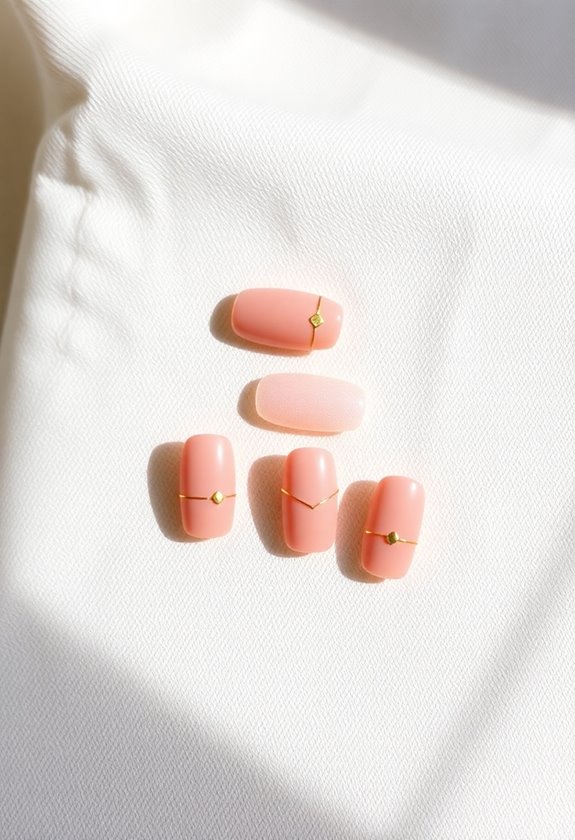
When it comes to nail art, minimalist designs offer a chic and effortless look that's perfect for beginners like me. I love how these styles focus on simplicity, using negative space to create a clean aesthetic. For example, I often paint my nails a soft nude and leave a small triangle of bare nail at the base. It's subtle but striking!
Color blocking is another favorite technique of mine. I simply choose two contrasting colors and create bold stripes or geometric shapes on my nails. This approach allows me to express creativity without feeling overwhelmed. Plus, it's easy to fix any mistakes. Minimalist nail designs are not only stylish but also incredibly fun to do, making them ideal for anyone just starting out!
Frequently Asked Questions
What Tools Do I Need for Nail Art as a Beginner?
Have you ever wondered what nail art essentials I need as a beginner? I've found that simple tools like dotting tools, striping brushes, and quality polish make mastering beginner techniques so much easier and fun!
How Do I Properly Remove Nail Polish Without Damaging My Nails?
To remove nail polish without damaging my nails, I use gentle nail care methods. I prefer acetone-free polish alternatives, soaking a cotton ball and pressing it on my nail for a few seconds before wiping.
Can I Use Regular Nail Polish for These Designs?
Using regular nail polish works wonders for various design techniques. It's like painting a canvas—each stroke brings your vision to life. Just explore different nail polish types for vibrant, long-lasting results. You'll love it!
How Long Do These Nail Designs Typically Last?
Nail designs usually last about a week, but nail durability factors like application technique and topcoat choice can influence this. I've found that following design longevity tips, like avoiding water, helps my nails stay looking fresh longer.
Are There Any Tips for Preventing Nail Polish From Chipping?
To prevent nail polish from chipping, I focus on proper nail care and polish application. I always apply a base coat, use thin layers, and finish with a top coat for lasting results. It really helps!
