I've found that creative gel nail styles can be stunning without costing a fortune. I always look for budget-friendly gel products with great reviews, ensuring quality without overspending. Simple DIY techniques like layering colors and using nail art tools, like stamping kits and dotting tools, let me create unique designs at home. I love mixing pastel hues with bold colors for a fun look or sticking to classic red and white for something timeless. Plus, maintaining my nails keeps them looking fresh longer. If you're curious about more tips and tricks, there's plenty to explore!
Key Takeaways
- Explore budget-friendly gel brands by comparing reviews and swatches to find high-quality options without overspending.
- Utilize simple DIY techniques like layering colors and applying top coats for unique nail art that enhances durability.
- Experiment with trendy color combinations, such as pastel and bold mixes, to create playful and modern styles on a budget.
- Invest in affordable nail art tools like dotting tools and stamping kits to produce intricate designs without breaking the bank.
- Maintain your gel nails with daily moisturizing and regular fills to extend their life and keep them looking fresh and vibrant.
Choosing Affordable Gel Products
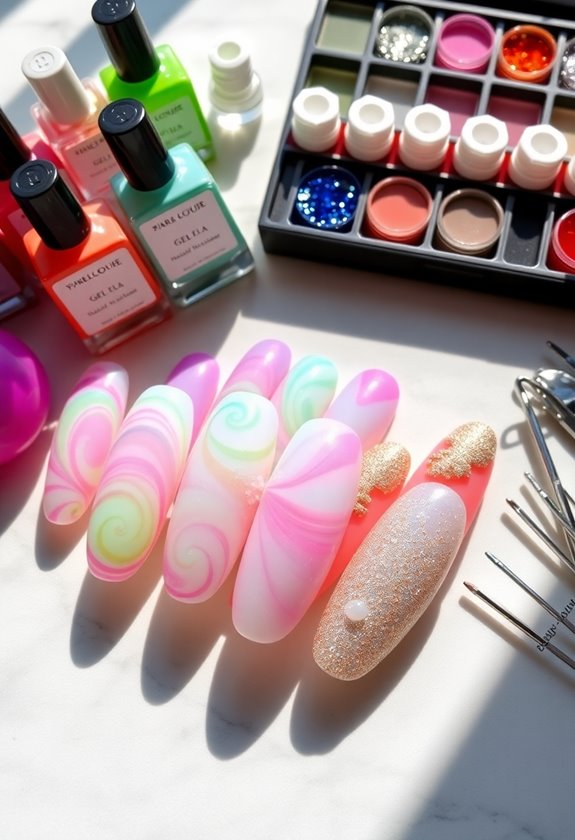
When searching for affordable gel products, it is essential to keep your budget in mind without sacrificing quality. I've found that exploring budget-friendly brands can lead to some fantastic options that won't break the bank. I often immerse myself in gel product comparisons to see how different brands stack up regarding durability, ease of application, and finish.
Some brands I've come to love are those that offer excellent performance at a lower price point. I recommend checking online reviews and looking for swatches to help narrow down your choices. By doing a bit of research and being mindful of your budget, you can find gel products that deliver stunning results without compromising on quality. Happy shopping!
Simple DIY Gel Techniques

Finding the right gel products can set the stage for some fun DIY nail art. To achieve stunning results, I always prioritize good nail prep before diving into gel application. Here are three simple techniques I use:
- Base Coat Application: I apply a thin layer of base coat to guarantee a smooth surface and better adhesion for the gel.
- Layering Colors: I often layer different gel colors to create depth. This allows me to mix and match without breaking the bank.
- Top Coat Finish: Finally, I seal everything with a top coat for that glossy finish and durability.
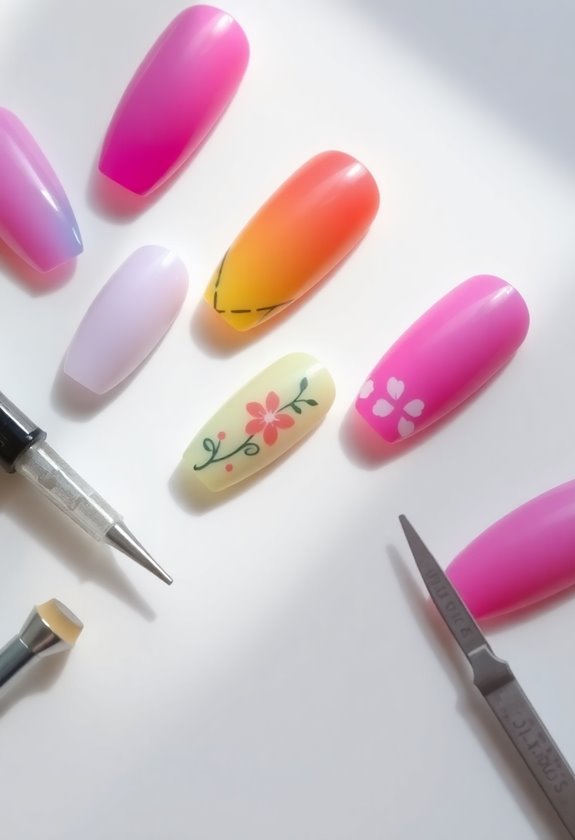
Trending Color Combinations
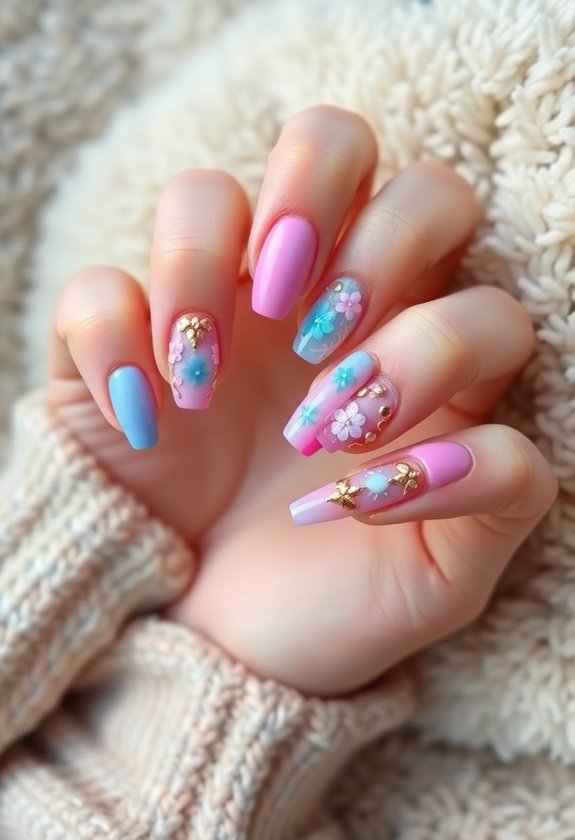
Exploring trending color combinations for gel nails is one of my favorite parts of nail art. I love mixing pastel hues with bold contrasts for a playful look that really stands out. Earthy tones are perfect for a more grounded vibe, especially when paired with metallic accents that add a touch of glam. For those who crave excitement, vibrant neons can create stunning focal points. I often experiment with classic combinations like red and white, while ombre effects give a chic gradient finish. On days when I want something simpler, minimalist designs in muted shades offer an effortless elegance. No matter your style, there's a color combo that can elevate your gel nails on any budget!
Fun Nail Art Tools
Getting creative with gel nails isn't just about color combinations; the tools you use can make a world of difference too. I've found that having the right tools can elevate my nail art game without breaking the bank. Here are three essentials I always keep on hand:
- Nail Stamping Kit: This allows me to create intricate designs quickly and easily.
- Dotting Tools: Perfect for adding dots or creating flowers, these tools help me achieve detailed nail art effortlessly.
- Nail Brushes: I love using different brushes for techniques like water marbling or applying nail decals.
Additionally, using tape designs and sponges techniques for ombre effects or foil application can add unique flair. These tools make my gel nails truly stand out!
Creative Patterns and Designs
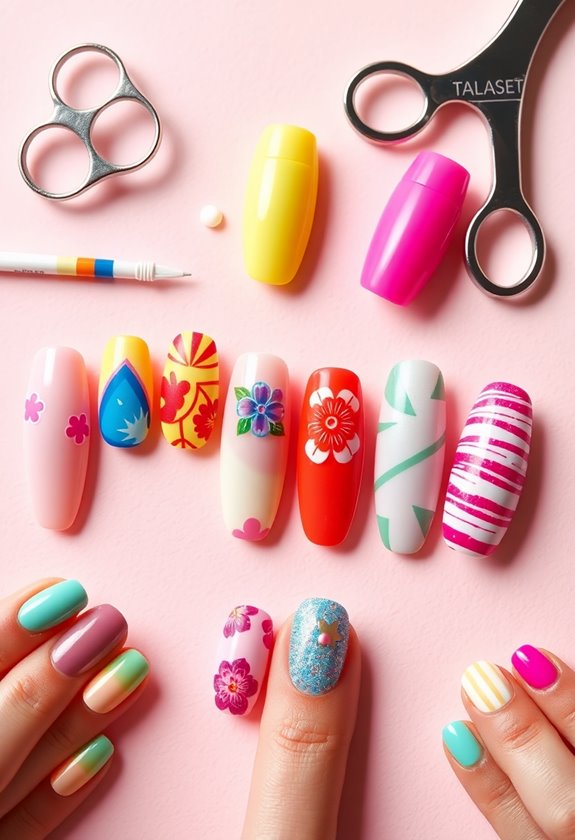
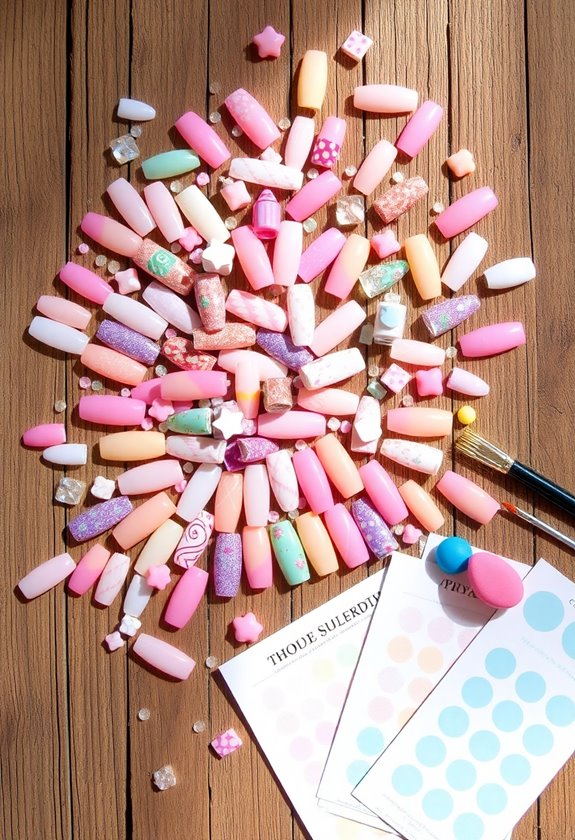
When it comes to creative patterns and designs for gel nails, the possibilities are endless. I love experimenting with geometric shapes, which can give a modern, edgy look. Floral motifs are perfect for a soft, romantic vibe, while abstract designs let my creativity run wild. Animal prints, like leopard or zebra, add a fun twist that always catches attention. Ombre effects can create a stunning gradient, and I find stripe patterns can be both chic and playful. Polka dots are a classic choice that never goes out of style. For a luxe feel, marble finishes are a fantastic option. With these varied designs, I can switch up my nails easily and stay stylish without breaking the bank!
Seasonal Themes and Inspirations
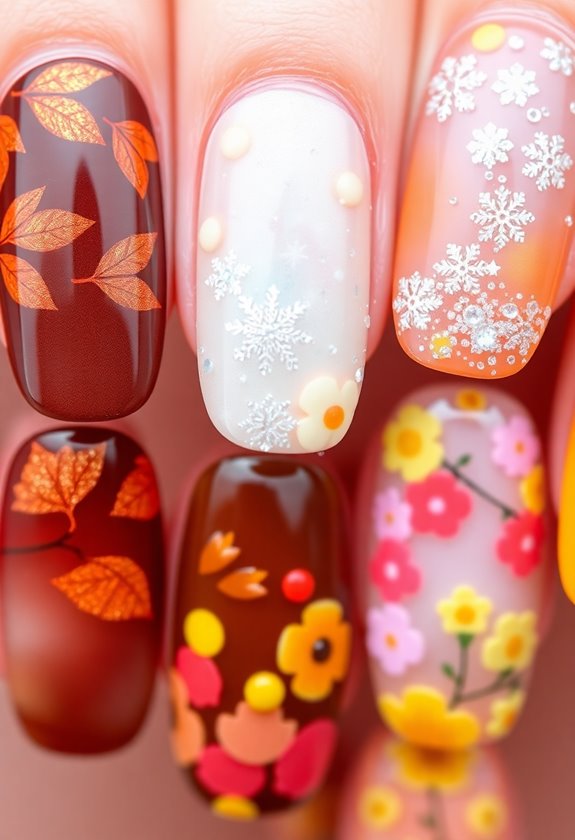
Seasonal themes and inspirations bring a revitalizing twist to gel nail art, allowing me to express my creativity in sync with the changing times. I love how holiday motifs and seasonal colors can transform my nails into little canvases that reflect the mood of the moment. Here are a few ideas I often explore:
- Winter Wonderland: I opt for icy blues and silvers, adding snowflake designs for that festive feel.
- Spring Awakening: Pastel shades come alive with floral patterns, celebrating the beauty of blooming flowers.
- Summer Vibes: Bright yellows and corals shine, often paired with tropical fruit designs for a fun, cheerful look.
These seasonal inspirations not only brighten my day but also keep my nail art fresh and exciting!
Maintenance Tips for Longevity
To keep my gel nails looking fresh and fabulous for as long as possible, I've learned a few essential maintenance tips. First, I always practice good nail care by moisturizing my cuticles daily. This keeps my nails healthy and helps prevent lifting. When doing chores, I wear gloves to protect my nails from harsh chemicals and excessive moisture. I also avoid using my nails as tools to prevent chipping.
When it's time for gel removal, I don't rush it. I soak my nails in acetone and gently push off the gel to minimize damage. Regularly scheduling fills helps maintain the look and prevents lifting. By following these tips, I can enjoy my gel nails longer without compromising their health!
Frequently Asked Questions
Where Can I Find Budget-Friendly Gel Nail Kits?
I've found great budget-friendly gel nail kits at local beauty supply stores and online. Affordable brands often offer essential tools, making it easy to create salon-quality nails without breaking the bank. Happy shopping!
How Long Do DIY Gel Nails Typically Last?
When I apply my DIY gel nails, they feel like a shield of armor. Typically, they last two to three weeks with proper nail care and careful gel application. It's all about how well you treat them!
Can I Mix Gel Polish Brands?
Absolutely, I mix gel polish brands all the time! Just verify that the gel polish compatibility is good. For brand mixing tips, stick to similar formulas and curing times for the best results.
Are There Vegan Gel Nail Options Available?
Like a blooming flower, my nails can express beauty without harm. I've found several vegan gel nail options that use cruelty-free brands and vegan ingredients. It's rewarding to adorn my nails sustainably while staying stylish!
What Are the Best Ways to Remove Gel Polish at Home?
When I remove gel polish at home, I prefer the soaking method. I soak cotton in acetone, place it on my nails, and wrap them in foil. This helps maintain nail health while ensuring a smooth removal.