I love creating chic nail designs that won't break the bank. You only need a few budget-friendly tools, like a quality base and top coat, dotting tools, and nail tape to transform your nails. Simple techniques can elevate your style effortlessly. For a modern touch, try a minimalist half-moon design or playful geometric patterns. Ombre effects using vibrant colors are always a hit too. With a little creativity, you'll achieve stunning results without spending much. If you're curious about more unique concepts and tips, you might enjoy exploring what's next!
Key Takeaways
- Use budget-friendly tools like dotting tools and striping brushes to create intricate designs without overspending.
- Opt for minimalist designs such as half-moon manicures or single line art for chic yet simple looks.
- Experiment with fun geometric patterns like zigzags and triangles for a playful touch that's cost-effective.
- Create colorful ombre effects using inexpensive sponges for a stunning gradient at home.
- Prioritize a quality base and top coat to ensure your chic designs last longer without frequent touch-ups.
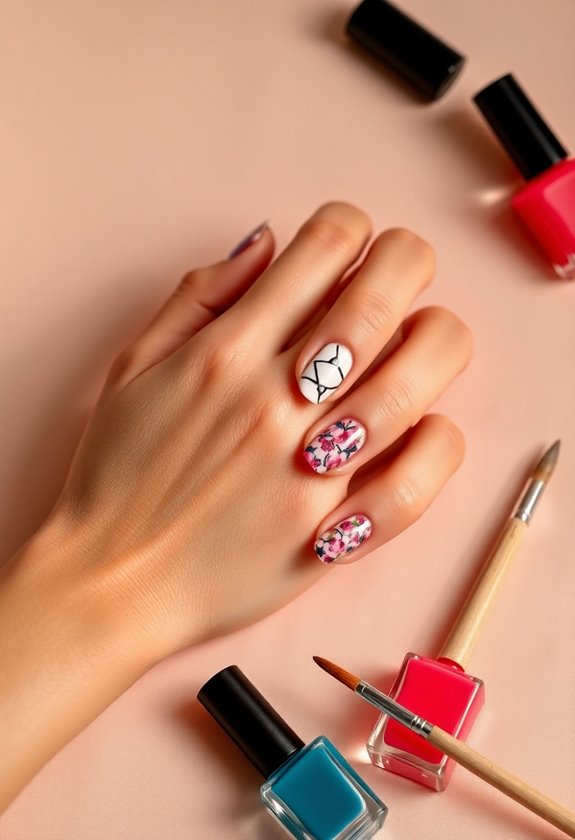
Essential Tools for Nail Art
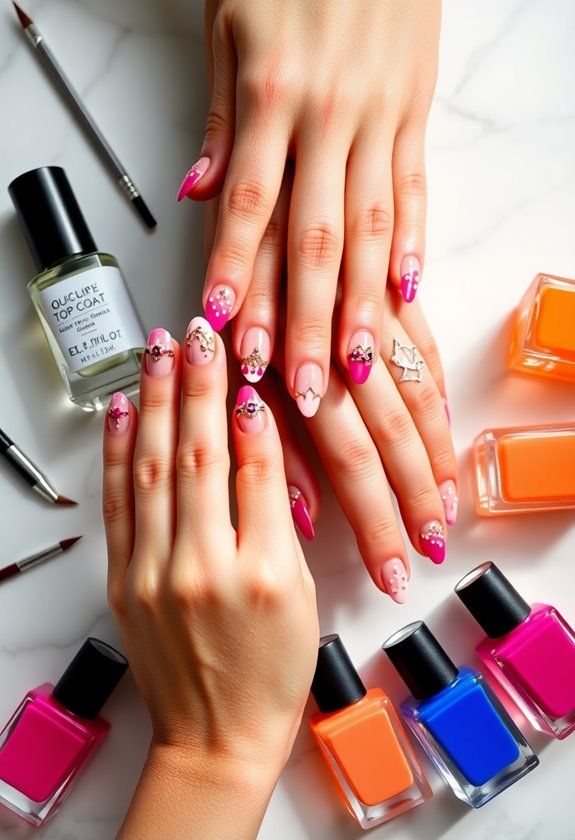
I often find that having the right tools makes all the difference in creating stunning nail art. When I plunge into my nail art supplies, I always make sure to have a few budget-friendly tools on hand. A good quality base coat and top coat are essentials for a lasting design. Dotting tools and striping brushes allow me to add intricate details without breaking the bank. I also love using nail tape for clean lines; it's a game-changer! A palette for mixing colors is another must-have—it keeps my workspace organized and my creativity flowing. Finally, don't forget a decent set of nail files and buffers to prep your nails. With these tools, I can set free my creativity and achieve salon-worthy results at home!
Simple Nail Art Techniques
Nail art doesn't have to be complicated; in fact, just a few simple techniques can elevate your manicure game. I love experimenting with basic nail polish techniques that anyone can master. For instance, try the dotting tool to create fun polka dots or flowers. You can also use tape to create clean, geometric lines. A sponge can help you achieve an ombre look effortlessly.
To maintain your nail health, I recommend following some nail care tips, like keeping your nails hydrated and applying a base coat before your polish. It not only protects your nails but also enhances the color. With these simple techniques and care tips, you'll have stunning nails without breaking the bank!
Trendy Minimalist Designs
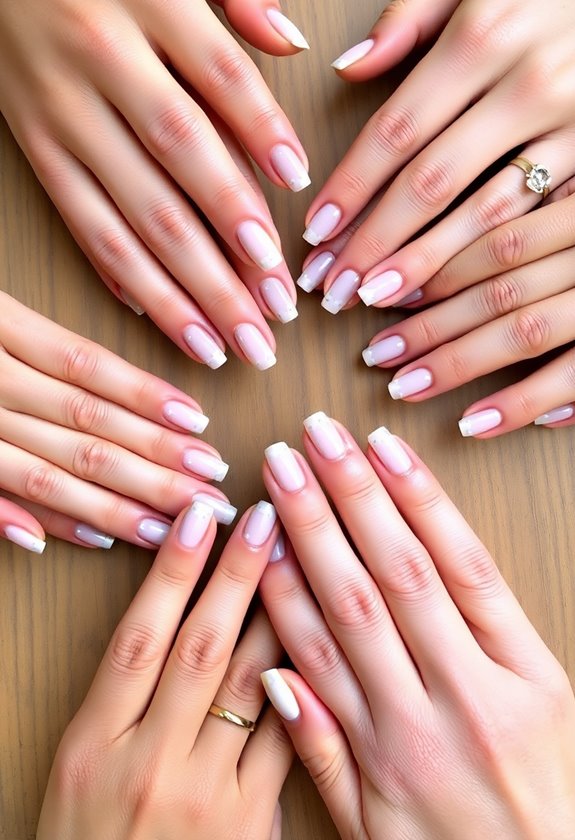
Sometimes, less really is more when it comes to nail art. I love embracing trendy minimalist designs that highlight simplicity and elegance. These looks often use negative space and monochromatic tones to create stunning effects. Here are three minimalist designs I adore:
- Half-Moon Manicure: Using negative space at the base of your nails, this classic style adds a chic touch without overwhelming your look.
- Single Line Art: A single, sleek line drawn across a nude base can make a bold statement with minimal effort.
- Dot Accents: A few strategically placed dots in monochromatic tones can transform a plain nail into a stylish masterpiece.
These designs are perfect for those who appreciate understated beauty without breaking the bank!
Colorful Ombre Effects
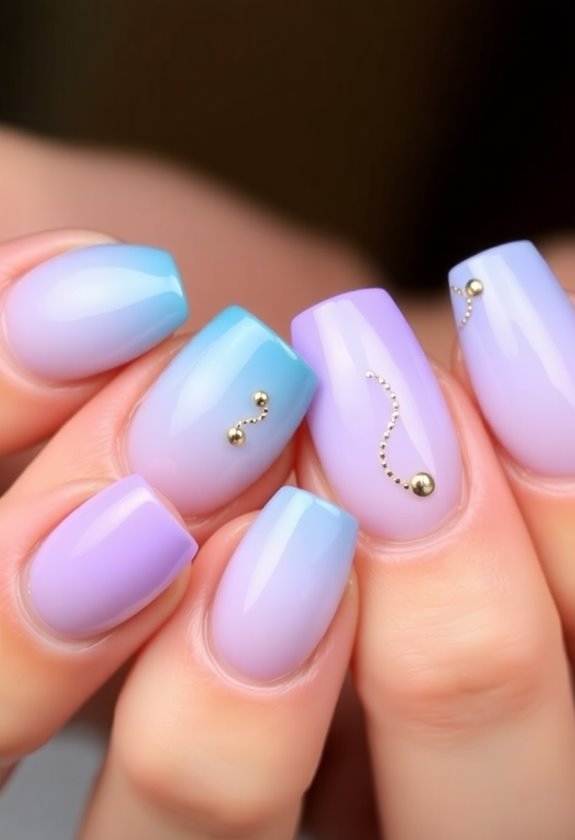
Five vibrant colors can create a stunning ombre effect that'll elevate your nail game. I've experimented with various ombre color combinations, and the results have been impressive. My favorites include a blend of pink, orange, yellow, blue, and purple, which creates a lively gradient that catches everyone's eye.
To achieve this look, I use gradient blending techniques that allow each color to smoothly shift into the next. Start with a lighter base color and gradually layer on the darker shades, blending them together with a sponge for that perfect ombre effect. Trust me, this technique is easier than it sounds and can transform your nails into a work of art without breaking the bank. Give it a try—your nails will thank you!
Fun Geometric Patterns

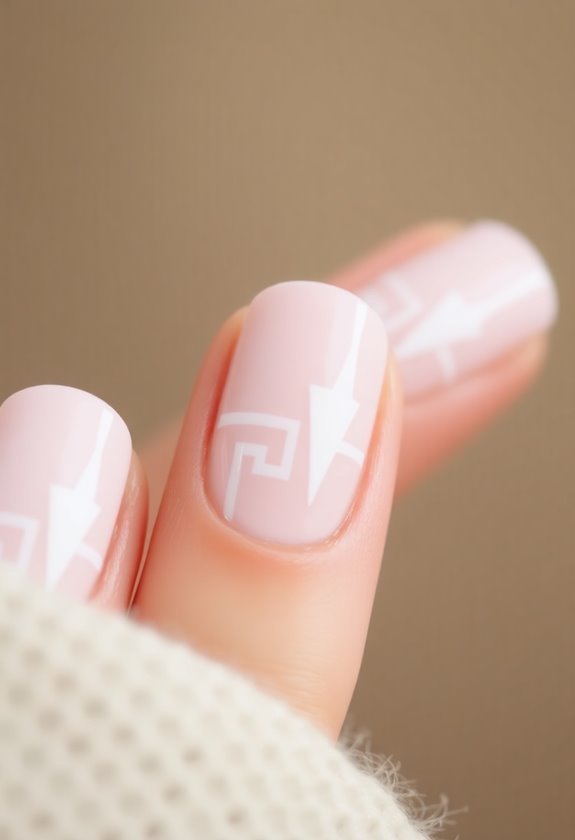
When it comes to adding a playful touch to your nails, fun geometric patterns are a fantastic choice. I love how they let you express your creativity while keeping things chic and stylish. Here are three ideas to inspire your next manicure:
- Zigzag Designs: These bold patterns create a striking visual effect. You can choose contrasting colors for a vibrant look or go monochrome for something more subtle.
- Triangle Accents: Adding small triangle accents to your nails can elevate the design. Mix and match different colors for a fresh twist.
- Lines and Shapes: Combine various shapes and lines to create a unique abstract look. This style is perfect for those who like to experiment!
Get creative and have fun with it!
Floral Nail Art Ideas
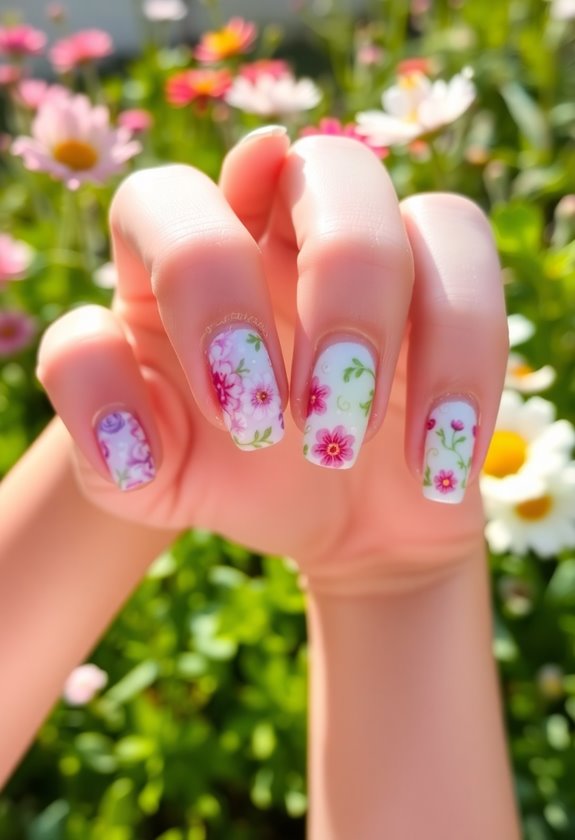
After playing around with fun geometric patterns, it's time to explore the beauty of floral nail art. I love how floral designs can transform your nails into a canvas of creativity. For a classic touch, I often go for vintage floral patterns, which add a charming, timeless feel. Using soft pastels or muted tones, I find they exude elegance without being overpowering. On the other hand, abstract blooms offer a modern twist. I enjoy experimenting with bold colors and unique shapes, allowing my nails to truly stand out. These designs are easy to achieve at home with a few brushes and some practice. Whether you prefer vintage or abstract, floral nail art always brings a fresh vibe to any look!
Seasonal Nail Design Inspiration

Embracing seasonal nail designs is one of my favorite ways to express creativity throughout the year. I love how each season brings unique colors and themes to play with. Here are three seasonal nail design inspirations that never fail to inspire me:
- Autumn Hues: Think deep burgundies, burnt oranges, and earthy browns. A gradient or leaf pattern captures the essence of fall beautifully.
- Winter Motifs: Snowflakes, icy blues, and frosty whites make for stunning designs. I love adding silver glitter for that extra sparkle!
- Spring Pastels: Soft pinks, lilacs, and mint greens can brighten up any day, often paired with floral accents for a fresh look.
These designs keep my nails stylish and on-trend, all year round!
DIY Nail Decals and Stickers
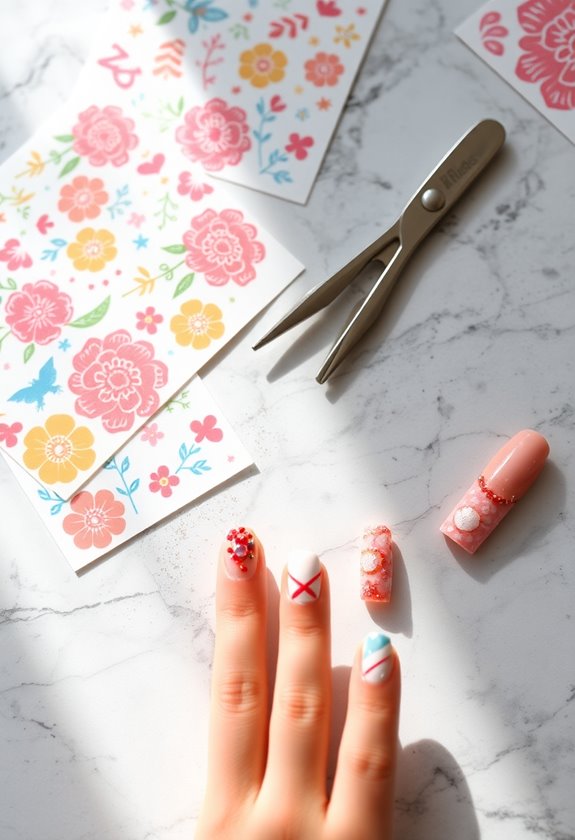
Creating unique nail art doesn't have to be complicated or time-consuming. I love making my own DIY nail decals and stickers to elevate my manicure. Simply use nail decal materials like clear sticker paper or vinyl, which you can find online or at craft stores. For custom sticker ideas, I often sketch fun designs or print graphics that suit my mood. Once you've created your designs, cut them out and apply them to your nails after painting. It's such a satisfying way to express myself without spending a fortune at a salon. Plus, I can change my designs whenever I want! So grab those materials, and let your creativity shine through your nails!
Tips for Long-lasting Results
For nail art that lasts, I've learned a few essential tips that make all the difference. Staying on top of my nail care routine and making smart product selections has truly transformed my manicures. Here are my top three tips for long-lasting results:
- Prep Your Nails: Always start with clean, dry nails. A good base coat not only protects your nails but also helps the polish adhere better.
- Quality Products: Invest in high-quality nail polish and topcoat. They may cost a bit more, but they often last longer and resist chipping.
- Avoid Water Right Away: After applying your nail art, wait at least an hour before exposing your nails to water. This allows everything to set properly.
Frequently Asked Questions
Where Can I Find Affordable Nail Art Supplies Online?
When I first started my nail art journey, I felt like a painter without a palette. I found affordable nail art tools on sites like Amazon and Etsy, making online shopping a breeze for creative expression!
How Often Should I Change My Nail Design?
I think changing my nail design every two to three weeks keeps things fresh. I love incorporating seasonal nail trends, which makes nail design frequency fun and guarantees I'm always in style!
Can I Use Regular Polish for Nail Art?
I love using regular polish for nail art. With some creativity and polish application tips, you can achieve stunning designs. Picture vibrant colors swirling together, transforming my nails into a canvas of joy and expression.
What Are the Best Budget-Friendly Nail Brands?
I've found some great budget-friendly nail brands. Sally Hansen and Sinful Colors offer affordable options without sacrificing quality. These brands make nail care accessible while letting me experiment with fun colors and designs without overspending.
How Do I Remove Nail Art Without Damaging My Nails?
Did you know that 75% of people damage their nails during removal? I've found that using acetone-free remover and soaking cotton pads can guarantee safe removal while following essential nail care tips to keep my nails healthy.