I've found three easy nail art hacks that are budget-friendly and fun! First, I use painter's or washi tape for crisp lines. Just press it down well before painting, and peel it off after a short wait. Next, I make my own dotting tools using bobby pins for larger dots or toothpicks for tiny details. Finally, I grab household items, like kitchen sponges for gradients. These techniques not only save money but also ignite creativity. You'll be amazed at what you can create! There's even more to explore, so stick around to uncover additional tips!
Key Takeaways
- Use painter's or washi tape for creating clean lines in nail art, providing professional-looking results without the cost of special tools.
- Create your own dotting tools using bobby pins and toothpicks to easily add dots and intricate designs without purchasing expensive items.
- Repurpose kitchen sponges for sponge gradients, allowing for stunning nail designs using simple household items.
- Experiment with various household items like toothpicks for detailed work, fostering creativity and reducing the need for costly nail art supplies.
- Combine different techniques and tools to explore unique designs while keeping expenses low and enhancing your nail art skills.
Use Tape for Perfect Lines
When I want to achieve perfectly straight lines in my nail art, I reach for some tape. Using the right tape types can make all the difference in design precision. I usually grab painter's tape or washi tape because they're gentle on my nails and easy to peel off. I cut the tape to the desired length and apply it to my nails, ensuring it's securely pressed down to avoid any gaps. Once I paint over it, I wait a moment before carefully removing the tape. The result? Crisp lines that elevate my nail designs. This technique not only saves time but also gives me the polish I need to impress. Give it a try, and you'll see the difference!
DIY Dotting Tool Method
Although professional dotting tools can be expensive, I've found that making your own is quick and easy. With a few simple items, you can create effective dotting tool techniques that help you achieve stunning nail art. Here's what you'll need:
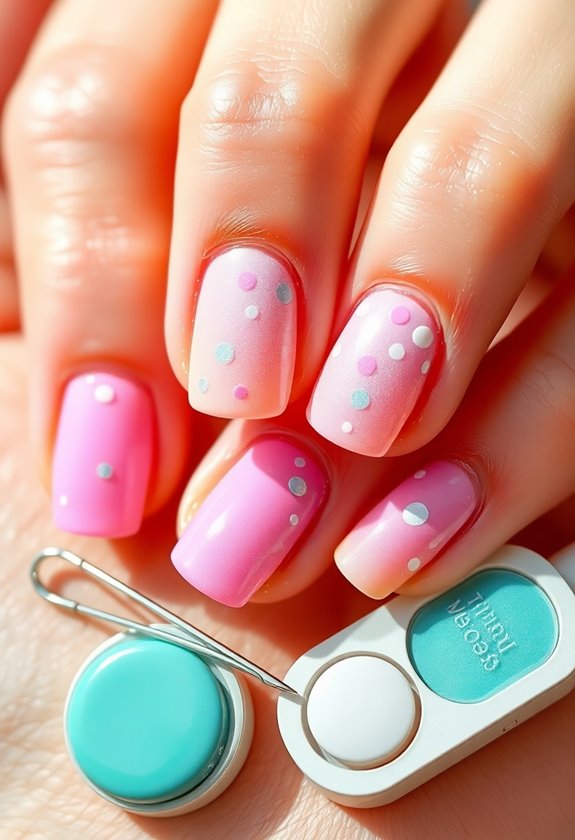
- Bobby pins – Use the rounded end for larger dots.
- Toothpicks – Perfect for tiny details and intricate designs.
- Bamboo skewers – Great for varying dot sizes by using different ends.
- Nail art brushes – You can dip them in polish to create dots and swirls.
Once you've gathered your materials, you'll be amazed at how easily you can create creative designs. Experiment with these tools and watch your nail art skills flourish!
Household Items for Nail Art
Looking around your home, you might be surprised by the everyday items that can elevate your nail art game. For instance, a simple kitchen sponge can help you create stunning sponge gradients. Just cut a small piece, dab it into your chosen nail polish, and gently press it onto your nails for a beautiful ombre effect.
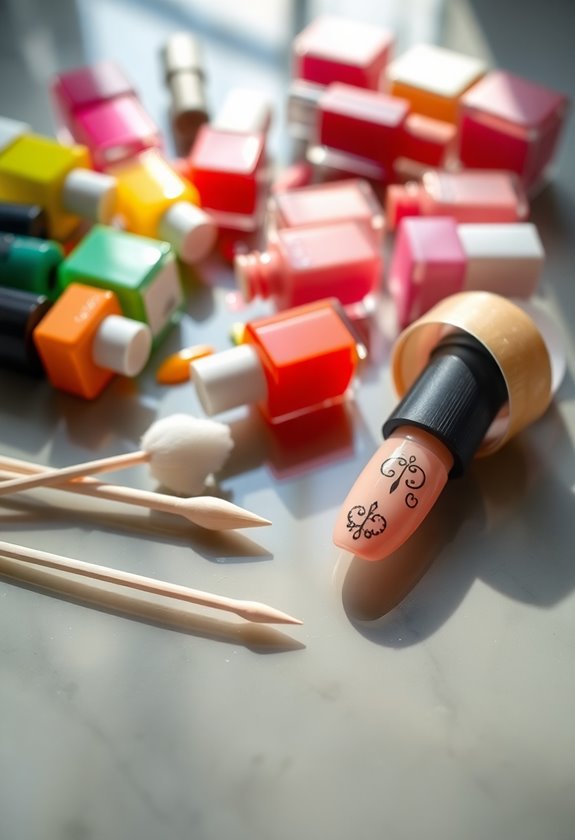
Don't forget about toothpicks! These handy tools are perfect for creating intricate designs. I often use them to draw tiny dots or lines, making my nail art pop with detail.
With just these two items, you can achieve professional-looking nail art without breaking the bank. So, next time you're prepping for a DIY mani, take a look around—your home is full of potential!
Frequently Asked Questions
Can I Use Regular Tape for Nail Art Designs?
Oh, you wouldn't believe how versatile regular tape can be for nail art! I've used it for stunning designs. Its adhesive properties and tape techniques help create crisp lines and unique patterns that make my nails pop!
How Do I Clean My DIY Dotting Tools?
Cleaning my DIY dotting tools is simple! I use warm soapy water or rubbing alcohol as cleaning solutions, depending on the dotting tool materials. A gentle scrub usually does the trick for keeping them spotless.
What Type of Nail Polish Works Best for Nail Art?
Choosing nail polish types for nail art techniques is like picking paint for a masterpiece. I prefer highly pigmented, quick-drying polishes; they glide smoothly and let my creativity shine, making each design pop effortlessly.
How Long Should I Wait for Polish to Dry?
I usually wait about 10 to 15 minutes for polish to dry completely. If I'm using quick drying formulas, I find they markedly cut down on the drying time, making my nail art process smoother.
Are There Specific Brands Recommended for Nail Art Supplies?
When I look for nail art supplies, I often check brand comparisons. I've had great experiences with brands like OPI and Essie for polish, while tools from Sally Hansen work wonders for creativity and precision.