I'm excited to share some awesome nail art hacks using everyday household items! For crisp lines, I use painter's tape; just stick it on and paint over while it's wet. Got a potato? Cut it into shapes for unique stamps—it's a fun way to create flower or star patterns. I also grab bobby pins for dot designs; they're perfect for making different sizes. For a gradient look, I use makeup sponges to blend colors beautifully. And don't forget cotton swabs for quick cleanups! Stick around, and I'll show you even more creative ideas to transform your nails.
Key Takeaways
- Use painter's tape for clean lines in nail art; it prevents polish seepage when pressed firmly.
- Cut potatoes into shapes for unique stamping designs; dip them in nail polish for creative patterns.
- Employ bobby pins to create intricate dot designs; the rounded end makes larger dots while the pointed end allows for finer details.
- Utilize makeup sponges for gradient effects; different sponge types can enhance blending and layering in nail art.
- Clean up excess polish with cotton swabs dipped in remover for precise edges and a polished finish.
Use Tape for Clean Lines
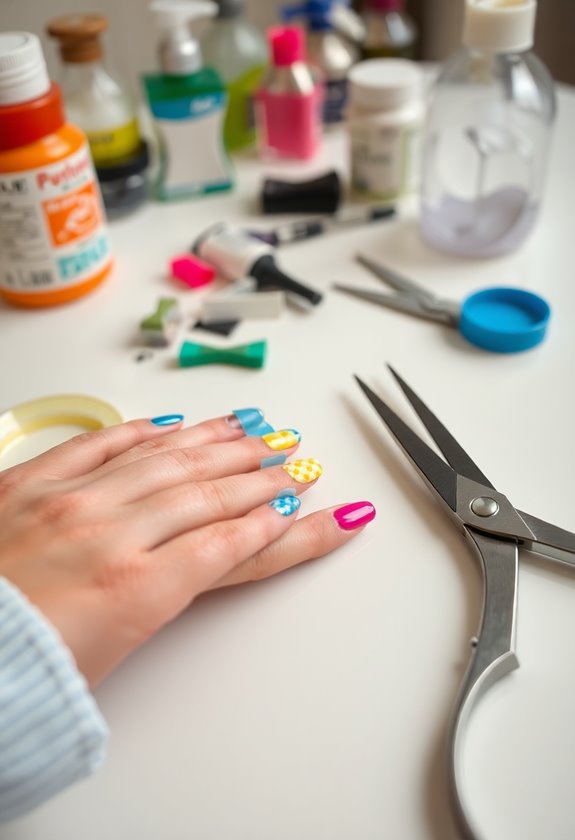
When I want to create nail art with crisp, clean lines, I always reach for tape. It's one of my favorite nail design techniques because it makes everything so much easier. First, I cut small pieces of tape and apply them to my nails in the desired pattern. The key is to press down firmly to avoid any polish seepage. I usually paint over the tape with my chosen color, then carefully peel it off while the polish is still wet. This gives me that sharp look I love. One of my best tape application tips is to use painter's tape; it's gentler on the nails and removes cleanly. With a little practice, you'll be amazed at how professional your nail art can look!
Create Stamps With Potatoes
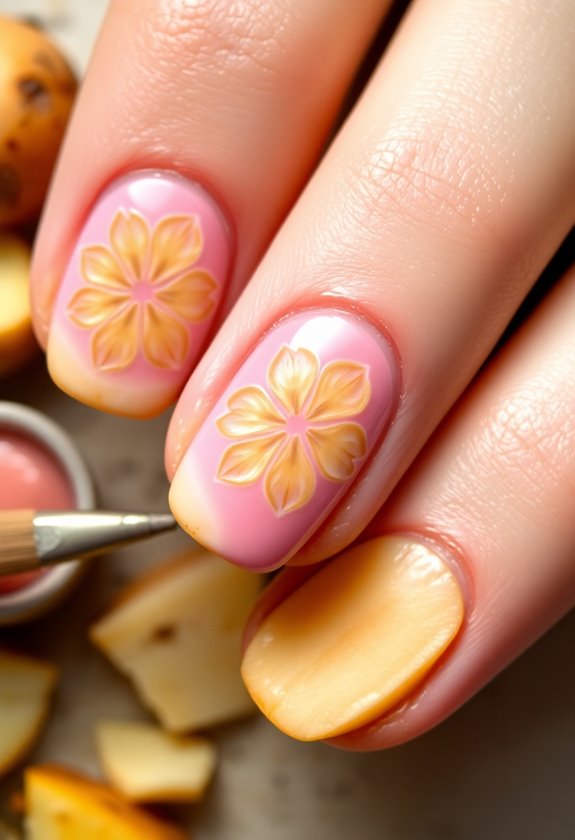
After mastering tape techniques for clean lines, I love experimenting with potato stamps for a fun twist on nail art. Using vegetable stamps is not only creative, but it's also super easy! I simply cut potatoes into various shapes, dip them in nail polish, and press them onto my nails for unique designs.
Here's a quick guide to get you started:
| Potato Shape | Design Idea | Color Pairing |
|---|---|---|
| Star | Fun cosmic nail art | Blue and yellow |
| Heart | Cute Valentine's Day | Red and pink |
| Flower | Spring-inspired look | Pastels |
| Circle | Classic polka dots | Black and white |
Give it a try, and you'll love how creative your nail art becomes!
Dotting Tools From Bobby Pins
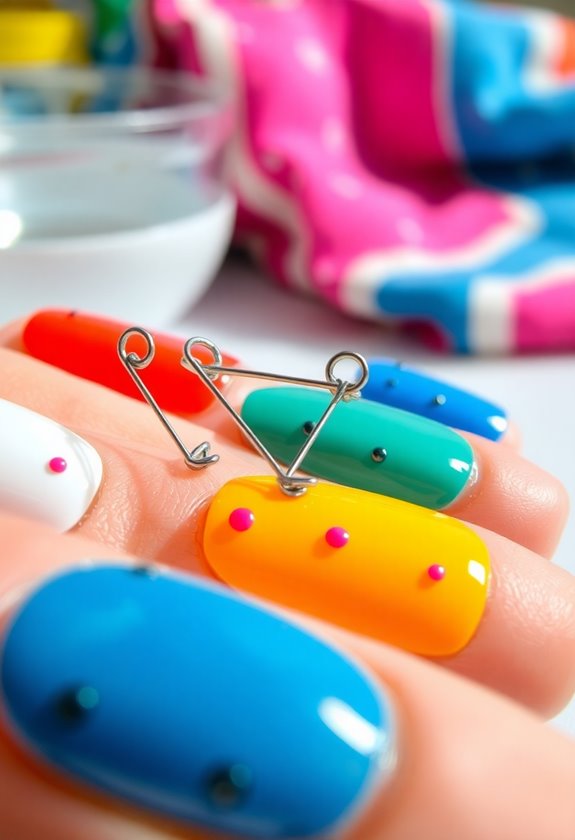
Creating intricate dot designs on your nails can be a breeze with just a simple bobby pin! I love using bobby pin techniques to transform my manicure into a work of art. Here's how I do it:
- Choose your bobby pin: Use the rounded end for larger dots and the pointed end for finer details.
- Select your polish: Pick vibrant colors to create eye-catching designs.
- Dip and dot: Lightly dip the bobby pin into the polish and press it onto your nail for a perfect dot.
- Experiment: Play around with spacing and sizes to achieve unique, creative designs.
With this hack, you'll find dotting is not only easy but also an enjoyable part of your nail art routine!
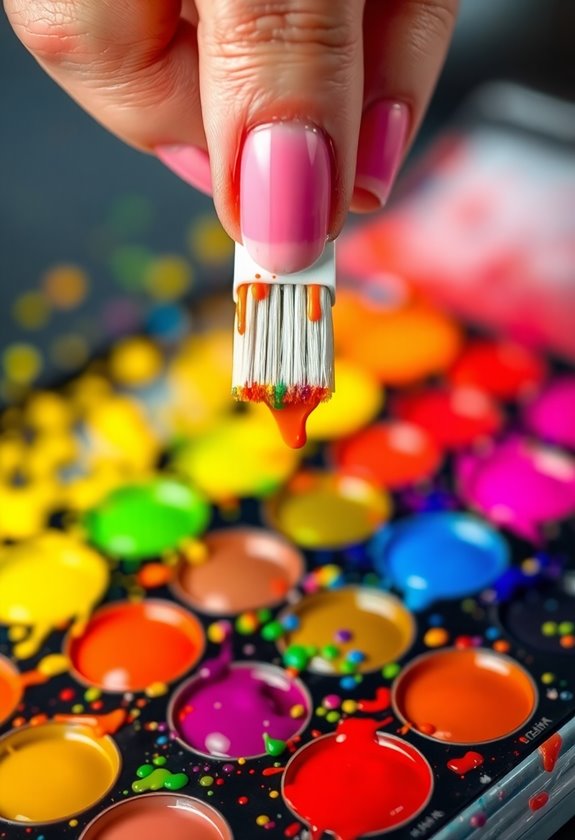
Sponge for Gradient Effects
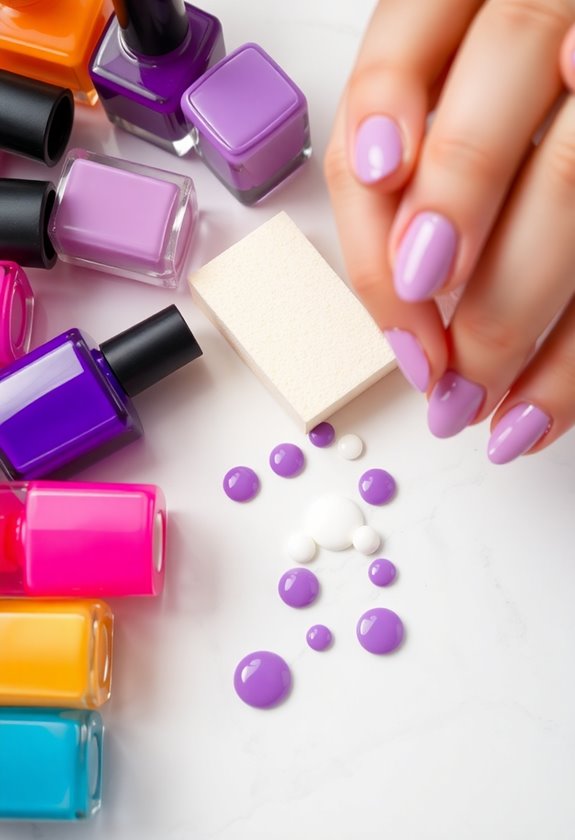
One of my favorite techniques for achieving stunning gradient effects on my nails is using a simple makeup sponge. It's incredible how different sponge types can influence the outcome of your nail art. I usually opt for a dense sponge for a bolder gradient or a softer one for a smoother blend. Here's a quick reference table to help you choose your sponge and technique!
| Sponge Type | Gradient Technique |
|---|---|
| Dense Makeup Sponge | Dabbing for bold colors |
| Soft Cosmetic Sponge | Blending for soft hues |
| Kitchen Sponge | Layering for textured effects |
| Nail Art Sponge | Stippling for intricate designs |
Experimenting with these sponge types and gradient techniques will elevate your nail art game!
Toothbrush for Splatter Art
Using a toothbrush for splatter art has become one of my go-to techniques for adding an edgy and playful touch to my nail designs. I love how easy it is to create unique splatter patterns with just a few simple steps. Here's how I do it:
- Choose your base color and let it dry completely.
- Dip the toothbrush bristles into your desired nail polish.
- Flick the bristles with your finger, allowing the polish to splatter onto your nails.
- Experiment with different colors and angles for a fun effect.
These toothbrush techniques give my nails an artistic vibe that truly stands out. Plus, the cleanup is a breeze! Give it a try, and watch your nail art game elevate.
Use a Straw for Bubbles
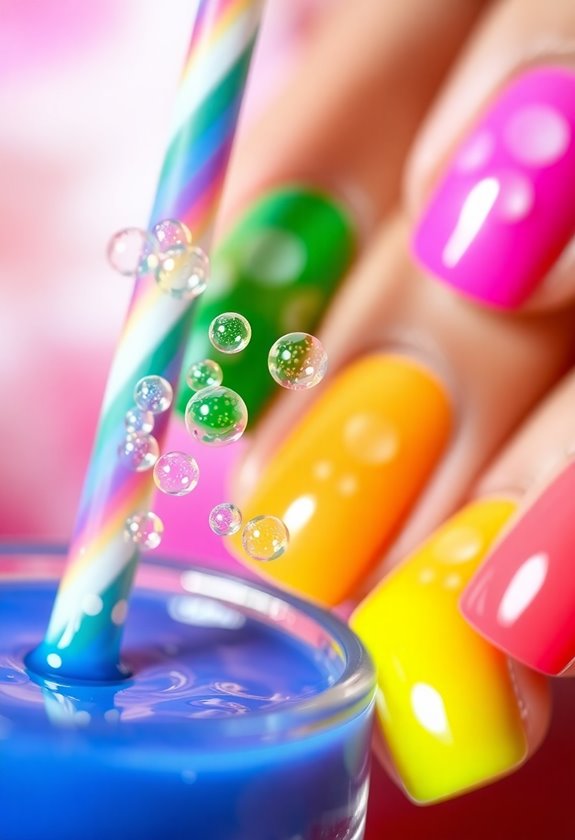
While it might seem unconventional, I've found that a straw can be a fantastic tool for adding bubbly effects to my nail art. By using different straw sizes, I can create a variety of bubble techniques that really elevate my designs. To start, I pick a few nail polish colors and apply a base coat. Once that's dry, I dip a straw into the polish, then blow gently to create bubbles on the nail. Experimenting with smaller straws produces tiny, delicate bubbles, while larger ones yield more pronounced, dramatic effects. It's a fun, easy way to add texture and dimension to my nails, and the best part is, you can achieve stunning results without any special tools. Happy bubbling!
Clean up With Cotton Swabs
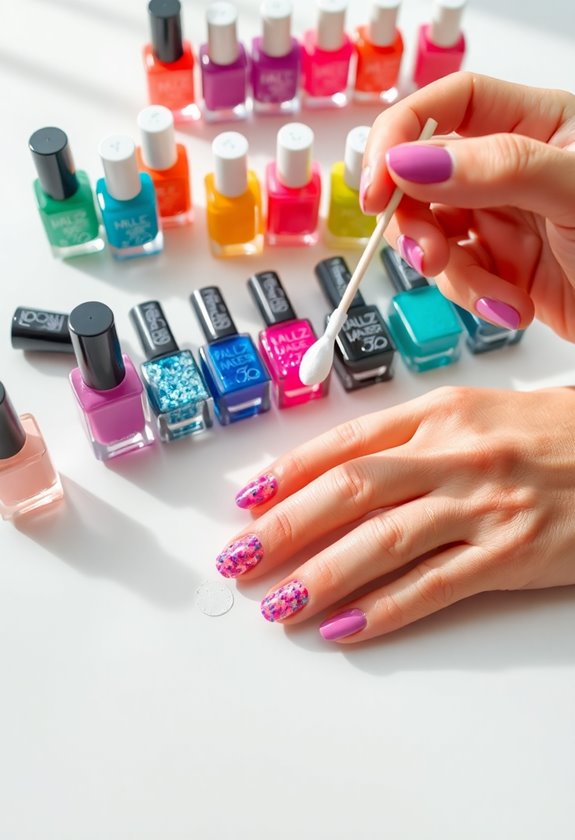
After finishing my nail art, I always make sure to clean up any polish that strayed onto my skin. For me, cotton swabs are a lifesaver when it comes to removing polish without ruining my design. Here are some of my favorite cotton swab techniques:
- Dip the cotton swab in nail polish remover.
- Gently swipe it along the edges of my nails.
- Use a clean swab for any stubborn spots.
- Repeat until the area is polished and clean.
This method not only helps me achieve a crisp look but also prevents any smudging. Plus, it's super easy to do! With just a few swipes, my nails look perfectly manicured and ready to show off.
Nail Art With Plastic Wrap
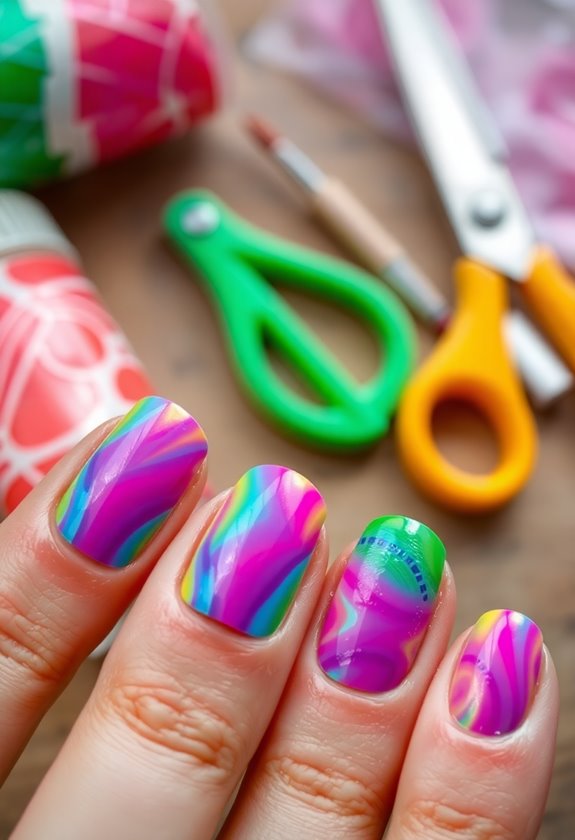
One of my favorite techniques for creating stunning nail art is the plastic wrap method. This simple approach is perfect for achieving beautiful color blending without the need for fancy tools. I start by applying a base coat and letting it dry. Then, I pick two or three nail polish colors that complement each other. After painting the first color on my nails, I use a small piece of plastic wrap to dab on the second color while it's still wet. The wrap creates a unique marbled effect as I gently press and twist it. Once it dries, I finish with a top coat for shine. Trust me, this plastic wrap technique will elevate your nail art game effortlessly!
Glitter From Household Items
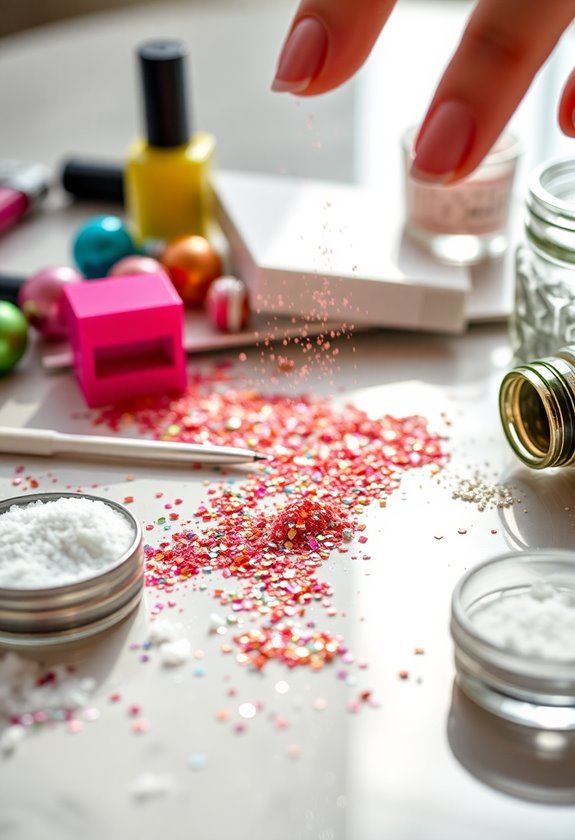
Creating unique nail art doesn't have to be expensive; in fact, you can easily make your own glitter using common household items. I love using homemade glitter for a personal touch, and it's a great way to find eco-friendly alternatives. Here's how I do it:
- Salt or Sugar: Crush them for a coarse sparkle.
- Colorful Paper: Cut up old magazines or wrappers into tiny pieces.
- Coffee Grounds: Use finely ground coffee for a chic, earthy shimmer.
- Eyeshadow: Repurpose old or unused shades for a vibrant finish.
These options not only save money but also keep waste out of landfills. So, next time you want to add a little sparkle, remember these simple hacks!
Frequently Asked Questions
Can I Use Any Type of Tape for Nail Art?
I've found that using decorative tape, masking tape, or painter's tape works best for nail art. Duct tape and foil tape can be too sticky, while washi tape doesn't hold up as well. Choose wisely!
How Do I Remove Nail Polish Without Damaging My Art?
I've found that using nail polish alternatives like rubbing alcohol or vinegar helps me remove polish without damaging my art. Plus, they offer easy cleanup, so my designs stay intact while I refresh my nails.
What Is the Best Way to Store Homemade Nail Art Tools?
Storing my homemade nail art tools feels like crafting a treasure chest. I've found that using clever storage solutions and DIY organizers keeps everything neat, making my creative journey as smooth as a freshly polished nail.
How Long Does Nail Art With Household Items Typically Last?
When I create nail art with household items, I notice that its durability varies. Typically, it lasts a few days to a week, depending on the materials and my nail care routine for household longevity.
Are There Any Safety Precautions for Using Household Items on Nails?
When using household item alternatives for nail art, I always follow safety guidelines. I guarantee items are clean and non-toxic, avoiding anything sharp or irritating. It's essential to prioritize my health while being creative!