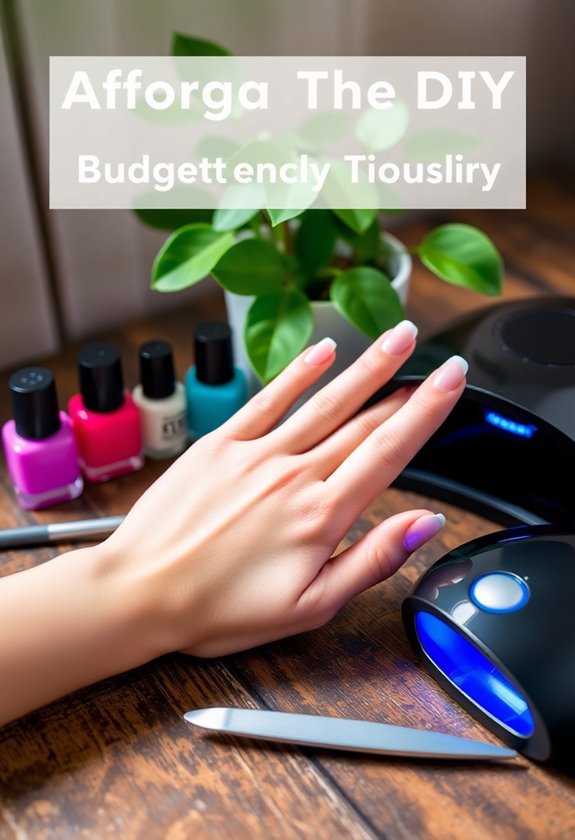
If you're looking to save money on DIY gel nails, I've got three essential tips for you. First, I always invest in high-quality products. They might seem pricier up front, but they last longer and give better results. Second, mastering my application technique makes a huge difference. Thin layers and proper curing prevent bubbling and chipping. Finally, I make sure to maintain my nails with regular care. This keeps them looking fresh and helps avoid costly mistakes. Stick around, and I'll share even more insights to make your gel nail experience more enjoyable and cost-effective!
Key Takeaways
- Buy quality gel nail products in bulk to save on long-term costs and ensure you have enough for multiple applications.
- Look for sales, discounts, or bundle deals on gel nail kits to maximize your savings while acquiring essential tools.
- Opt for DIY nail care instead of frequent salon visits, significantly reducing overall expenses while maintaining beautiful nails.
- Invest in multi-use products, like a versatile topcoat, to enhance the value of your nail care routine.
- Share gel nail supplies with friends or family to split the cost and make high-quality products more affordable.
Choose Quality Products
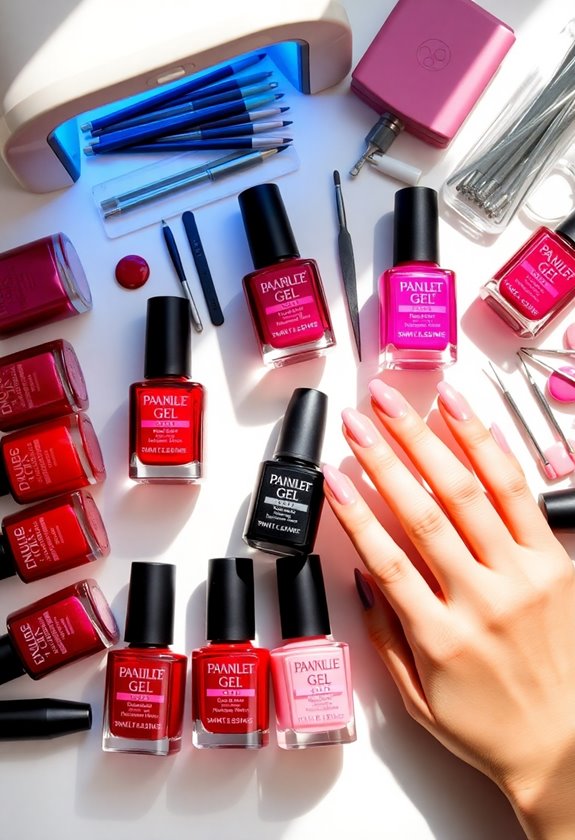
Choosing quality products is essential for achieving stunning DIY gel nails that last. I've learned the hard way that skimping on materials can lead to chips and peeling, so I always opt for brands known for their product durability. It's not just about how they look; the ingredients matter too. I make it a point to check for ingredient safety because I want to avoid harmful chemicals that could damage my nails or skin. Investing in high-quality gels and topcoats guarantees that my nails not only look fabulous but also stay healthy. Remember, the right products can make a huge difference in your DIY gel nail experience, saving you time and hassle in the long run.
Master the Application Technique
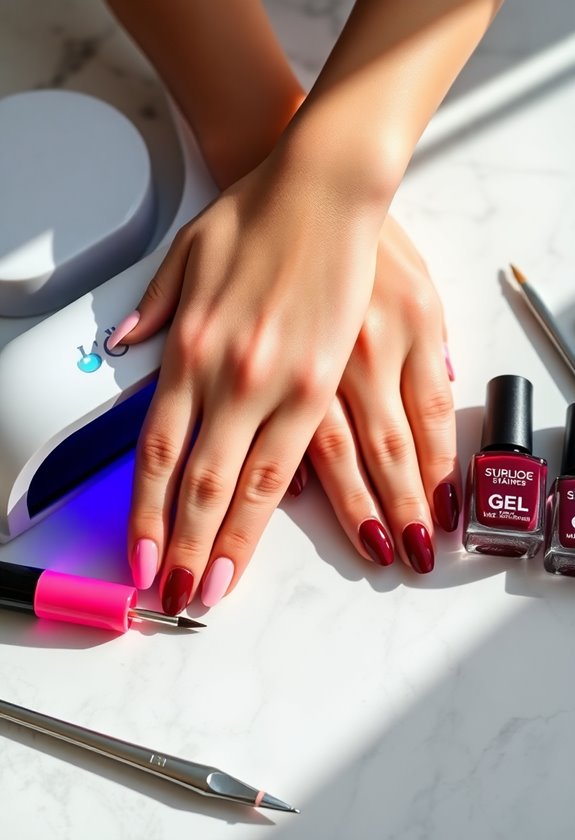
Perfecting the application technique is essential for achieving salon-quality gel nails at home. I always start with proper nail preparation; this means cleaning, filing, and pushing back cuticles to create a smooth canvas. Using the right application tools, like a quality gel brush and a good base coat, makes a huge difference. I apply a thin layer of base coat and cure it under the lamp, ensuring it's not too thick. After that, I carefully apply the gel polish in thin layers, curing each one to avoid bubbling. It's vital to keep a steady hand and avoid touching the skin. With practice, I've found that mastering these steps leads to a flawless, long-lasting finish.
Maintain Your Nails Properly
Maintaining your nails properly is essential for keeping that fresh, salon-finished look for as long as possible. I've learned a few key nail care tips that really help with nail health and longevity.
- Keep 'em clean: Regularly wash your hands and keep your nails free from dirt and grime.
- Moisturize: Apply cuticle oil daily to keep your cuticles hydrated and healthy.
- Avoid harsh chemicals: Limit exposure to cleaning products or wear gloves to protect your nails.
Frequently Asked Questions
How Long Do DIY Gel Nails Typically Last?
They say good things come to those who wait. I've found that with proper care, gel nail longevity can stretch to two weeks or more. Regular maintenance's key to keeping my gel nails looking fresh and fabulous!
Can I Use Regular Nail Polish With Gel Nails?
I've found that using regular nail polish with gel nails isn't ideal due to gel polish compatibility issues. It can also pose nail health concerns, so I'd stick with products specifically designed for gel applications instead.
What Tools Do I Need for DIY Gel Nails?
When I started doing my gel nails at home, I realized I needed essential tools. A gel nail kit typically includes a UV lamp and nail files—these are vital for achieving that perfect salon finish.
Are DIY Gel Nails Safe for Damaged Nails?
I've found that DIY gel nails can be safe for damaged nails if I prioritize nail health and use gentle application techniques. Listening to my nails' needs helps me avoid further damage while enjoying beautiful results.
How Do I Remove DIY Gel Nails Safely?
When I remove my gel nails, I prioritize nail health. I soak them in acetone, gently file the surface, and use a cuticle pusher to lift them off, ensuring I don't damage my natural nails.