I've found mastering gel nails at home not only saves me money, but it also gives me total creative freedom. Instead of spending over $50 for a salon visit, I invested in some essential tools and now enjoy stunning, long-lasting manicures for a fraction of the cost. The convenience of doing my nails when I want is a game changer. Plus, it's a relaxing ritual that makes my self-care routine enjoyable. I can experiment with colors and designs without any financial pressure. If you're curious about starting your own gel nail journey, there's so much more to explore here.
Key Takeaways
- Mastering gel nails at home saves over $50 per salon visit, leading to significant cost savings over time.
- DIY gel nail techniques allow for stunning manicures at a fraction of the cost of professional services.
- Initial investment in essential tools pays off, providing long-term budget-friendly nail care solutions.
- Home application offers the convenience of personalized designs and colors without financial constraints.
- Practicing gel nails at home transforms nail care into a relaxing and enjoyable self-care ritual.
Benefits of Home Gel Nails
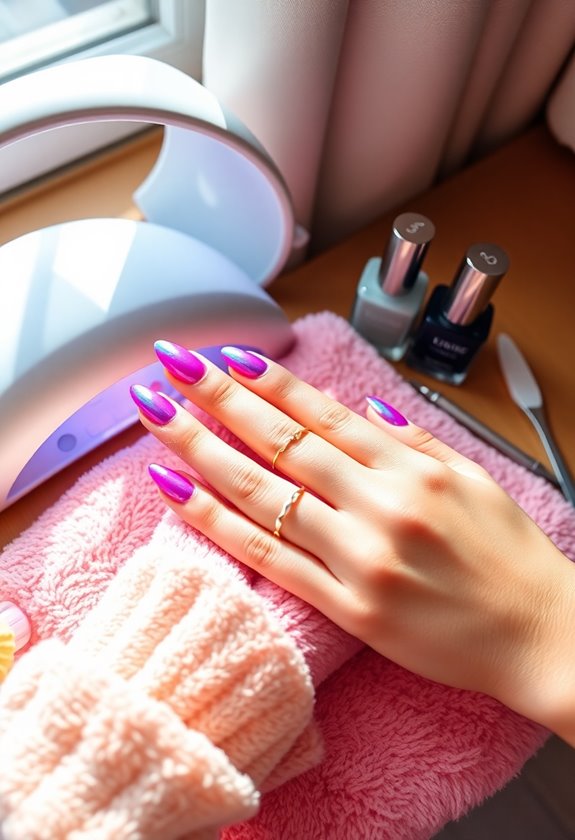
When you think about the benefits of home gel nails, convenience stands out as a major perk. I love being able to do my nails whenever I want, without scheduling appointments or waiting for a technician. The gel nail advantages are impressive; they last longer and resist chips better than traditional polish. Plus, I can customize my colors and designs to match my mood or outfit, turning my home into a mini salon. The home manicure benefits go beyond just the nails; it's a relaxing ritual for me. I can unwind, put on some music, and focus on something creative. Overall, mastering gel nails at home has transformed my nail care routine into an enjoyable experience that fits my lifestyle perfectly.
Cost Savings Explained
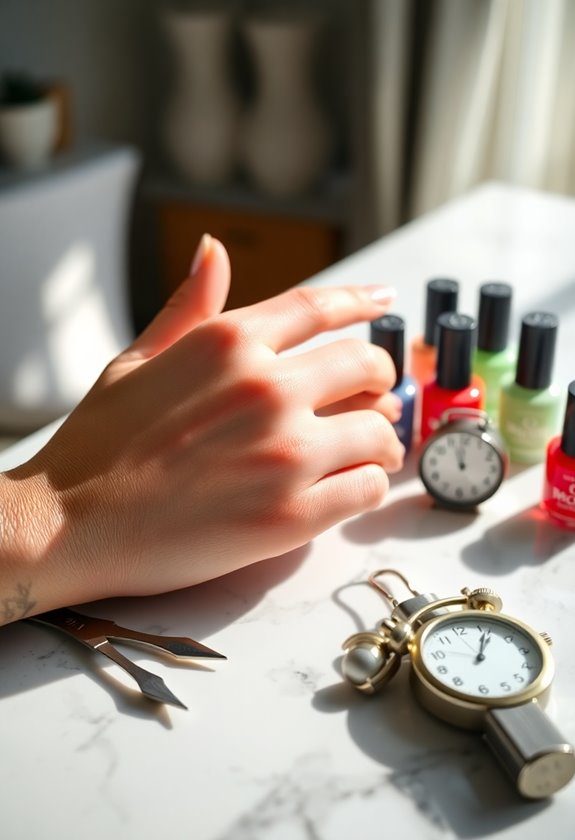
One of the most appealing aspects of mastering gel nails at home is the significant cost savings it offers. Regular salon visits can quickly add up, often costing upwards of $50 per session. By learning DIY gel techniques, I've been able to create stunning manicures for a fraction of that price. Investing in a few essential products may seem pricey at first, but they pay off over time. I've found that budget-friendly solutions like purchasing gel kits and practicing at home can save me hundreds annually. Plus, I enjoy the freedom to experiment with different designs whenever I want, without worrying about the cost. Ultimately, mastering gel nails at home is not just a creative outlet; it's a smart financial choice too.
Essential Tools to Start

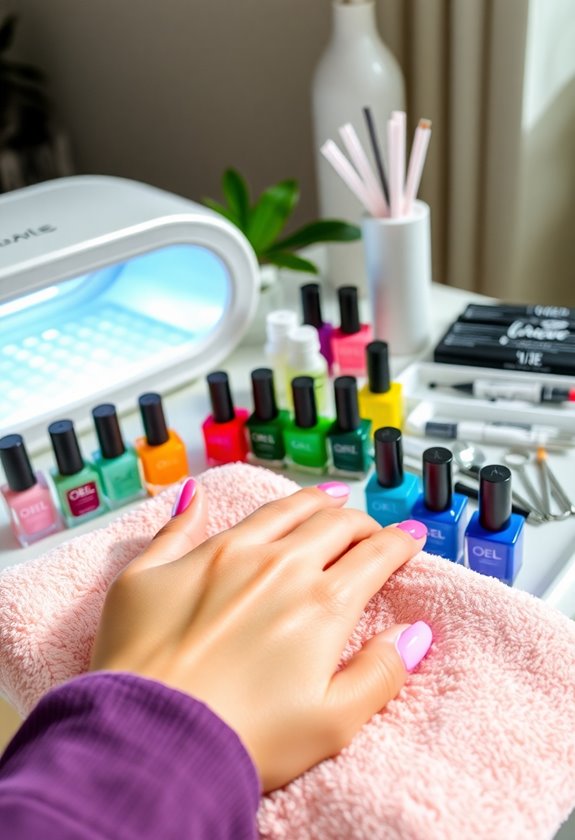
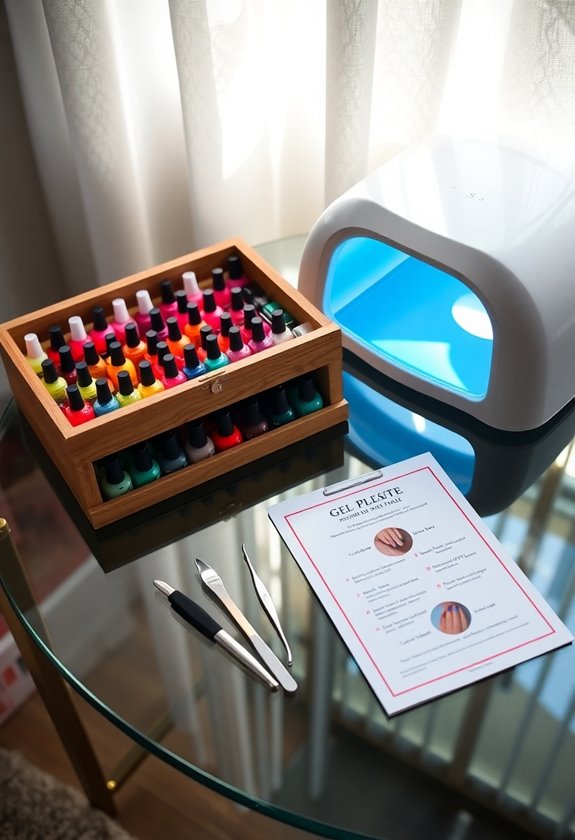
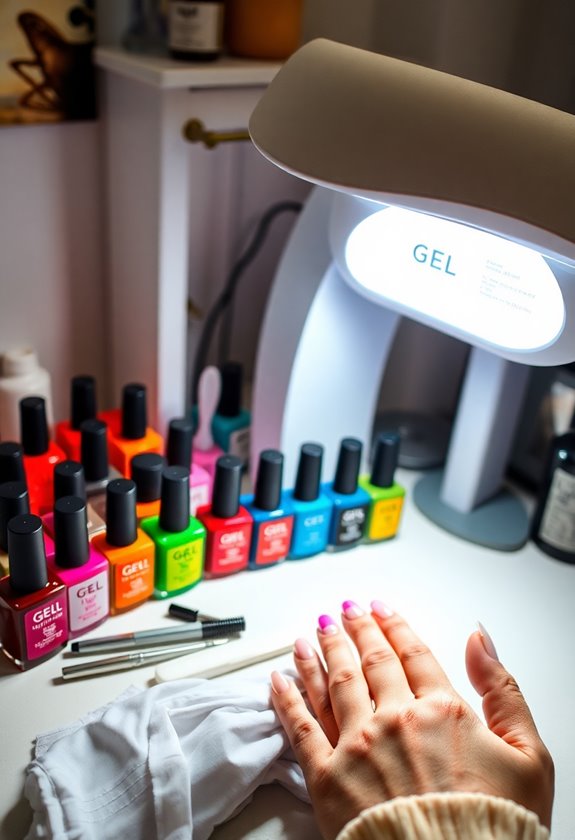
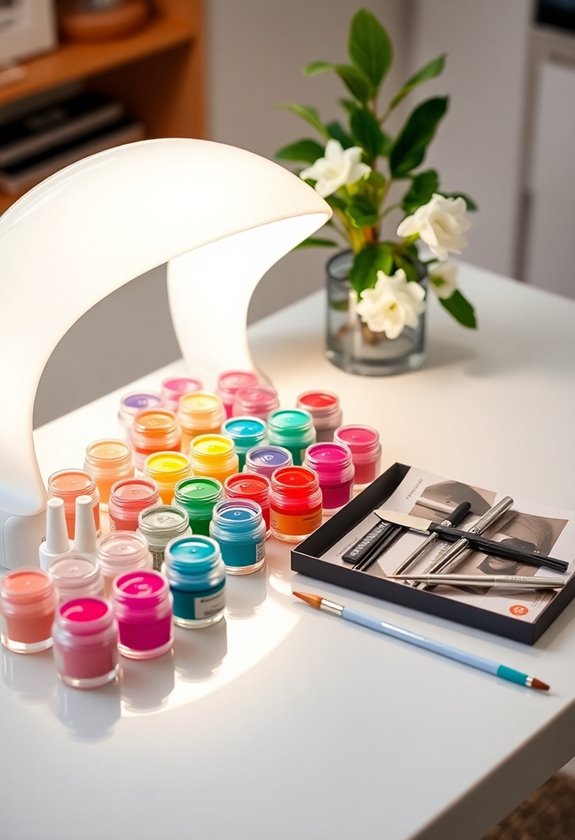
Starting your journey into gel nails at home requires a few essential tools that make the process smooth and enjoyable. Trust me, having the right supplies can make all the difference. Here are some must-have supplies you should gather before diving in:
- UV/LED lamp: This is vital for curing your gel nails effectively.
- Gel polish: Choose quality brands with a variety of colors.
- Nail prep products: Don't skip on dehydrators and primers to guarantee adhesion.
- Nail file and buffer: These will help shape and smooth your nails perfectly.
With these essential tools, you're set to create stunning gel nails right at home. Investing in these supplies will not only enhance your skills but also elevate your nail game!
Step-by-Step Application Process
Before diving into the application process, it's important to guarantee your nails are clean and prepped for the best results. Start by removing any old polish and gently buffing your nails to create a smooth surface. Next, wash your hands and apply a nail dehydrator to eliminate moisture. This is an essential step in ensuring the gel adheres properly.
Now, let's get to the gel application techniques. Begin with a base coat, applying it thinly and evenly, then cure it under the lamp. Follow this with two coats of your chosen color, curing each layer. Finish with a top coat for shine and durability. Remember, proper nail preparation steps and techniques will set the foundation for stunning gel nails!
Tips for Perfecting Your Technique
Achieving flawless gel nails requires a few key techniques that can elevate your application game. I've found that consistent practice methods and focusing on technique improvement can make all the difference. Here are some tips I swear by:
- Start with a clean base: Verify your nails are free of oils and dirt.
- Use thin layers: Apply gel in thin coats to prevent bubbling and verify even curing.
- Cure properly: Follow the manufacturer's instructions for curing time to avoid sticky residue.
- Practice regularly: The more you practice, the more confident and skilled you'll become.
Creative Design Ideas

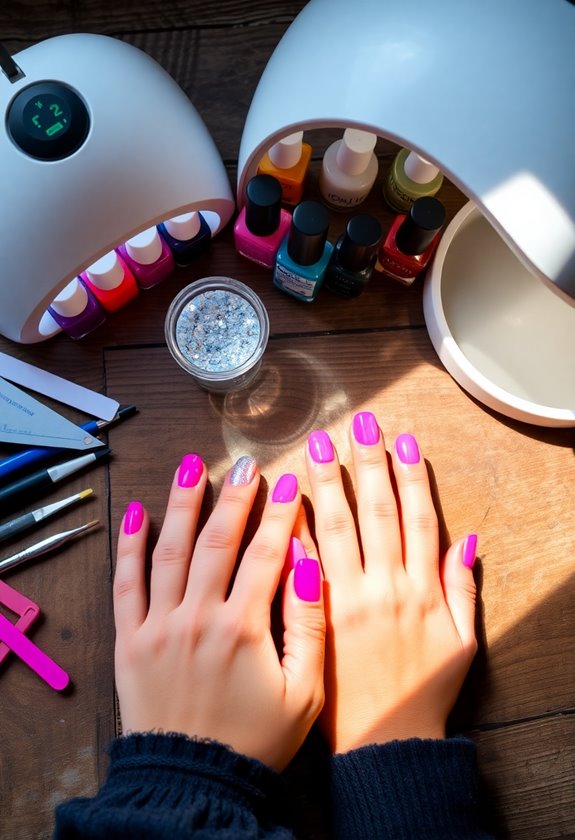
When it comes to gel nails, the possibilities for creative designs are endless, and I love experimenting with different styles. I often play with various color combinations, mixing bold hues with soft pastels for a stunning contrast. Seasonal themes inspire me too; think warm tones for autumn or icy shades for winter. I explore different design techniques like ombre, marble, or negative space, which always catch my eye. Nail shapes can also change the vibe of my nail art, from classic squares to trendy stiletto. Plus, embellishment options like gems or stickers add that extra flair. Whenever I need artistic inspiration, I browse social media for fresh pattern ideas that ignite my creativity and keep my nail game strong!
Maintenance and Longevity Tips
Maintaining beautiful gel nails requires a bit of effort, but it's well worth it for their longevity. I've found that consistent nail care and careful product selection can make a huge difference. Here are some tips I swear by:
- Keep nails clean: Regularly wash and dry your hands to prevent dirt buildup.
- Moisturize: Apply cuticle oil daily to keep your cuticles healthy and nails hydrated.
- Avoid harsh chemicals: Use gentle soaps and cleaners that won't strip your gel polish.
- Limit exposure to water: Try to minimize soaking your hands to prevent lifting.
Common Mistakes to Avoid

Often, beginners make a few common mistakes that can sabotage their gel nail experience. One major issue is insufficient nail preparation. Skipping this essential step can lead to peeling or lifting. Make certain to clean, buff, and dehydrate your nails properly before applying any gel. Another pitfall is not following the correct curing techniques. Over or under-curing your gel can cause it to chip or not set properly. Always check your lamp's wattage and follow the manufacturer's instructions for curing times. Finally, don't rush the application process. Taking your time guarantees an even coat and better results. By avoiding these mistakes, you'll enjoy a smoother and more satisfying gel nail experience at home!
Health and Safety Considerations
It's essential to prioritize health and safety while mastering gel nails at home. I've learned that neglecting this can lead to serious issues. Here are some key considerations to keep in mind:
- Nail Hygiene: Always clean your nails before starting to prevent infections.
- Product Safety: Use high-quality products that are free from harmful chemicals.
- Ventilation: Make sure your workspace is well-ventilated to avoid inhaling fumes from nail products.
- Skin Protection: Apply a barrier cream to protect your skin from potential irritants.
Resources for Learning More
I frequently find that diving into various resources can greatly enhance my skills in mastering gel nails at home. One of my favorite ways to learn is through online tutorials. There's a wealth of videos available that break down techniques step-by-step, making it easy for me to follow along and practice. I also love attending local workshops. These hands-on experiences allow me to connect with professionals and fellow enthusiasts, providing invaluable tips and feedback. Plus, it's a great way to stay updated on the latest trends and products in gel nails. By combining online tutorials with local workshops, I've been able to refine my techniques and boost my confidence in creating stunning gel nails right at home.
Frequently Asked Questions
Can I Use Regular Nail Polish With Gel Nail Techniques?
I often wonder about gel polish compatibility. While I've tried mixing regular nail polish with gel techniques, I find that the application doesn't last as long. Stick with gel products for the best results!
How Long Does It Take to Master Home Gel Nails?
It's like learning an art; mastering home gel nails takes practice. I found that perfecting application techniques and understanding the curing process took me a few weeks. Patience and persistence truly pay off in the end!
Are There Specific Brands of Gel Products You Recommend?
I've found that reading gel product reviews helps me choose the best brands. For budget-friendly options, I recommend checking out brands like Modelones and Beatles; they offer great quality without breaking the bank.
Can I Remove Gel Nails at Home Safely?
"Better safe than sorry," I always say. I've found that using gentle gel removal techniques, like soaking in acetone and following safe practices, helps me remove gel nails at home without damaging my natural nails.
What Are Signs of an Allergic Reaction to Gel Products?
When using gel products, I've noticed allergic reaction symptoms like redness, itching, or swelling around my nails. It is crucial to check gel product ingredients for potential allergens to avoid any adverse reactions in the future.