I've found that creating beautiful gel nails at home doesn't have to be expensive! Start with a good LED nail lamp and affordable gel polishes from brands like Sally Hansen or Modelones. Before applying, make certain to prep your nails well by cleaning, shaping, and taking care of your cuticles. I recommend applying thin layers of polish and curing them properly under the lamp to guarantee a long-lasting finish. Using a solid base coat and a top coat can also enhance your results. Want to learn more tips for fabulous gel nails on a budget? There's plenty to explore!
Key Takeaways
- Choose budget-friendly gel polish brands like Sally Hansen or Modelones for quality and affordability.
- Invest in essential tools like an LED nail lamp for efficient curing and salon-quality results.
- Prepare nails properly by ensuring cleanliness, shaping, and cuticle care for optimal gel application.
- Apply gel polish in thin layers and cure each layer for a long-lasting finish without chipping.
- Utilize online resources and reviews to find cost-effective products and techniques for DIY gel nails.
Essential Tools for DIY Gel Nails
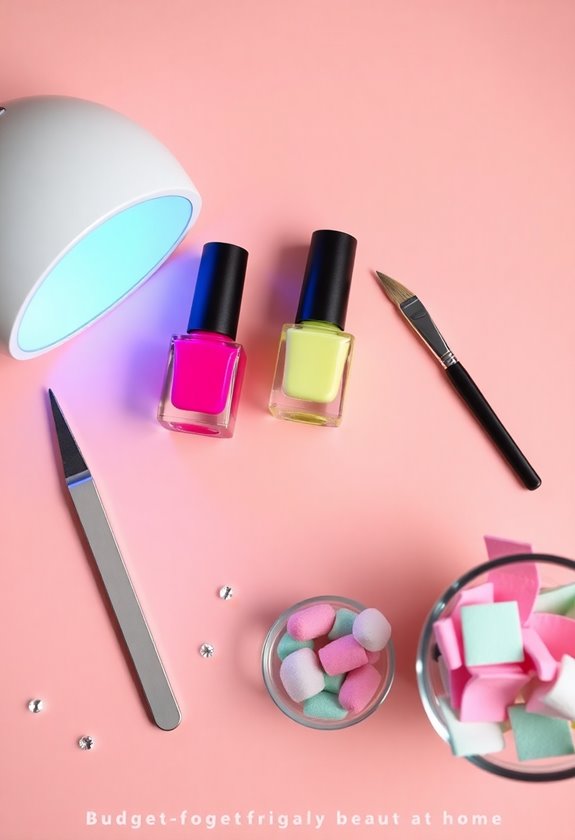
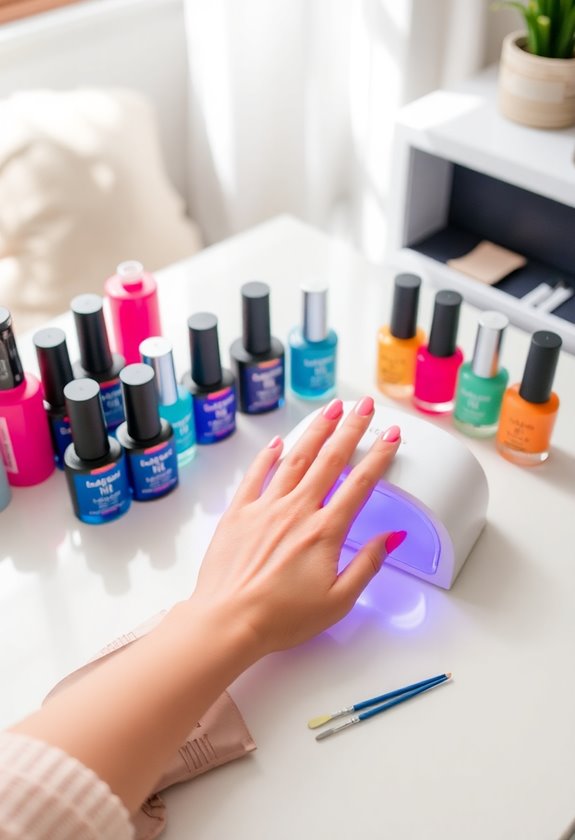
When diving into the world of DIY gel nails, having the right tools is essential for achieving salon-quality results at home. I quickly learned that investing in a good nail lamp is vital. There are various nail lamp options available, but I prefer LED lamps for their speed and efficiency. They cure gel polish much faster than traditional UV lamps, which saves me time.
Next, I explored gel polish brands to find the best quality. I've had great luck with brands like Gelish and OPI; their formulas provide a smooth application and long-lasting wear. Having the right tools, including a reliable nail lamp and quality gel polish, has transformed my DIY nail experience, making it enjoyable and satisfying.
Choosing Affordable Gel Products
Affordability can be a game-changer in your DIY gel nail journey, allowing you to experiment without breaking the bank. I've discovered some fantastic budget friendly brands that don't compromise on quality. When shopping for gel products, I always check gel product reviews to guarantee I'm making wise choices. Brands like Sally Hansen and Modelones offer great options that fit my budget while providing impressive results. I also love browsing online forums; they're treasure troves of honest opinions about different products. Remember, you don't need to splurge to achieve salon-quality nails at home. By choosing the right affordable gel products, you can create stunning manicures while keeping your wallet happy. Get ready to release your creativity without the hefty price tag!
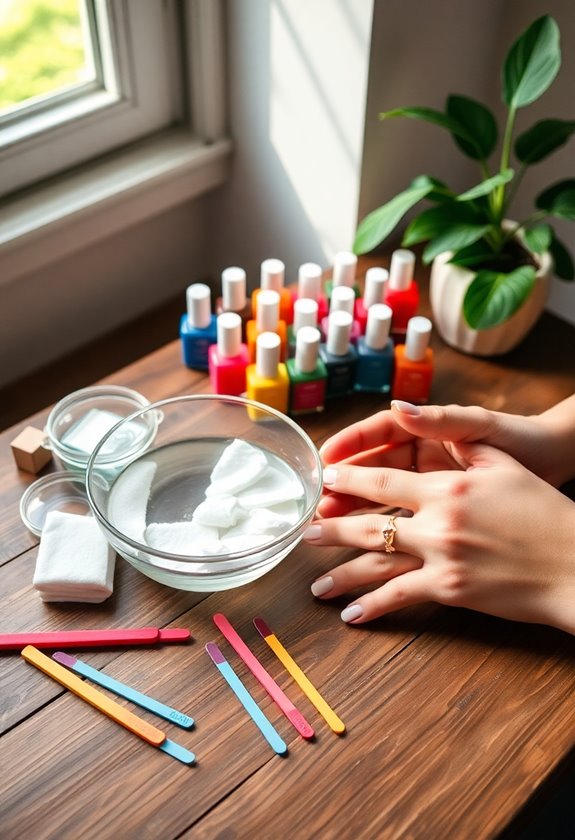
Preparing Your Nails Properly
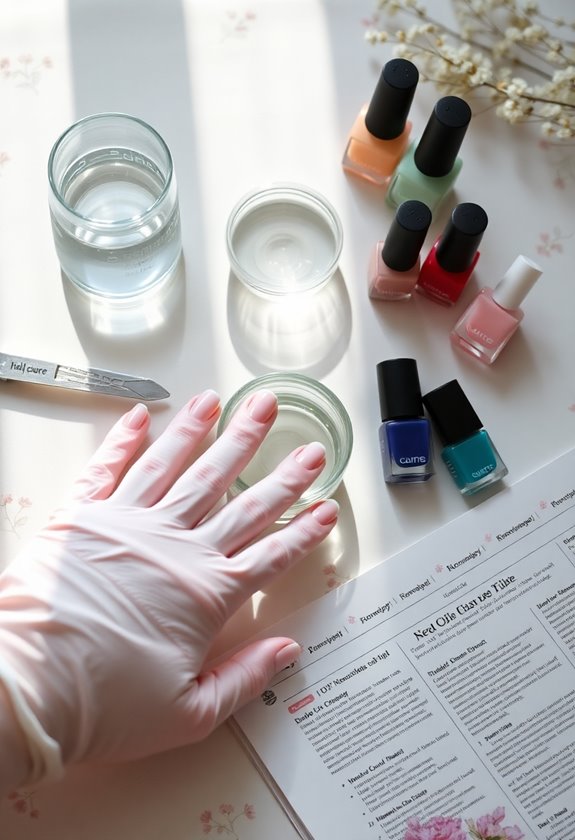
Before diving into your DIY gel nail adventure, proper nail preparation is essential for achieving a flawless finish. I always start by ensuring my nails are clean and healthy, focusing on nail hygiene. Here are a few steps I follow:
- Remove old polish: Use a gentle remover to eliminate any remnants of previous applications.
- Shape your nails: File your nails into your desired nail shape, whether it's square, oval, or stiletto.
- Push back cuticles: Use a cuticle pusher to gently push back your cuticles, giving your nails a neat appearance.
Step-by-Step Gel Application
With your nails prepped and ready, it's time to move on to the gel application process. First, I grab my gel polish and check the gel consistency—smooth but not too runny. I start with a thin layer, applying it from cuticle to tip using gentle strokes. I make sure to avoid the skin to prevent lifting. Once I'm satisfied with the first coat, I cure it under the UV lamp for about 30 seconds. After that, I repeat the process with a second coat, using application techniques like feathering the edges for a clean finish. Finally, I apply a topcoat, curing it again, and voilà! Gorgeous gel nails without breaking the bank.
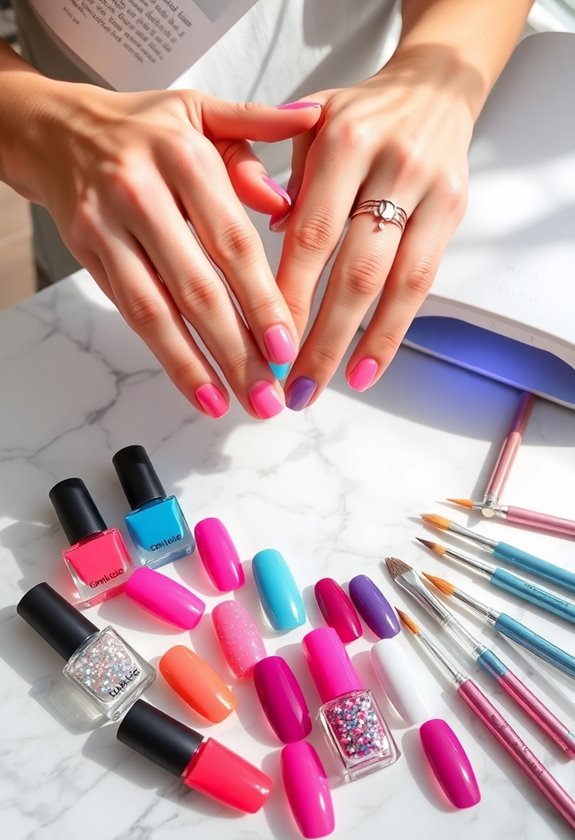
Creative Nail Art Techniques
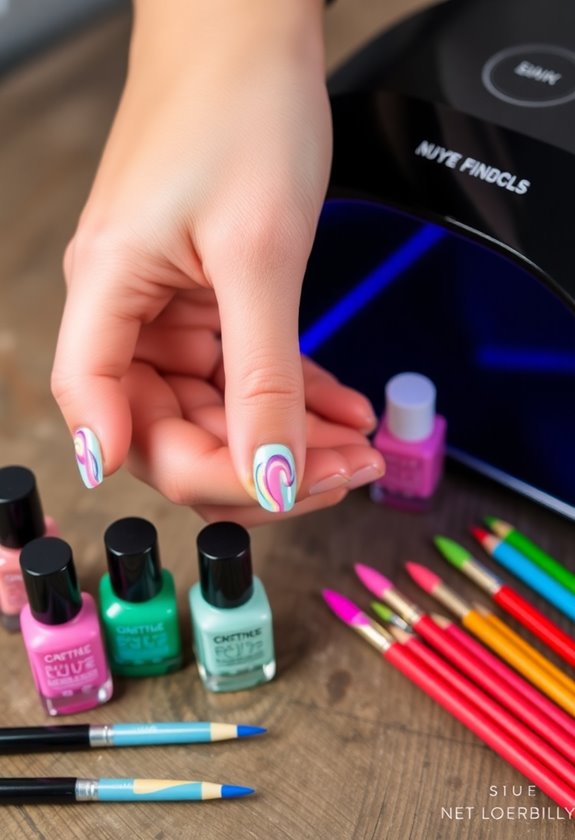
Nail art techniques can truly transform your gel manicure into a stunning masterpiece. I love experimenting with different styles to make my nails stand out. Here are a few creative techniques I often use:
- Ombre designs for a seamless color gradient.
- Geometric patterns that add a modern twist.
- Floral accents to bring a touch of nature.
Incorporating negative space gives a minimalist feel, while metallic finishes can add a glamorous effect. I also enjoy playing with textured effects to give my nails depth. Seasonal themes keep my nail art fresh and exciting, allowing me to switch it up throughout the year. Whatever your style, there's a technique waiting for you to explore!
Tips for Long-Lasting Wear
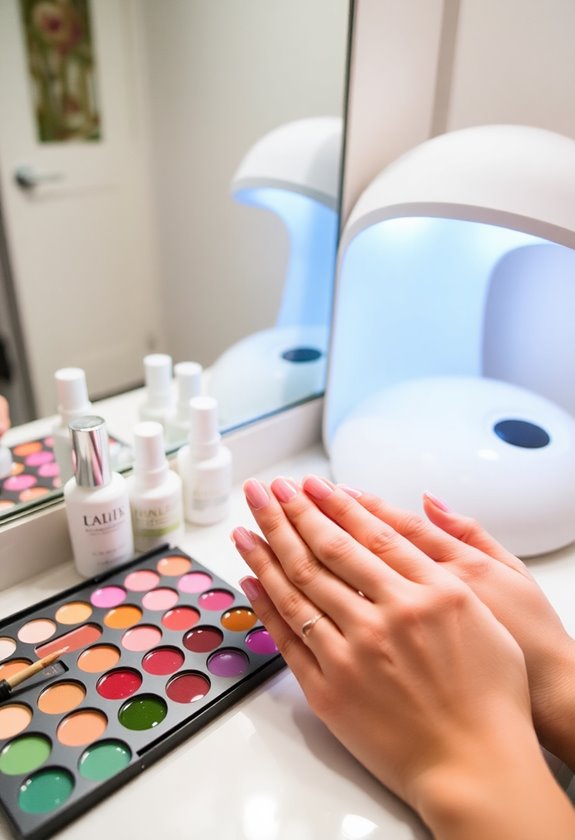
After you've crafted your stunning nail art, ensuring it lasts is key to maintaining that fresh look. To boost your nail polish longevity, start with a solid base coat; this not only helps the polish adhere better but also prevents staining. When applying color, make sure to use thin layers—thicker applications can lead to chipping. Don't forget to seal everything with a top coat for that added protection.
One major factor to take into account is the UV light impact. If you're using a UV lamp, make sure you're curing each layer properly. Overexposure can weaken the polish, while underexposure might leave it tacky. With these tips, I'm confident your gel nails will stay beautiful for weeks!
Troubleshooting Common Issues

When you plunge into DIY gel nails, it's not uncommon to encounter a few hiccups along the way. I've faced some annoying issues myself, but with a little troubleshooting, you can tackle them effectively. Here are a few common problems and solutions:
- Bubbling gel: This usually happens due to air trapped during application. Make certain to apply thin layers and avoid over-brushing.
- Uneven application: Use a steady hand and take your time. Don't rush; it makes a huge difference in the final look.
- Curing problems: Check your lamp's wattage and make sure it's functioning properly to avoid nail lifting or color fading.
If you notice a sticky finish or chipping issues, consider refining your technique. Always be cautious of potential allergic reactions, too!
Safe Removal of Gel Nails
Removing gel nails safely is just as important as applying them correctly. I've learned that proper gel nail removal can save my natural nails from damage. First, I gently file the top layer of the gel to break the seal. Then, I soak cotton balls in acetone, placing them on my nails and wrapping them with foil. But if you're looking for acetone alternatives, I've found that a mixture of warm water and vinegar can work, though it takes a bit longer. After about 15-20 minutes, I gently push off the gel with a wooden stick. Remember, patience is key! Always hydrate your nails afterward to keep them healthy and strong. Safe removal guarantees my nails stay beautiful and damage-free.
Maintaining Nail Health on a Budget

Maintaining nail health on a budget can be both simple and effective. I've found that with a few key practices, I can boost my nail strength without breaking the bank. Here's what I do:
- Stay Hydrated: Drinking plenty of water keeps my nails and cuticles moisturized.
- Use Natural Oils: I apply affordable oils like olive or coconut oil to nourish my nails and prevent brittleness.
- Limit Chemicals: I opt for gentle, budget care products that don't contain harsh chemicals, ensuring my nails stay healthy.
Frequently Asked Questions
Can I Use Regular Nail Polish With Gel Techniques?
Isn't it funny how we sometimes mix things up? I've tried regular nail polish with gel application techniques, but the gel polish comparison shows they just don't bond the same. Stick to gel for best results!
How Often Should I Do Gel Nails at Home?
I usually do gel nails every two to three weeks. For proper gel nail maintenance, I make sure to follow the right removal process to keep my nails healthy and avoid damage between applications.
Are There Alternatives to a UV Lamp?
Finding alternatives to a UV lamp is like discovering hidden treasures. I've used LED alternatives and even sunlight curing. Both options work well, giving me that satisfying finish without needing traditional UV light.
Can Gel Nails Damage Natural Nails?
I've found that gel nails can potentially damage natural nails if not applied or removed properly. It's crucial to prioritize gel nail safety and maintain nail health by using quality products and following best practices.
Is It Safe to Do Gel Nails During Pregnancy?
Did you know that about 50% of pregnant women avoid nail chemicals? I always prioritize gel nail safety during pregnancy. It's essential to follow pregnancy precautions, like ensuring proper ventilation and using non-toxic products whenever possible.