When I'm looking for affordable gel nail supplies at home, I always start with vibrant gel nail polish options for variety. A reliable UV/LED nail lamp, ideally between 36 to 48 watts, is essential for quick curing. Don't skip on nail prep; clean and moisturize before applying a thin base coat for best adhesion. A good top coat sealer really enhances the final look and longevity of my manicure. Finally, I love adding nail art accessories, like dotting tools and stickers, to get creative. Stick around, and I'll share some specific recommendations that've worked wonders for me!
Key Takeaways
- A reliable UV/LED nail lamp between 36 to 48 watts ensures quick curing and enhances home manicure results.
- Quality gel nail polish in a variety of colors allows for seasonal matching and unique nail art creations.
- A thorough nail prep kit, including tools for cleaning and cuticle care, enhances polish adhesion and longevity.
- An affordable top coat adds a glossy finish and durability, ensuring a professional look in your manicure.
- Nail art accessories like dotting tools, striping brushes, and stickers enable creative designs without breaking the bank.
Gel Nail Polish Options
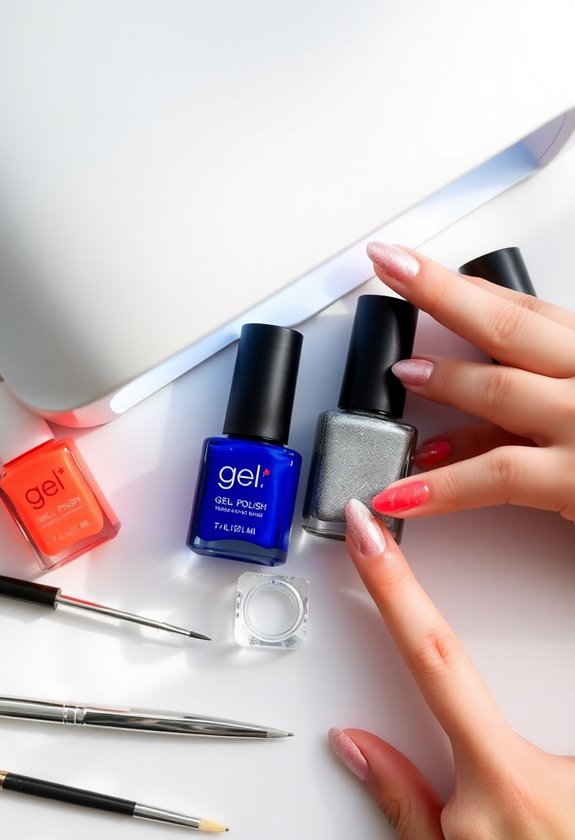
When it comes to choosing gel nail polish options, variety is key to achieving the perfect look. I love exploring different color selections to match my mood or the season. From bold reds to soft pastels, each shade can transform my nails into a statement piece. I've found that experimenting with various application techniques really elevates the final result. For instance, using a thin layer at first helps avoid bubbling, and I always make sure to cap the tips for a longer-lasting finish. Plus, layering colors can create stunning nail art that stands out. Trust me, with the right gel nail polish options and techniques, you can achieve a salon-quality manicure right at home!
UV/LED Nail Lamp
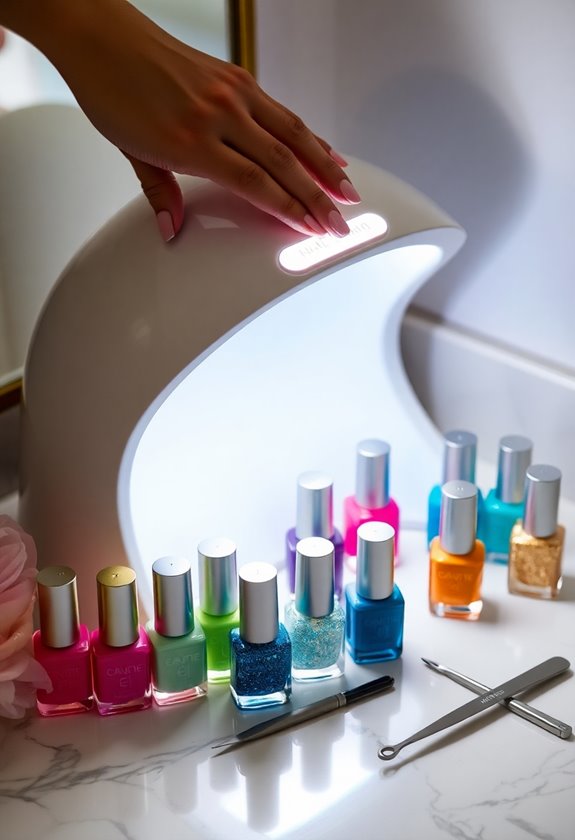
Finding the right gel nail polish is just the beginning; having a reliable UV/LED nail lamp is what truly brings your manicure to life. I've found that the gel lamp features really make a difference in achieving that salon-quality finish at home. Look for a lamp with a good wattage, ideally between 36 to 48 watts, to guarantee your polish cures quickly and evenly. A higher wattage means less time under the lamp, which is a huge plus when I'm in a hurry. I also appreciate lamps with timers and auto-sensors, as they take the guesswork out of curing times. Investing in a quality UV/LED lamp has been a game-changer for my gel nail routine!
Nail Prep and Base Coat
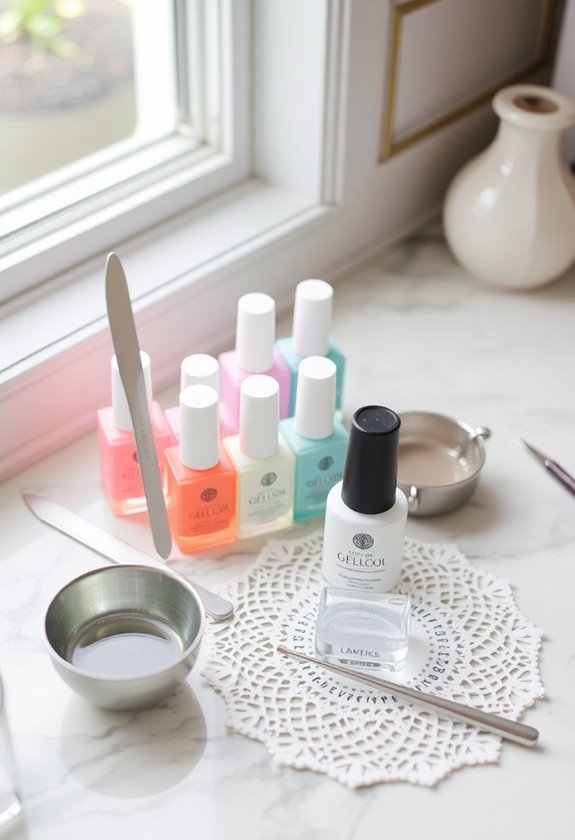
Nail prep and a quality base coat are vital steps that can make or break your gel manicure. I always start with thorough nail cleaning to remove any oils or residues. This guarantees the base coat adheres properly, giving my manicure longevity. Next, I focus on cuticle care. Gently pushing back my cuticles and applying a cuticle oil keeps my nails looking neat and polished. After prepping, I apply a thin layer of base coat, making sure to cover the entire nail and seal the edges. It's important not to apply it too thick; otherwise, it can wrinkle during curing. Taking these steps not only enhances the appearance of my gel nails but also helps them last longer. You won't regret the effort!
Top Coat Sealer
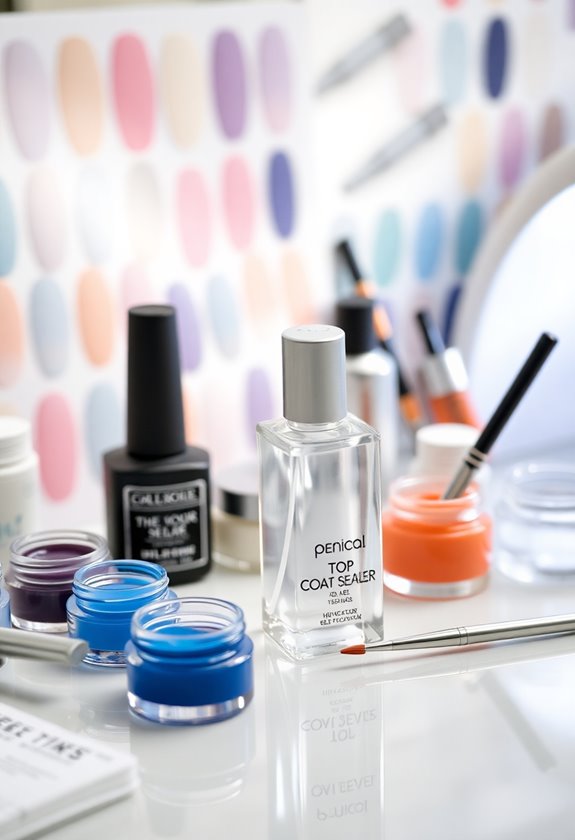
After guaranteeing a solid foundation with nail prep and a base coat, the next step is applying the top coat sealer. I can't emphasize enough the top coat benefits—it not only adds a glossy finish but also enhances durability, protecting my nails from chips and scratches. When I apply the top coat, I use smooth, even strokes, starting from the cuticle and moving towards the tip. This technique guarantees full coverage and minimizes bubbles. I also like to cap the free edge, which locks in the polish and prevents lifting. Remember to cure it under the UV lamp as directed. This final step truly elevates my gel manicure, giving it that professional look and feel.
Nail Art Accessories
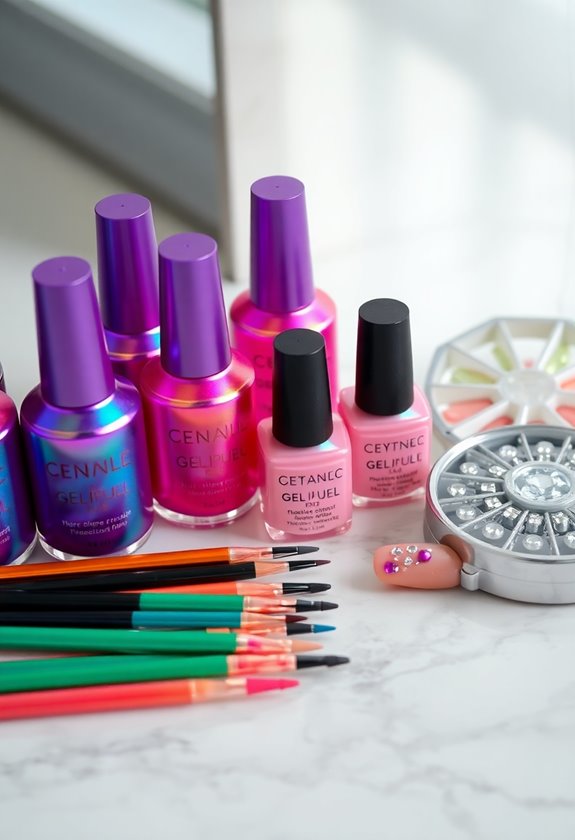
I often find that adding nail art accessories can truly transform a basic manicure into a stunning work of art. With the right nail art tools, I can release my creativity and explore various design techniques. From dotting tools to striping brushes, these accessories make it easy to create intricate patterns and eye-catching details.
I love using nail stickers and decals for quick designs that always impress, while nail foils add a chic touch. Glitter and rhinestones can elevate any look, making it festive and fun. The best part? Many of these accessories are affordable, allowing me to experiment without breaking the bank. So, don't hesitate to stock up on nail art supplies and let your imagination run wild!
Frequently Asked Questions
How Long Do Gel Nails Typically Last Before Needing a Refill?
Did you know that gel nails can last up to three weeks? I've noticed that refill frequency varies, but with proper care, I usually enjoy gel nail longevity for about two to three weeks before needing a refill.
Can Gel Nail Supplies Be Used for Regular Polish Application?
I've found that gel nail supplies can be used for regular polish application, but the gel polish compatibility varies. I recommend adjusting your application techniques for the best results, ensuring a smooth finish and lasting wear.
Are Gel Nail Supplies Safe for Sensitive Skin?
I've found that gel nail supplies can be safe for sensitive skin, but I always take precautions. Look for hypoallergenic options to minimize irritation and guarantee a pleasant experience while pampering yourself.
What Is the Best Way to Remove Gel Nails at Home?
When I need gel nail removal, I rely on at-home techniques. I soak cotton balls in acetone, place them on my nails, wrap with foil, and wait. It's effective and easy for me!
How Often Should I Clean My Uv/Led Nail Lamp?
I've found that cleaning my UV/LED nail lamp after every use keeps it in prime condition. Regular lamp maintenance enhances performance, so I recommend wiping it down frequently to guarantee peak results and hygiene.