I'm excited to share my top 10 budget-friendly DIY nail art designs that are both stylish and easy to create. First up, there's the playful Polka Dot design, where I use a dotting tool and vibrant colors. Then, I love the Ombre Gradient effect, which gives my nails a trendy flair. Striped Nail Art offers endless creativity, while Floral Accents bring a fresh look. For a modern vibe, I enjoy Geometric Patterns that use tape for precision. Each design is simple to achieve without breaking the bank. Stick around, and you'll discover the rest of my favorite nail art ideas!
Key Takeaways
- Polka Dot Nail Art is simple and playful, requiring only a base coat, contrasting polish, and a dotting tool or bobby pin.
- The Ombre Gradient Technique creates a trendy look by blending two or more colors with a makeup sponge for easy application.
- Striped Nail Art allows for creativity with just a few nail polishes, using striping tape or a fine brush for various stripe patterns.
- Floral Nail Accents can be achieved with a dotting tool and thin brush, offering vibrant designs without needing pricey tools.
- Geometric Patterns require only tape and a steady hand to create modern, customizable designs that can match any outfit.
Polka Dot Delight
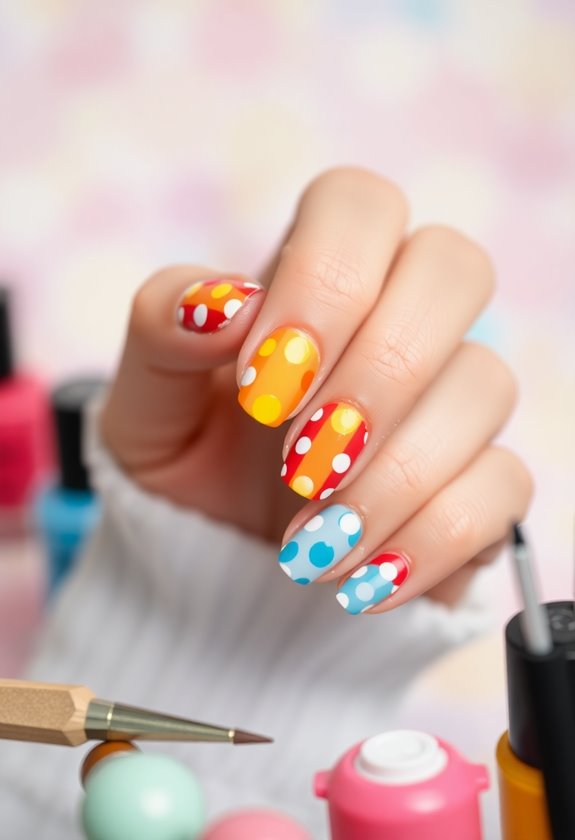
If you've ever wanted to add a playful touch to your nails, polka dots are the way to go. They're super easy to create, and you don't need to be a professional to pull it off. Start with a base coat in your favorite color; I love using pastels for a soft look. Once that dries, grab a dotting tool or even a bobby pin! Dip it into a contrasting polish and gently press it onto your nails. You can mix sizes for an even more fun effect. I often alternate colors between my nails for a quirky vibe. Finish with a top coat to seal everything in, and you'll have cute, eye-catching nails that are perfect for any occasion!
Ombre Gradient Effect
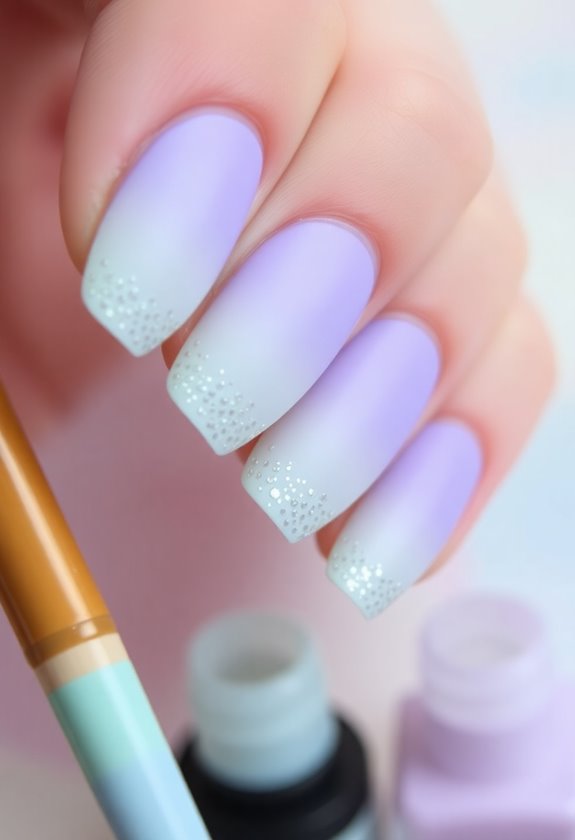
Creating an ombre gradient effect on your nails is a stunning way to elevate your manicure. I love how this technique blends two or more colors seamlessly, giving my nails a unique and trendy look. To achieve this effect, I start by applying a base coat, followed by a lighter shade on the tips of my nails. Then, I use a makeup sponge to dab on a darker color, gently blending it down towards the base. It's important to bounce the sponge to create that gradient effect. Once I'm satisfied with the blend, I finish with a top coat for shine and longevity. Trust me, this design is not only eye-catching but also surprisingly easy to master!
Striped Nail Art
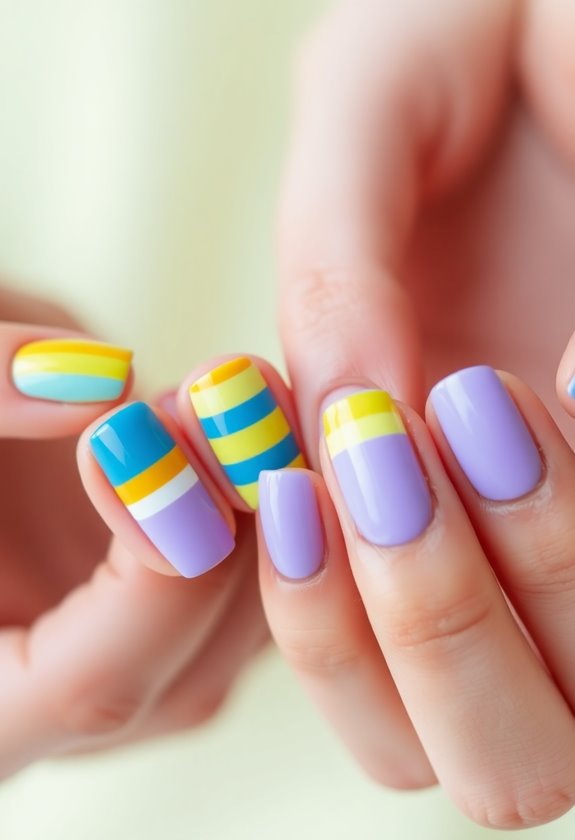
After mastering the ombre gradient effect, I found that striped nail art offers another fun way to express creativity. Creating stripes on my nails is simple and versatile, making it perfect for any occasion. I usually start with a base coat, then choose two or three colors that complement each other. Using striping tape or a fine brush, I carefully apply the colors in alternating stripes.
What I love most is how I can mix and match patterns—thin, thick, diagonal, or horizontal stripes. It's a great way to experiment with color combinations. Plus, the best part? It's budget-friendly! With just a few nail polishes and tools, I can achieve a trendy look that always gets compliments.
Floral Accents
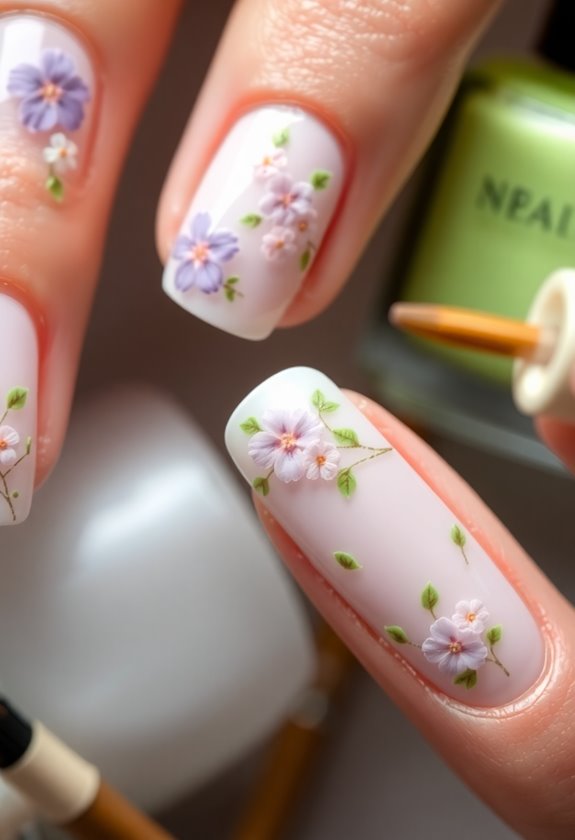
I often find that adding floral accents to my nail art elevates the overall look, making it feel fresh and vibrant. Whether it's a delicate rose or a bold sunflower, these designs can transform a simple manicure into a stunning statement. I love using a dotting tool and a thin brush to create intricate flowers. For a quick DIY version, I often choose a base color and then paint small flowers in contrasting shades. You don't need to be a pro; just practice on paper first! I usually finish with a top coat to seal my design and add shine. Floral accents not only brighten my nails but also reflect my personality. Give it a try; you'll love the results!
Geometric Patterns
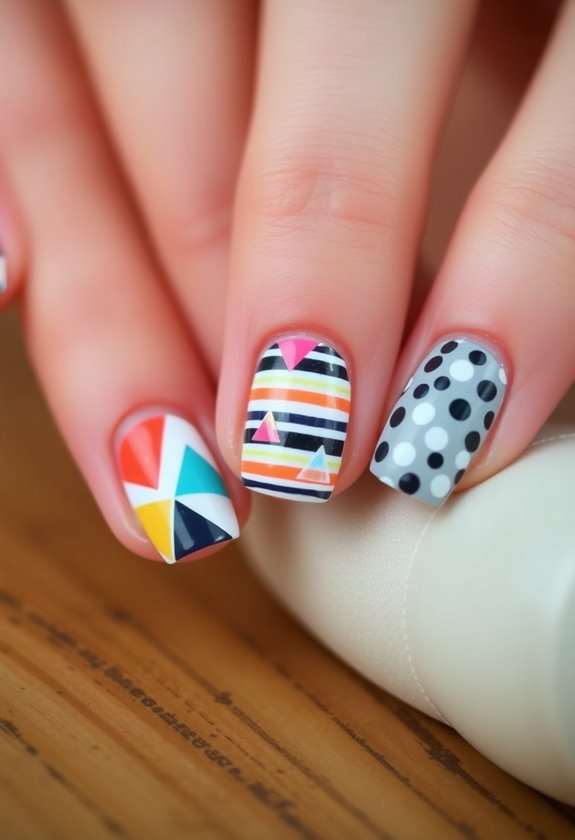
Geometric patterns bring a modern twist to nail art, making your manicure stand out with precision and style. I love experimenting with different shapes and lines to create eye-catching designs. You don't need fancy tools—just some tape and a steady hand. Start by painting your nails with a base color, then use tape to block off sections. This technique allows for sharp edges and clean lines. I often mix contrasting colors like black and white or vibrant hues for a bold look. If you're feeling adventurous, try overlapping shapes for added dimension. The best part? It's super budget-friendly and you can easily customize the patterns to match any outfit or occasion. Get creative and let your nails reflect your unique style!
Glitter Tips
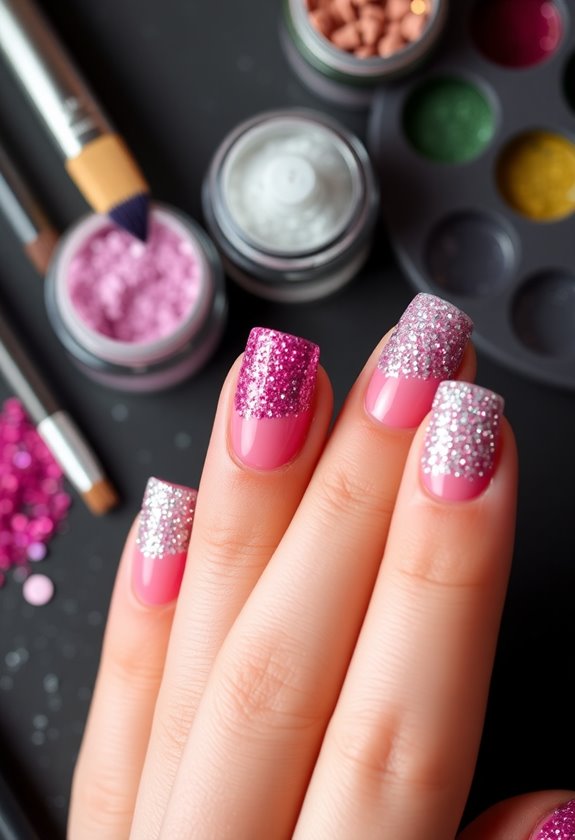
Sparkle and glamour can instantly elevate any nail design, and glitter tips are the perfect way to add a dazzling touch to your manicure. I love how easy it is to create this look without spending a fortune. First, choose your base color—something subtle works wonders. Once it's dry, grab a glitter polish that complements your base.
With a small brush or makeup sponge, apply the glitter to the tips of your nails. I usually start lightly and build up for more sparkle. Let it dry completely, then seal your design with a clear topcoat to prevent chipping. Glitter tips can be customized for any occasion, and they always make my nails feel festive and fun! Give it a try!
Minimalist Lines
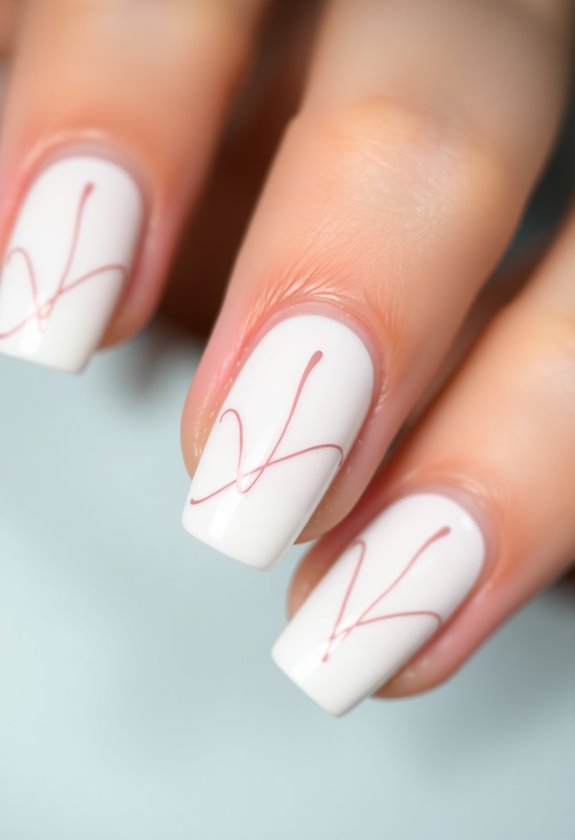
While nail art often leans toward bold colors and intricate designs, minimalist lines offer a revitalizing simplicity that can be both elegant and striking. I love how easy it is to create this look at home, and you don't need a lot of supplies. Just grab a neutral nail polish as your base, then use a fine brush or a striping tape to add thin lines in a contrasting color. You can go for geometric patterns or simply accentuate a single nail. The best part is, it's super forgiving—if you make a mistake, it's easy to fix. Minimalist lines not only look chic but also let your natural nails shine through, making them a perfect choice for any occasion!
Marble Nail Technique
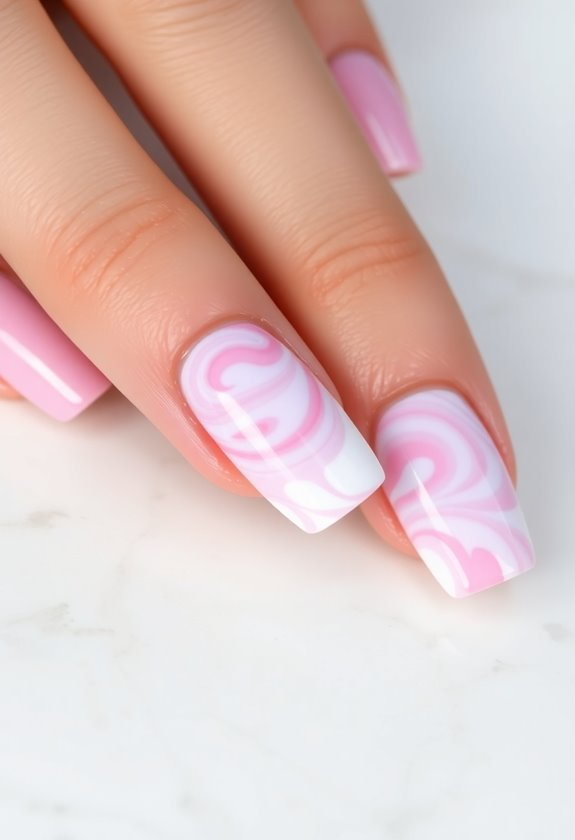
The marble nail technique offers a stunning way to achieve a high-end look right at home. I love how this method creates a unique design on each nail, making every manicure feel special. To start, I gather a few nail polish colors that work well together. I usually pick a base color and two or three additional shades for the marble effect. After applying the base coat, I drop the other colors onto the nail and swirl them gently with a toothpick or a small brush. Once I'm satisfied with the design, I seal it with a topcoat to guarantee longevity. It's a fun process, and the results are always eye-catching! Give it a try; you'll love it!
Color Block Design
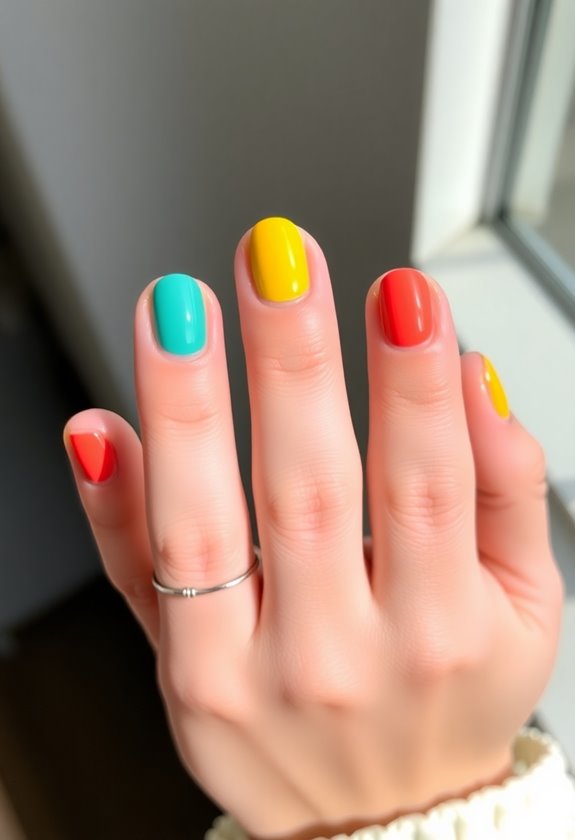
Color block design is a fantastic way to add boldness and vibrancy to your nails. I love how easy it is to create striking patterns with just a few colors. First, pick a few shades that complement each other—think bright hues or pastels. After applying a base coat, use painter's tape to section off the parts of your nails you want to color. This technique helps you achieve clean lines and prevents colors from bleeding together. I usually start with the lightest shade and work my way to the darkest. Once you've painted each section, let it dry, then carefully remove the tape. Finish with a top coat for a glossy finish. You'll love how fun and chic your nails look!
Animal Print Fun
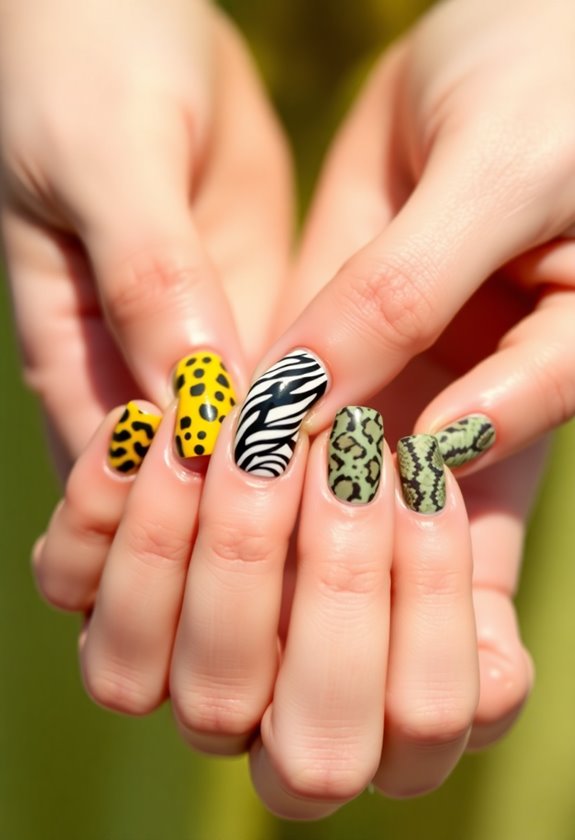
After experimenting with bold color block designs, I'm excited to explore the playful world of animal print nail art. It's a fun way to express my personality and creativity without spending a fortune. Whether you're going for classic leopard spots or trendy snake patterns, animal prints can be easily created at home.
Here's a quick guide to help you choose your design:
| Design | Colors Needed | Tools Needed |
|---|---|---|
| Leopard Spots | Brown, Black, Beige | Dotting tool |
| Zebra Stripes | White, Black | Striping brush |
| Snake Skin | Green, Gold, Black | Sponge for blending |
With just a few colors and tools, you can create eye-catching nails that'll turn heads!
Frequently Asked Questions
What Basic Tools Do I Need for DIY Nail Art?
When I first started DIY nail art, I couldn't believe how simple it was. You really don't need much! I grabbed a few basic tools: nail polish, a base coat, a top coat, some nail brushes, and dotting tools. A pair of tweezers and a sponge can also come in handy. With these essentials, I've created so many fun designs, and it's been a blast experimenting with colors and patterns!
How Do I Prevent Nail Polish From Chipping?
To prevent nail polish from chipping, I always start with a good base coat. It creates a smooth surface and helps the polish adhere better. After applying my nail polish, I finish with a top coat for extra protection. I also avoid using my nails as tools, which can lead to chips. Finally, I keep my hands moisturized, as dry nails are more prone to breakage. Trust me, it really makes a difference!
Can I Use Regular Tape for Nail Designs?
Sure, you can use regular tape for nail designs—if you enjoy living on the edge! I've tried it before, and while it works for some designs, you might find it doesn't always hold up like nail striping tape. Regular tape can sometimes pull at the polish or leave sticky residue. However, if you're looking for a quick fix, give it a go! Just be ready for some unexpected results.
How Long Does DIY Nail Art Usually Last?
When I create DIY nail art, I usually find it lasts about a week or so, depending on how much I use my hands. If I'm careful and apply a good top coat, I can sometimes stretch it to ten days. However, if I'm not careful, chips can appear within a few days. I've learned that proper prep and sealing makes a big difference in longevity!
What Are Safe Ways to Remove Nail Polish?
Removing nail polish can feel like a dance—sometimes graceful, other times a bit messy. I've found that using non-acetone remover is a gentle choice for my nails. It takes a little longer, but my nails appreciate it. I soak a cotton pad with the remover, press it on my nail, and let it sit for a moment. Then, I wipe it off, and voilà, my nails are ready for a fresh start!
