I'm excited to share some nail art hacks using everyday household items that make creating beautiful designs super simple! For an ombre look, grab a sponge and blend two or three colors. If you want sharp lines, tape works wonders—just make sure your base coat is dry first. For intricate details, I love using cotton swabs to add dots and clean up edges. And for a fun splatter effect, flick a toothbrush loaded with polish. You can even use plastic wrap for texture or straws for dotting. Stick around, and I'll share more creative ideas to try!
Key Takeaways
- Use plastic wrap to create unique textures and depth in your nail art designs.
- Employ paper clips for making dots, stripes, and stencils easily.
- Utilize straws to achieve various dot sizes and swirling effects in your manicure.
- Create splatter patterns by flicking a toothbrush dipped in nail polish.
- Cotton swabs help with intricate details and cleaning up excess polish around cuticles.
Using a Sponge for Ombre
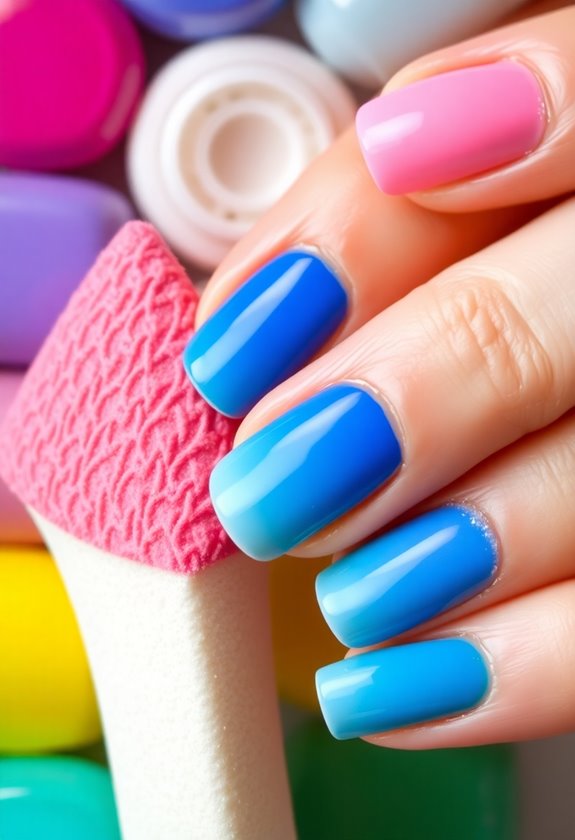
Creating an ombre effect on your nails can transform a simple manicure into a stunning work of art. I love using sponge techniques to achieve that perfect gradient look. First, I pick two or three complementary colors that I want to blend. After applying a base coat, I paint the colors side by side on a makeup sponge. Then, I gently dab the sponge onto my nails, moving it up and down to create seamless color blending. It's all about layering until I reach the desired intensity. A top coat seals everything in and adds shine. Trust me, this method is not only easy but also gives your nails a professional touch that'll have everyone asking how you did it!
Tape for Perfect Lines
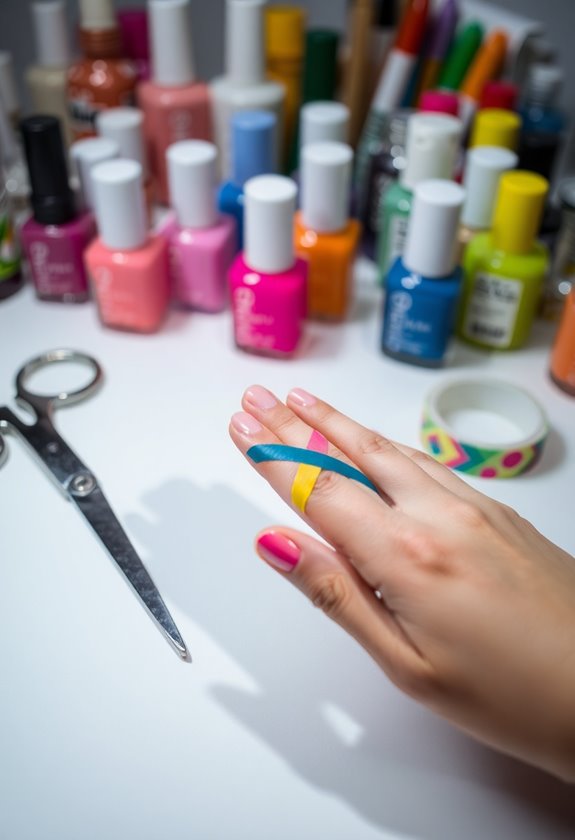
When I want to achieve sharp, clean lines in my nail art, I often turn to tape as my secret weapon. Using various nail tape techniques, I can create stunning, creative designs without the fear of messy edges. Here's how I do it:
- Choose Your Tape: I prefer washi or painter's tape for easy removal.
- Prep Your Nails: I paint my base color and let it dry completely.
- Apply the Tape: I carefully place the tape where I want the lines, ensuring it's secure.
- Add Color: I paint over the tape with my desired shade, then remove the tape while it's still wet for the best results.
This simple hack elevates my nail game every time!
Cotton Swabs for Precision
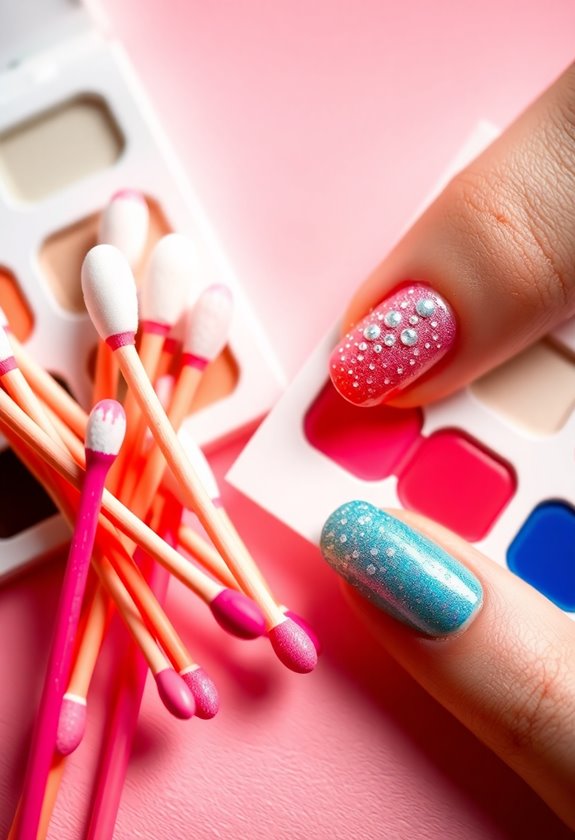
After achieving those clean lines with tape, I often reach for cotton swabs to perfect my nail art. These little tools are fantastic for adding precision to any design. When I want to explore color blending techniques, I dip a cotton swab into my chosen polish and gently swirl it on my nails. This creates a soft gradient effect that's perfect for various nail art styles. I also use them to clean up any excess polish around my cuticles, ensuring my look stays sharp. If I'm working on intricate details, a cotton swab helps me apply small dots or lines without the mess. Trust me, with cotton swabs in hand, your nail art will look polished and professional!
Toothbrush for Splatter Effects

A toothbrush can be your secret weapon for achieving stunning splatter effects in nail art. I love using simple toothbrush techniques to create unique splatter patterns that add flair to my nails. Here's how I do it:
- Choose Your Colors: Pick two or three nail polish colors that complement each other.
- Prepare Your Base: Apply a base coat and let it dry completely.
- Load the Toothbrush: Dip the bristles of the toothbrush into your chosen polish, tapping off excess.
- Splatter Away: Hold the brush over your nails and use your thumb to flick the bristles, creating a fun splatter effect.
With these steps, you'll have eye-catching nail art that's easy to achieve!
Plastic Wrap for Texture
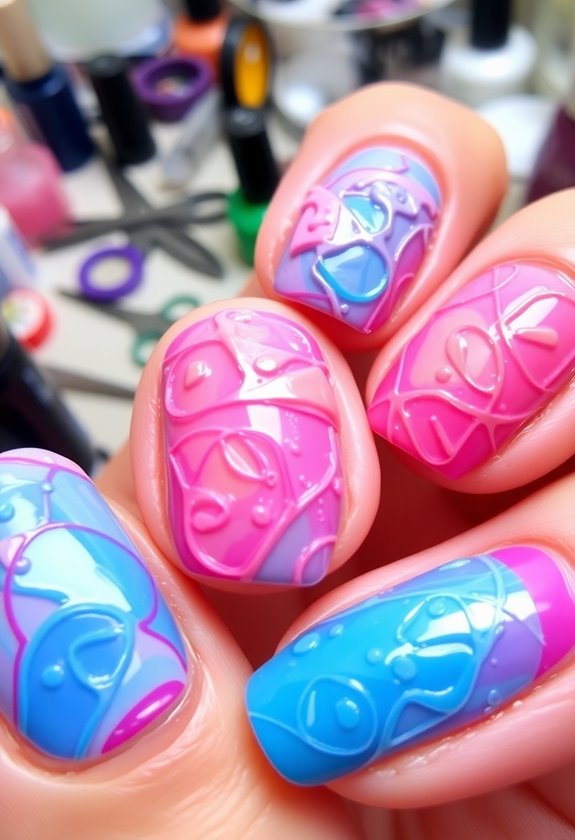
Plastic wrap can transform your nail art game by adding incredible texture and depth. I love using it to create unique, creative patterns that make my nails stand out. Here's a simple way to get started with texture techniques using plastic wrap:
| Step | Description |
|---|---|
| 1. Base Coat | Apply your favorite base coat. |
| 2. Color | Paint a solid color as your base. |
| 3. Crumple | Crumple a piece of plastic wrap. |
| 4. Dab | Dip it in a contrasting color and dab it on the nail. |
| 5. Top Coat | Finish with a clear top coat. |
This method not only adds dimension but also allows you to play around with colors and shapes. Give it a try and watch your nails come to life!
Straws for Dots and Swirls
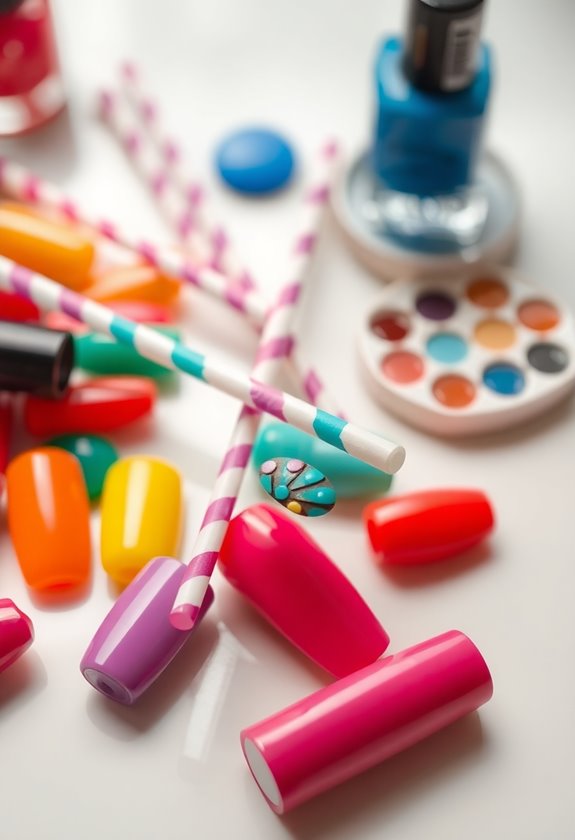
Using plastic wrap for texture is just the beginning of the fun you can have with nail art. One of my favorite hacks is using different straw types to create stunning dots and swirls. Here's how I do it:
- Choose your straws: Use regular, smoothie, or bubble tea straws for varying dot sizes.
- Pick color combinations: Select two or three nail polish colors that complement each other.
- Dip and dot: Dip the straw's end into the polish, then gently press it onto your nail for a perfect dot.
- Swirl it up: For swirls, twist the straw while it's on the nail, blending colors beautifully.
This technique adds a playful touch to any manicure, and I can't get enough of it!
Foil for Metallic Accents
Nail foil can instantly elevate your manicure with its stunning metallic accents. I love using foil for its ability to create eye-catching metallic designs that truly stand out. For an easy foil application, I start with a base coat and let it dry completely. Then, I apply a layer of nail glue, waiting a few moments until it becomes tacky. Next, I gently place the foil on my nails, pressing it down firmly to guarantee it sticks. Once I peel it off, I'm left with gorgeous metallic patterns. To finish, I seal everything with a top coat to protect the design. This technique is not only fun but adds a luxurious touch to my nails without breaking the bank!
Paper Clips for Nail Art
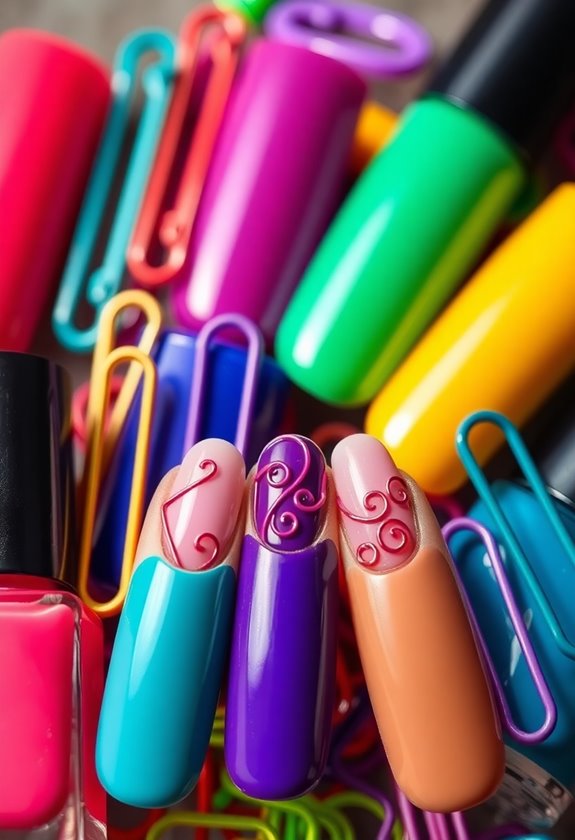
With a little creativity, paper clips can become your new best friend for unique nail art designs. These everyday items can elevate your manicure with some fun paper clip designs. Here are a few creative clip techniques I love:
- Dotted Patterns: Use the rounded end of a paper clip to create dots in different colors.
- Stripes: Bend a paper clip into a straight line and use it as a guide to paint perfect stripes.
- Stencils: Shape the clip into a design and use it as a stencil for precise patterns.
- Texture: Press the end of a paper clip onto wet polish for an interesting textured effect.
Give these ideas a try, and watch your nails transform into a work of art!
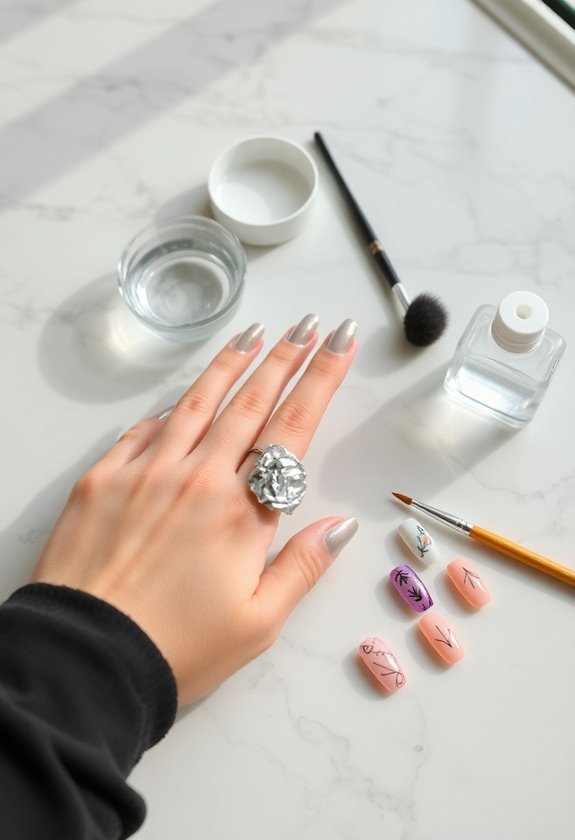
Nail Polish Remover for Clean-Up
While creating intricate nail art can be a fun process, cleaning up afterward doesn't have to be a hassle. I often rely on nail polish remover for quick cleanup, but I've discovered some great remover alternatives that work just as well. For instance, a bit of rubbing alcohol on a cotton swab can easily erase those pesky mistakes around the edges. Additionally, I love using tape as a barrier to prevent messes before I start painting. It's one of my favorite cleanup techniques! If you don't have remover handy, even hand sanitizer can help lift stray polish. With these hacks, I can focus more on my creativity and less on the cleanup. Happy painting!
Frequently Asked Questions
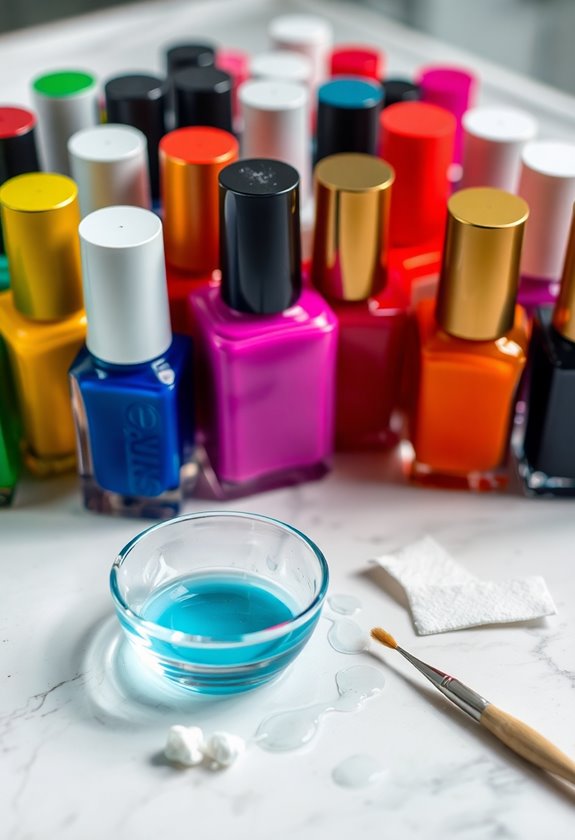
Can I Use Any Type of Nail Polish for These Hacks?
I've found that most nail polish types work well for creative projects. If you're out of polish, I've also experimented with household alternatives like food coloring or markers for fun designs.
How Do I Remove Nail Art Without Damaging My Nails?
Have you ever wondered how to remove nail art without harming your nails? I focus on gentle removal techniques, like soaking in acetone-free remover, ensuring my nail care routine stays healthy and damage-free.
Are There Specific Brands Recommended for Nail Art Supplies?
When it comes to nail art tools, I love using brands like Kiss and Sally Hansen for budget supplies. They offer great quality without breaking the bank, making nail art accessible for everyone.
How Long Should I Let Each Layer Dry?
Like a painter waiting for the canvas to breathe, I let each layer dry for about two to three minutes. Thicker layers need extra drying techniques to avoid smudging, ensuring my masterpiece shines flawlessly.
Can I Mix Different Nail Polish Finishes in One Design?
Absolutely, I love mixing finishes in my designs! By using layering techniques, I create unique looks. Just make sure the polishes are compatible; it'll help achieve a seamless blend without any unwanted reactions.