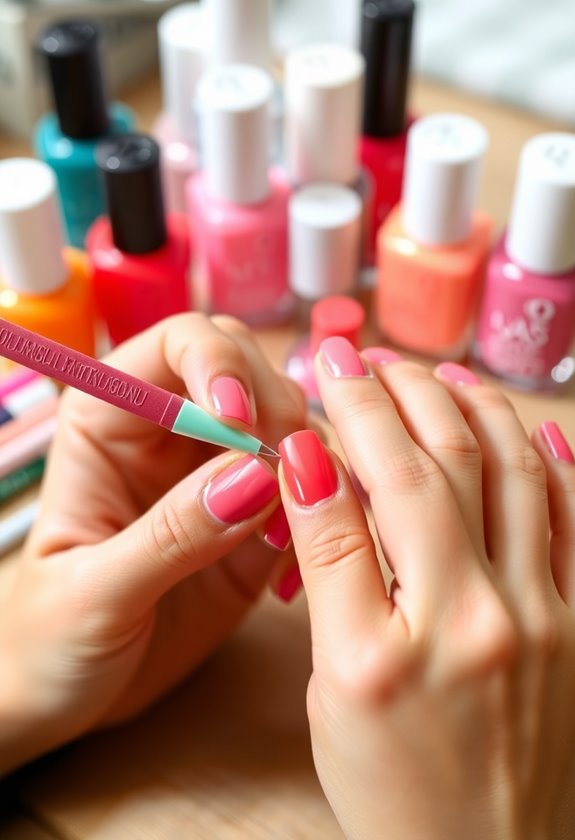
I love experimenting with easy nail art hacks at home using everyday items. A toothpick or bobby pin works wonders for dotting techniques—just dip it into polish and create fun patterns. For clean lines, I use tape; paint one color, let it dry, and peel the tape off. I also enjoy the sponge gradient effect—dab complementary colors on a sponge and press it onto my nails for a beautiful gradient. Don't forget advanced tricks like straw stamping for splatter patterns or water marbling for unique designs. There's so much more to explore that can elevate your nail game!
Key Takeaways
- Use everyday items like bobby pins and toothpicks for creating intricate nail designs easily at home.
- Apply tape for clean lines and color blocking; peel off after the paint dries for perfect edges.
- Experiment with sponge gradients by dabbing complementary colors onto nails for a soft, blended effect.
- Utilize old makeup brushes for blending colors and creating unique textures in your nail art.
- Try water marbling techniques by swirling multiple nail polish colors in water for stunning patterns.
Use Household Items
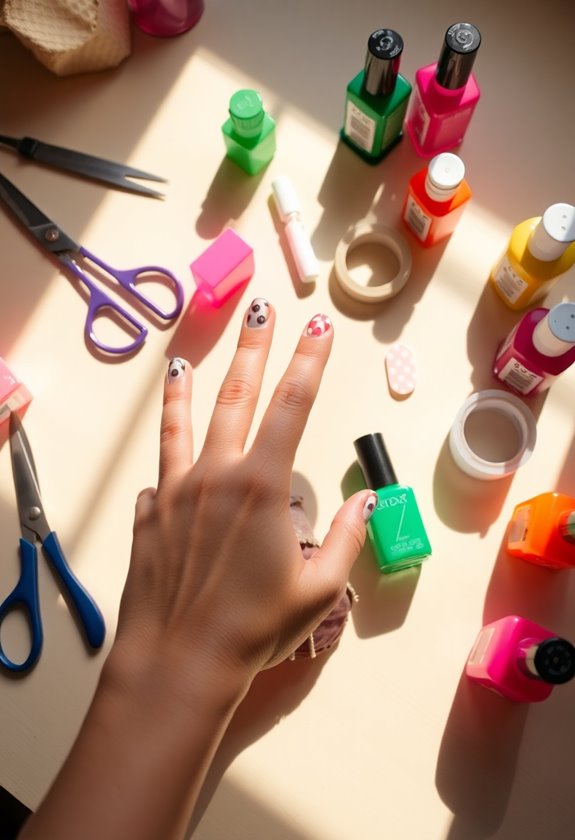
You might be surprised at how many household items can help you create stunning nail art. I've found that nail polish isn't the only thing you need; everyday household materials can be your creative tools. For instance, a toothpick or a bobby pin makes for perfect DIY supplies to create intricate designs. You can even use kitchen items like sponge pieces to dab on fun textures. Old makeup brushes are fantastic craft supplies for blending colors, while a strip of tape can help you achieve those clean lines. Don't overlook home decor items like stencils or washi tape, either; they're amazing beauty hacks for adding unique patterns. Get creative with what you already have, and watch your nail art transform!
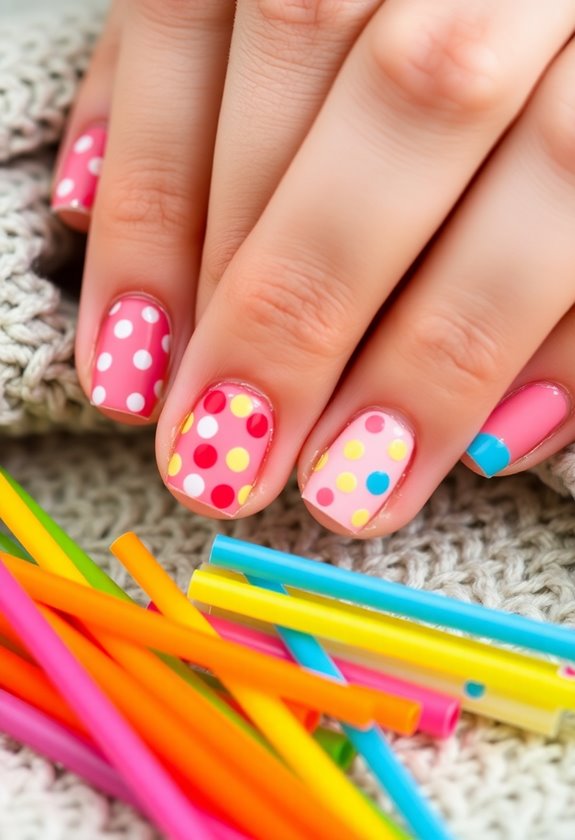
Simple Dotting Techniques
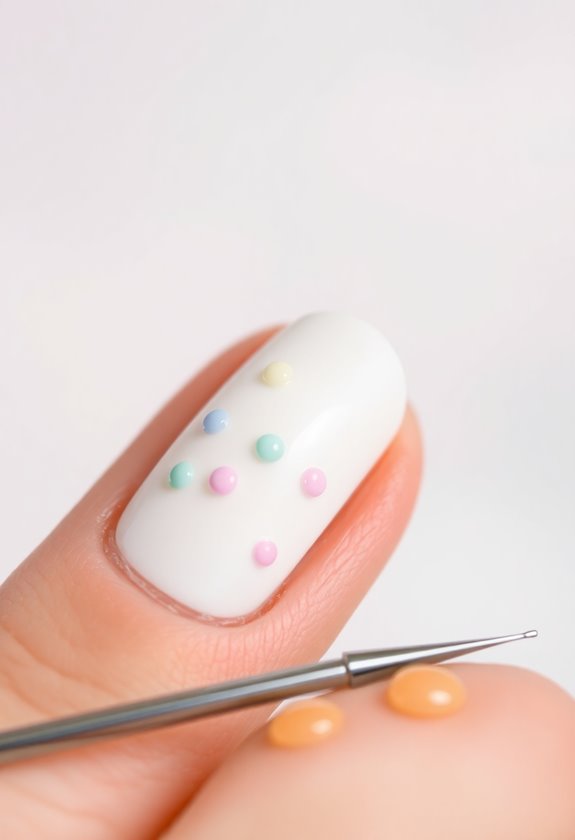
After exploring how household items can enhance your nail art, it's time to focus on one of the simplest yet most effective techniques: dotting. Dotting can transform your nails with just a few tools, like a bobby pin or a toothpick. I love experimenting with different dot placements to create unique designs. Start by choosing your favorite color combinations; for instance, pairing pastel shades with bold colors makes a striking contrast.
To dot, dip your tool into the polish and gently press it onto your nail, repeating until you achieve your desired pattern. You can create flowers, polka dots, or even abstract designs—it's all about your creativity! Just remember to let each layer dry before adding more dots for the best results.
Tape for Clean Lines
Using tape can make a world of difference when it comes to achieving clean lines in nail art. I love using nail tape techniques to create impressive designs without the usual mess. To start, I cut small pieces of tape and apply them to my nails, ensuring they're positioned just right for color blocking. This method allows me to paint one color, let it dry, and then carefully peel off the tape to reveal a crisp line underneath. It's like magic! I often experiment with different shapes and patterns by layering the tape, which adds depth to my designs. So, if you're looking to elevate your nail art game, grab some tape and get creative!
Sponge Gradient Effect
Tape can create sharp lines, but for a softer look, the sponge gradient effect is a fantastic technique to try. I love using this method to blend color combinations seamlessly on my nails. Start by applying a base coat and letting it dry. Next, choose two or three complementary colors. I usually paint them side by side on a makeup sponge, then dab the sponge onto my nails, gently blending the colors as I go. You can repeat this step for a more intense gradient. Once you're happy with the effect, seal it with a top coat for that perfect shine. Adding some glitter or a simple design as finishing touches can elevate the look even more!
Nail Art With Straws
One of my favorite ways to create unique nail art is with straws. Using straw techniques, I can achieve fun and intricate designs without much hassle. One of the easiest methods is straw stamping, which allows you to transfer nail polish patterns onto your nails. Here's a simple table of ideas to get you started:
| Technique | Materials Needed | Steps |
|---|---|---|
| Straw Stamping | Straw, Nail Polish | 1. Apply polish on the straw. |
| 2. Press onto nail. | ||
| Splatter Effect | Straw, Nail Polish | 1. Dip straw in polish. |
| 2. Blow onto nails for splatter. | ||
| Dotting | Straw, Nail Polish | 1. Dip straw in polish. |
| 2. Dot onto nails. |
Give it a try—you'll love the results!
Toothpick Designs
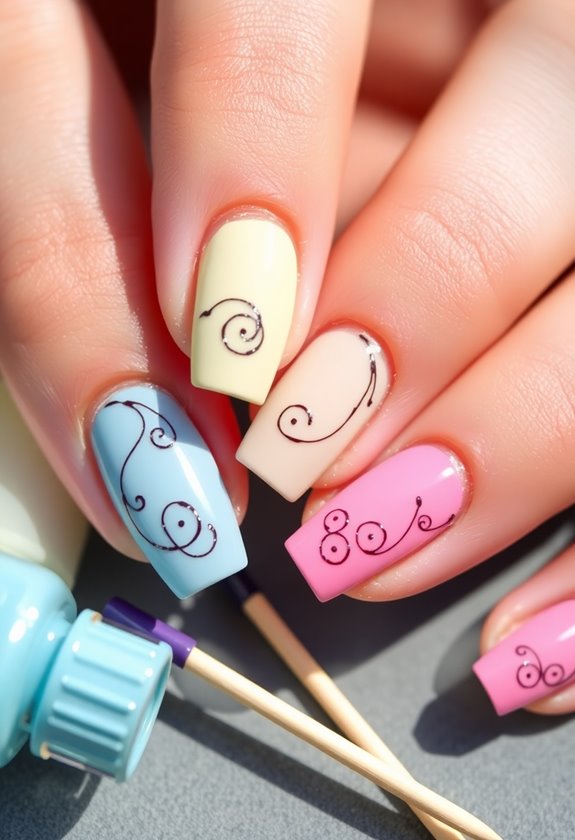
Toothpicks are my secret weapon for creating detailed nail art designs that impress without the need for fancy tools. With just a little practice, I can whip up stunning toothpick flowers that add a touch of elegance to my manicure. I start by painting my nails with a base color, then use a toothpick to dot on smaller petals, layering them for depth.
Toothpick swirls are another favorite of mine. After applying a base color, I dip the toothpick into a contrasting polish and gently swirl it on the nail. It's easy to create intricate patterns that look like they took hours! Trust me, toothpicks are a game-changer for anyone looking to elevate their nail art at home.
Water Marble Effect
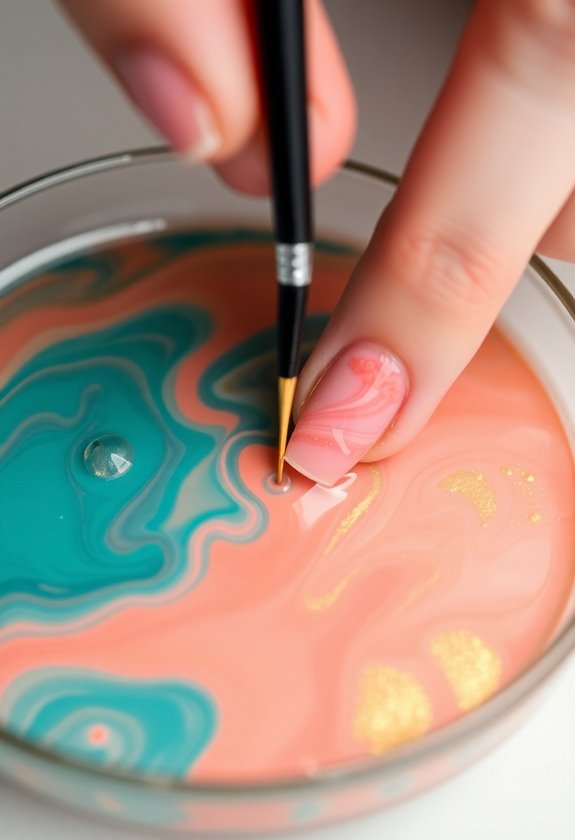
Creating the water marble effect is one of my favorite nail art techniques because it delivers a stunning, unique look with each attempt. To achieve this, I use a few different nail polish colors and let my creativity flow.
Here's a simple guide to get started:
| Step | Action | Tips |
|---|---|---|
| 1 | Fill a cup with room temperature water | Use distilled water for best results. |
| 2 | Drop nail polish colors on the surface | Experiment with color combinations. |
| 3 | Use a toothpick to swirl colors | Create different patterns. |
| 4 | Dip your nails into the water | Don't rush; submerge slowly. |
| 5 | Clean up excess polish | Use tape or a brush. |
With practice, you'll master this technique and create eye-catching designs!
Stencils and Stickers
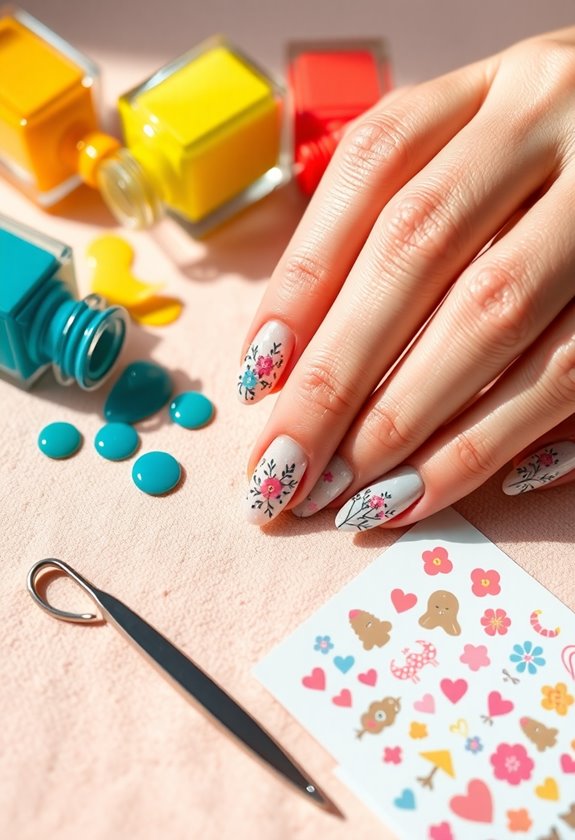
After mastering the water marble effect, you'll find that stencils and stickers can elevate your nail art skills even further. I love using nail art stencils because they create intricate designs without the hassle. Just place the stencil on your nail, apply your chosen polish, and peel it off to reveal a perfect pattern. It's that simple!
Nail sticker designs are another fantastic option. They come in countless styles, from floral to geometric, allowing for quick yet stunning results. I often mix both stencils and stickers to create unique combinations on my nails. Whether you're a beginner or a pro, these tools make it easy to achieve salon-quality nail art at home, adding a personal touch to your look.
Quick Drying Tips
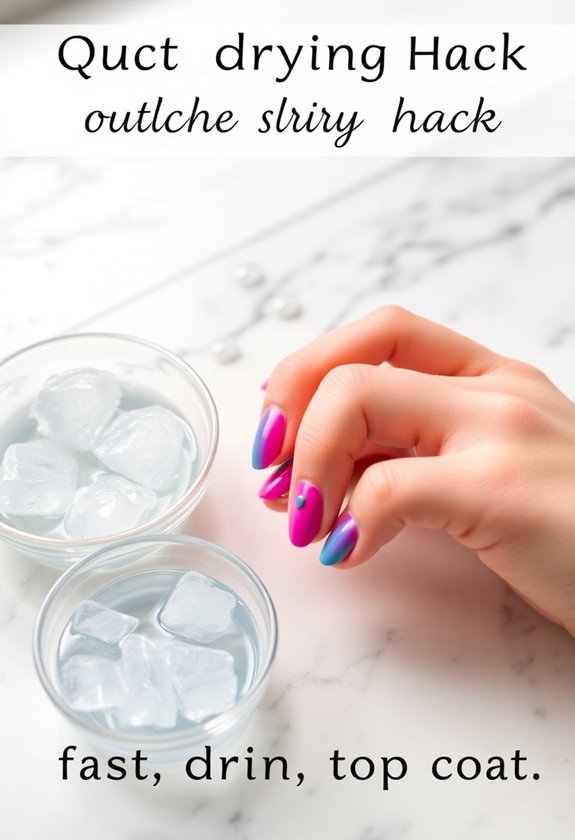
When you're enthusiastic to show off your fresh nail art, quick drying tips can be a game-changer. I've found a few fast drying methods that really work! First, try using a quick-dry top coat; it's one of the best quick fixes I've discovered. Just apply it over your design, and you'll be amazed at how much faster everything sets. If you're in a hurry, dipping your fingertips in a bowl of ice water for a few minutes can greatly speed up the drying process. Finally, using a fan to circulate air around your nails helps too. With these simple tricks, you can flaunt your beautiful nails without worrying about smudging them. Happy painting!
Frequently Asked Questions
Can I Use Regular Paint Instead of Nail Polish?
I once tried using regular paint for nail art and it chipped quickly. While it can work in a pinch, I prefer nail polish alternatives for better durability and smoother application. Stick to polish for lasting results!
How Do I Remove Nail Art Without Damaging My Nails?
When I need to remove nail art, I follow some nail care tips. Soak cotton in remover, gently press it onto the design, and use careful removing techniques to protect my nails from damage.
What Are the Best Base and Top Coats to Use?
Did you know that 70% of nail polish wearers prefer long-lasting results? I've found that DIY topcoats can be just as effective as salon brands. Check out nail coat comparisons to find your perfect match!
How Long Does Nail Art Typically Last?
Nail art typically lasts about one to two weeks for me. Nail art longevity depends on factors affecting durability like the quality of products used, application technique, and my daily activities. I always try to maximize it!
Are There Any Safe Alternatives to Toxic Nail Products?
When I switched to natural nail products, it felt like finally breathing fresh air after being stuck in a stuffy room. Eco-friendly options not only protect my nails but also the planet. I love them!