I believe everyone can achieve stunning winter nail art on a budget without sacrificing style or creativity. Start by gathering essential supplies like a good set of brushes, dotting tools, and nail tape. Use rich winter hues like deep burgundy and icy blues, and don't forget metallic accents for a festive touch. Simple designs like minimalist snowflakes or classic French tips can be both elegant and easy to create at home. Plus, consider upcycling old polishes to mix unique shades. If you want even more tips and inspiration, stick around for more on how to elevate your winter nail game!
Key Takeaways
- Utilize a good set of brushes and dotting tools to create intricate winter designs without spending on expensive kits.
- Mix old nail polishes to craft unique winter shades, saving money while expressing creativity.
- Use nail tape and stencils for clean geometric shapes, achieving professional looks on a budget.
- Opt for a minimalist approach with simple designs like snowflakes or a classic French tip for elegance.
- Incorporate metallic accents with affordable polishes to add festive flair without breaking the bank.
Essential Nail Art Supplies
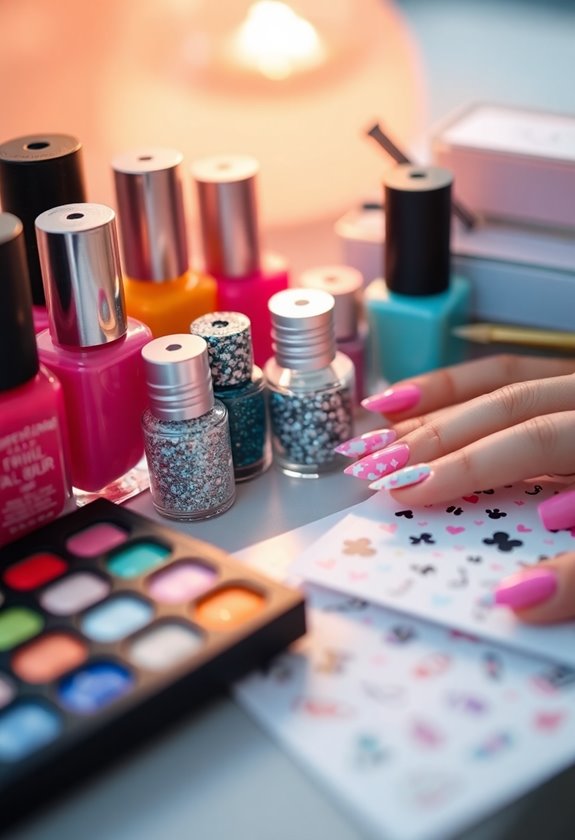
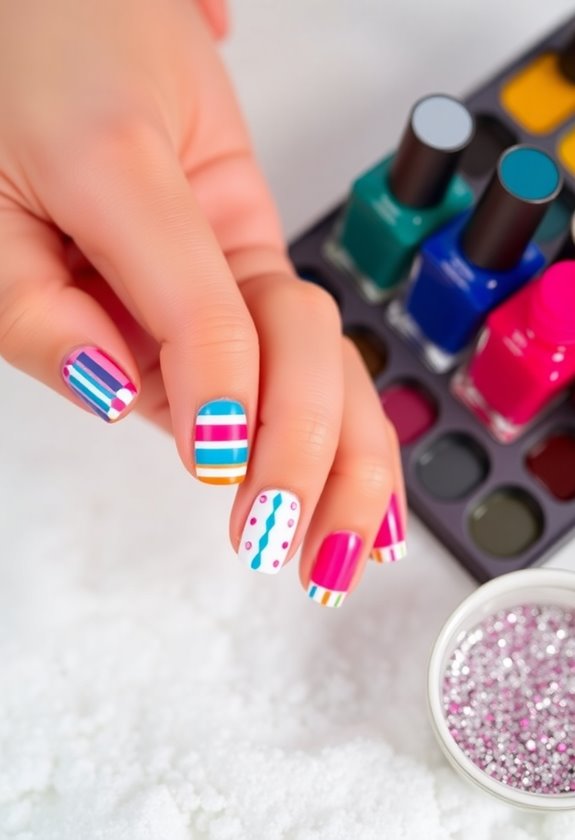
Creating stunning nail art starts with gathering essential supplies. I've learned that having the right tools makes all the difference in achieving the latest nail art trends. First, you'll need a good set of brushes for detailed work, along with dotting tools for those intricate designs. A reliable base and top coat are essential too—they protect your nails and enhance the finish. Don't forget a variety of polishes in different colors and finishes. I also recommend nail tape and stencils for creating sharp lines and shapes. Finally, a clean-up brush and acetone can save your design from messy edges. With these essential tools in your kit, you'll be ready to explore endless nail art possibilities!
DIY Nail Art Techniques
While you might think that professional nail art is out of reach, there are plenty of DIY techniques that make it achievable at home. I love experimenting with nail art trends, and I've discovered some creative techniques that anyone can try. For instance, using a simple toothbrush to create a splatter effect can add a fun twist to your manicure. You can also use tape to create clean lines and geometric shapes. Stamping kits are another fantastic option, allowing you to transfer intricate designs onto your nails effortlessly. Don't forget about dotting tools; they're perfect for creating polka dots or floral patterns. With a little practice, you'll be amazed at what you can create without breaking the bank!
Winter Color Palette Ideas
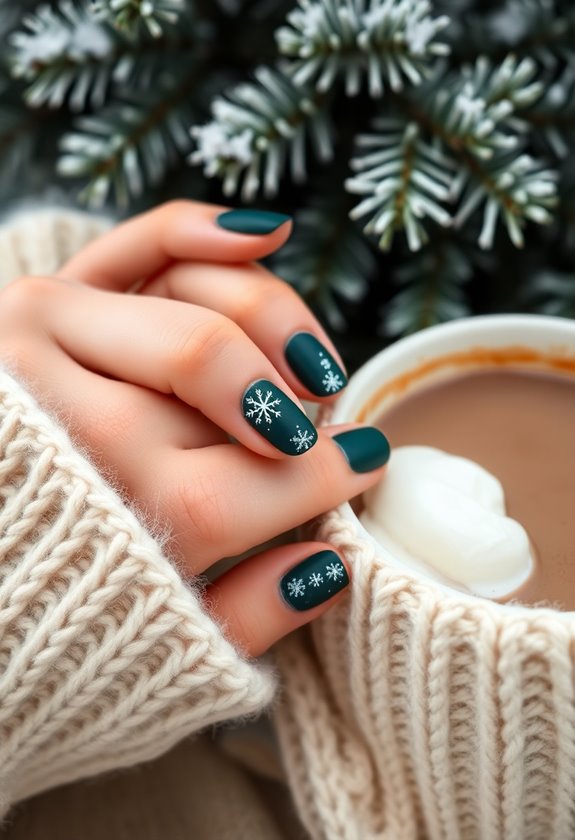
As the winter months approach, I love embracing a cozy color palette that reflects the season's beauty. This time of year, I gravitate towards rich winter hues like deep burgundy, forest green, and icy blues. These colors evoke warmth and elegance, making them perfect for my nail art. I often mix these shades to create stunning color combinations; for instance, pairing a creamy white with a dark navy can mimic the serene winter sky. Don't forget metallic accents, like gold or silver, which add a festive touch to any manicure. Experimenting with these winter hues allows me to express my personality while keeping my nails in tune with the season's spirit. Trust me, you'll love how these colors transform your winter look!
Simple Nail Art Designs
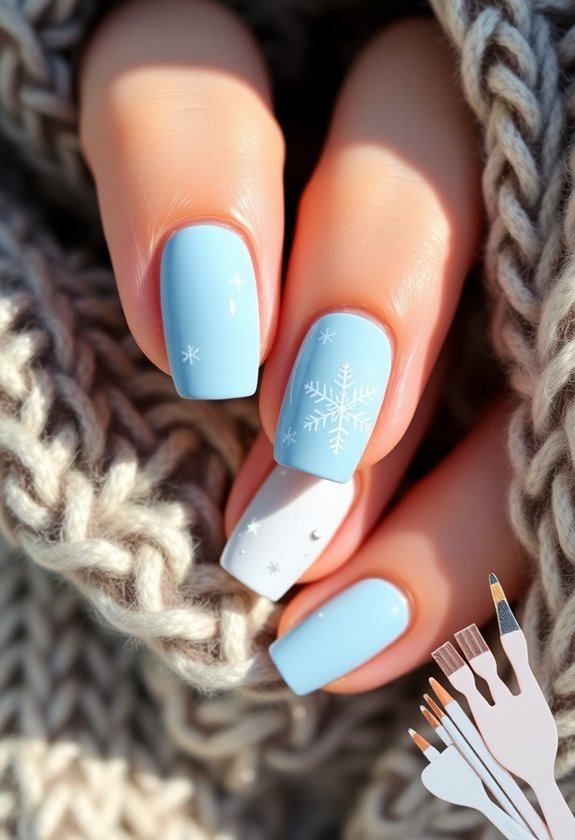
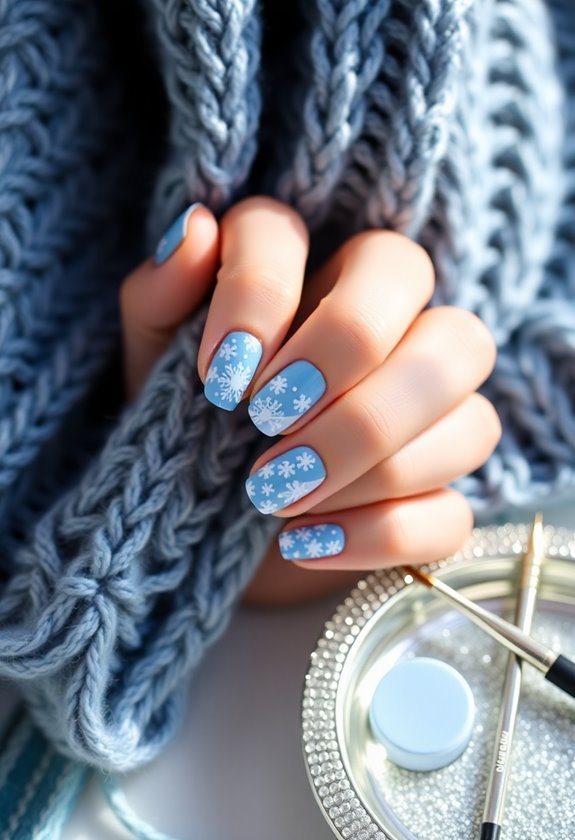
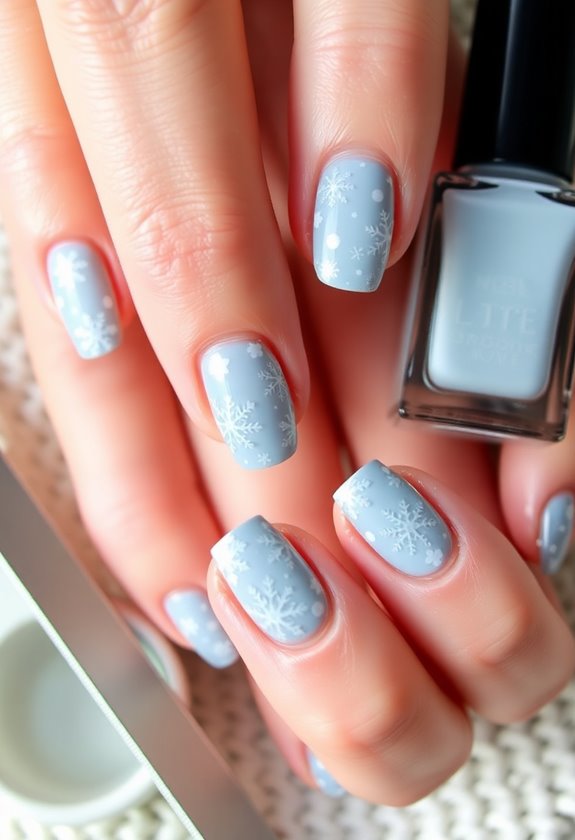
Winter's rich color palette sets the perfect stage for simple nail art designs that are both elegant and easy to achieve. I love incorporating minimalist designs that focus on clean lines and subtle details. For example, a single accent nail adorned with a delicate snowflake can add a touch of charm without overwhelming the look.
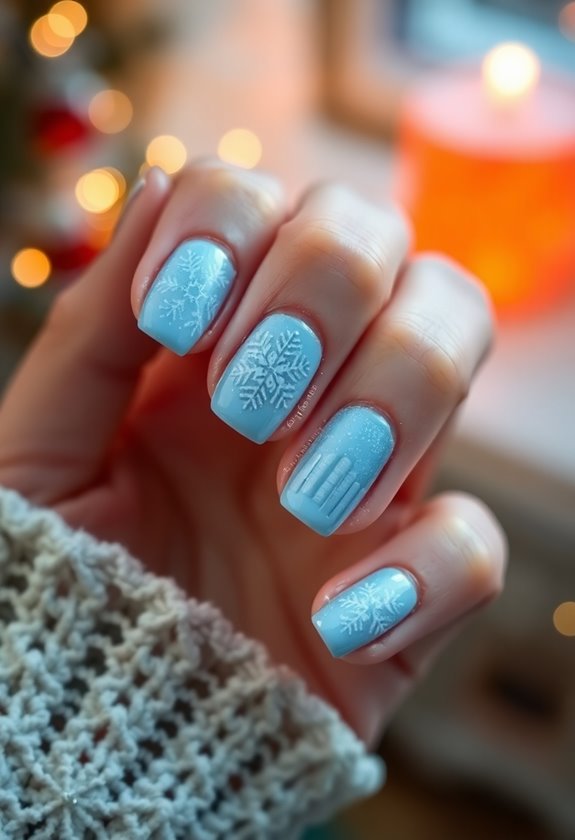
You can also experiment with festive patterns like tiny Christmas trees or stars using a fine brush. Using one or two colors keeps it budget-friendly while still feeling festive. If you're short on time, try a classic French tip with a winter twist by replacing white with a soft, icy blue. These simple designs let your personality shine while keeping your nails chic and winter-ready!
Upcycling Old Nail Products

Many of us have old nail products lying around that we no longer use, but they don't have to go to waste! I love the idea of nail polish repurposing. For instance, you can mix old polishes to create unique shades—just be sure to check if they're still usable. If you've got brushes that are gunky with dried polish, don't toss them; instead, try some brush cleaning techniques. Dip them in acetone or use a brush cleaner to restore them. Once clean, these brushes can be used for nail art or even crafting projects. By upcycling these items, you not only save money but also release your creativity for winter nail art!
Using Household Items
After repurposing old nail products, you might be surprised at how many household items can enhance your nail art game. For instance, a simple toothpick can create intricate designs. Just dip the tip in polish and draw patterns on your nails—it's perfect for dots and fine lines.
Another technique I love is sponge stamping. Grab a makeup sponge, cut it into small pieces, and use it to apply nail polish. It gives your nails a beautiful gradient effect or unique texture without breaking the bank.
You can even use tape to create clean lines and shapes for a professional finish. With these household items, your nail art can be both creative and budget-friendly. So, get crafty and enjoy the process!
Affordable Nail Accessories
Finding affordable nail accessories can truly elevate your nail art without emptying your wallet. I love exploring various nail sticker options that can instantly add flair to my designs. You can find sheets with fun patterns, florals, or even seasonal themes at local beauty stores or online for just a few dollars. They're easy to apply and remove, making them a perfect option for quick nail transformations.
Additionally, I've discovered some fantastic budget glitter alternatives. Instead of splurging on high-end brands, I often use loose glitter or even craft glitter in small containers. Just make sure it's cosmetic grade! Mixing it into your polish or applying it on top can give your nails that sparkly finish you crave, all while staying on budget.
Nail Care on a Budget
Taking care of your nails doesn't have to break the bank. I've found that using budget products can still maintain great nail health without emptying my wallet. Here's a simple table that highlights some affordable options:
| Product Type | Budget-Friendly Options |
|---|---|
| Nail Strengthener | Clear gel from the drugstore |
| Cuticle Oil | Olive oil or coconut oil |
| Nail File | Glass or emery board |
| Base Coat/Top Coat | Affordable brand duo |
These items have worked wonders for me, keeping my nails strong and healthy. Plus, they're easily accessible, so you won't have to search high and low. Embrace these budget-friendly choices, and your nails will thank you!
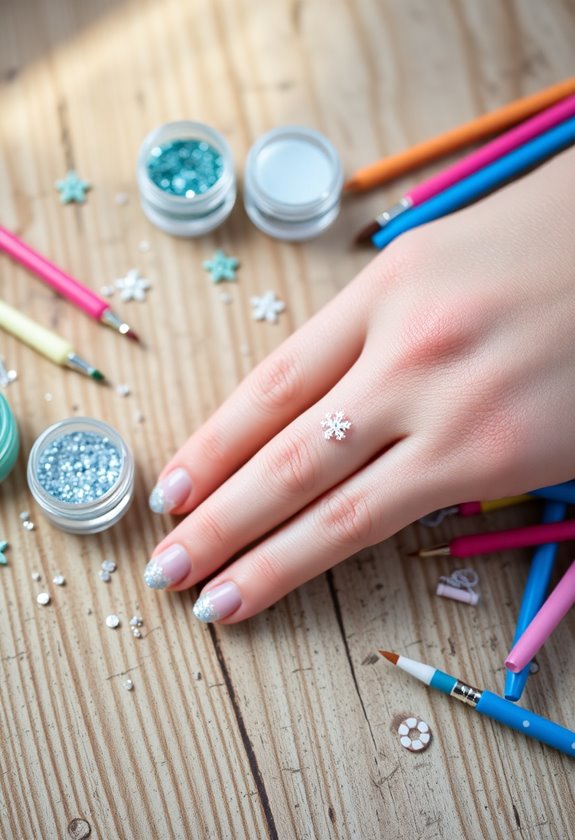
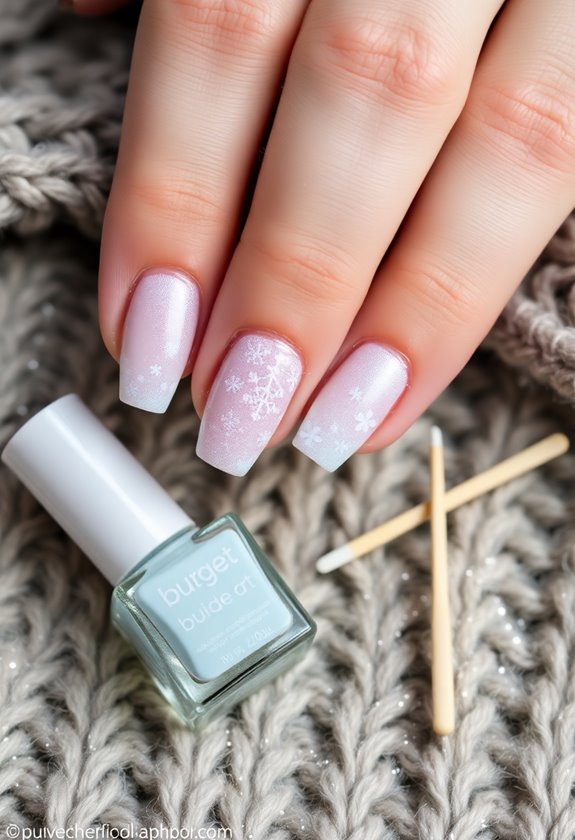
Seasonal Nail Art Inspiration
As the seasons change, I love to switch up my nail art to reflect the vibrant colors and themes around me. Winter brings a unique charm, and my go-to designs often feature delicate snowflake patterns. They're not only festive but also surprisingly easy to create with a dotting tool or a thin brush. I also can't resist cozy sweater designs; they add warmth to my look and remind me of snuggling up with a hot drink. Using a matte topcoat on these designs can really elevate their texture. When I'm feeling adventurous, I mix in some glitter for that frosty sparkle. It's all about having fun and expressing my love for the season through my nails!
Tips for Long-Lasting Manicures
Switching up my nail art with seasonal themes is always exciting, but I also want my manicures to last. To achieve this, I prioritize nail health before applying polish. I always start with a good base coat, as it protects my nails and enhances manicure longevity. After painting, I seal everything with a top coat; this adds shine and provides an extra layer of protection. I also try to avoid hot water for at least a few hours post-manicure, as it can weaken the polish bond. Regularly moisturizing my cuticles keeps them healthy and prevents peeling. Finally, using gloves for chores helps maintain my design and guarantees my nails stay gorgeous longer. With these tips, my manicures look fresh for weeks!
Frequently Asked Questions
Can I Use Regular Paint for Nail Art Designs?
I wouldn't recommend using regular paint for DIY nail designs. The paint's durability can't match nail polish, leading to chipping and peeling. Stick with nail products for better results and longer-lasting designs you'll love.
How Can I Remove Nail Art Without Damaging My Nails?
Removing nail art can feel like peeling an onion—layer by layer. I've found gentle nail care is key; soak your nails in acetone or use removal techniques like foil wraps for a damage-free experience.
Are There Any Seasonal Nail Art Trends to Follow This Winter?
I love exploring seasonal nail art trends each winter! This year, I'm drawn to deep winter colors like burgundy and forest green, along with fun holiday themes like snowflakes and festive ornaments. They're simply stunning!
How Often Should I Change My Nail Art?
I usually change my nail art every two weeks to maintain freshness and avoid chipping. For nail art longevity, I follow nail maintenance tips like moisturizing and using a topcoat to keep everything looking vibrant longer.
Is It Safe to Mix Different Nail Polish Brands?
I've mixed different nail polish brands without any issues! While brand quality differences exist, most polishes are compatible. Just guarantee you let each layer dry fully to avoid any unexpected reactions. Happy painting!