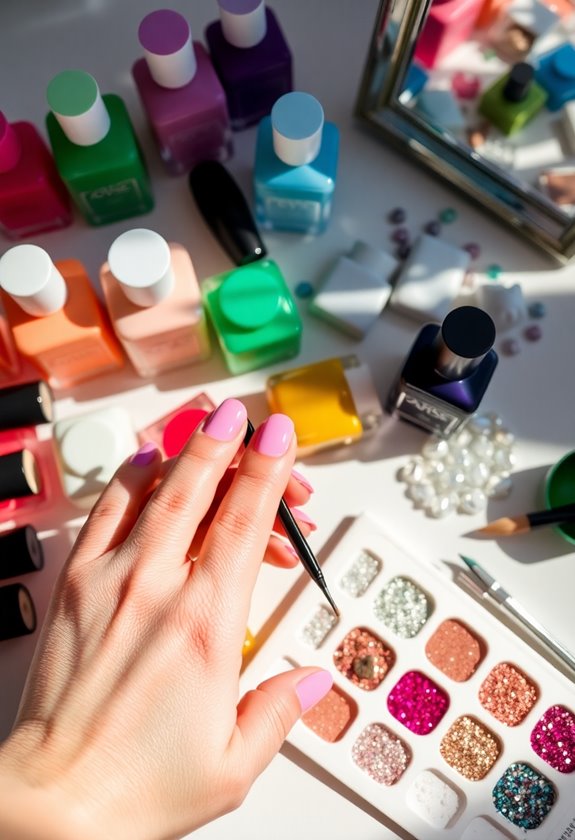
I know how to create stunning gel nail art without breaking the bank. First, I invest in essential tools like a quality nail file, cuticle pusher, and a reliable UV lamp. Choosing budget-friendly gel products is vital, as lesser-known brands can offer vibrant colors at lower prices. I love experimenting with creative techniques, like using kitchen utensils or recycled materials for unique designs. Remember to prep your nails well, use even layers while applying gel, and seal everything with a top coat. If you're excited to learn more tips and tricks that can elevate your nail game, keep exploring!
Key Takeaways
- Research and compare lesser-known gel products for vibrant, long-lasting options at budget-friendly prices.
- Use household items like forks or toothpicks to create unique textures and designs without additional costs.
- Experiment with ombre effects using a sponge to blend colors, adding depth without spending on tools.
- Incorporate recycled materials as nail embellishments for creative designs that are both eco-friendly and cost-effective.
- Watch tutorials and read reviews to maximize your budget while learning new gel art techniques.
Essential Tools for DIY Gel Nails
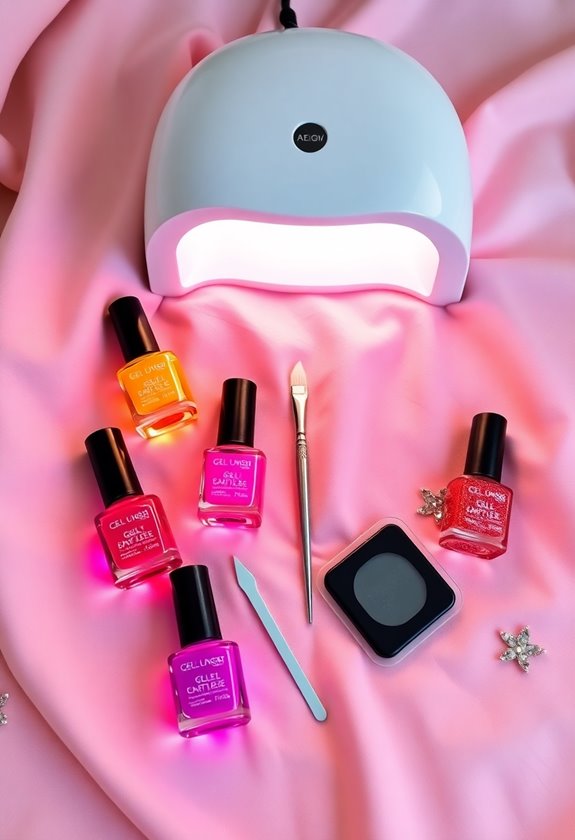
When I first dived into the world of DIY gel nails, I quickly realized that having the right tools made all the difference. For nail prep, I found a quality nail file, buffer, and cuticle pusher vital. These tools help create a smooth surface and guarantee my gel application lasts longer. I also invested in a good UV or LED lamp, which is non-negotiable for curing the gel properly.
When it comes time for gel removal, I've learned that cotton pads, acetone, and a gentle scraper are essential. Soaking the cotton pads in acetone and wrapping them around my nails makes the removal process easier and protects my natural nails. With these essentials, my DIY gel nail experience has been much more enjoyable!
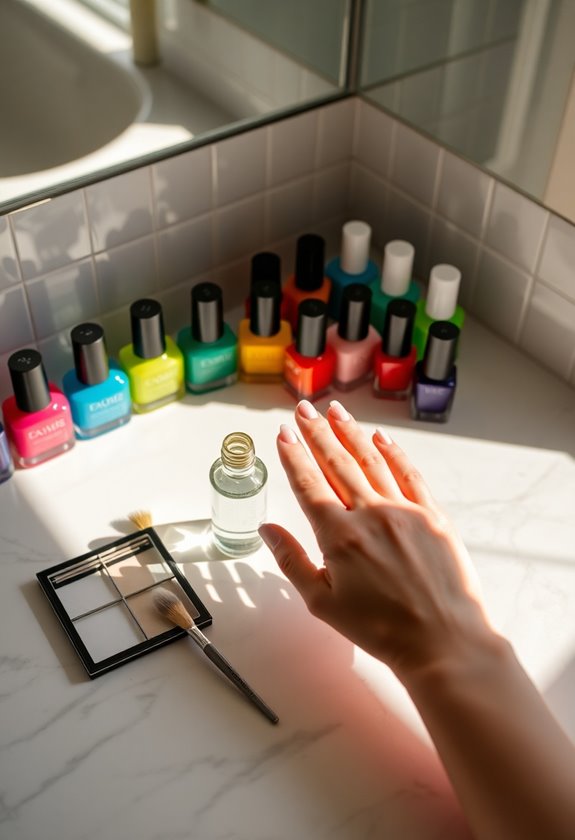
Choosing Affordable Gel Products
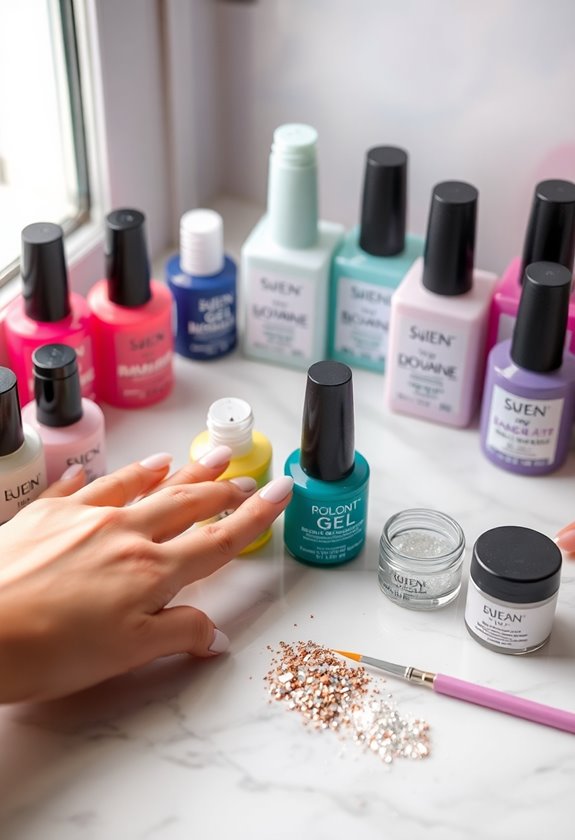
Finding affordable gel products can greatly enhance your DIY nail art experience without breaking the bank. I've explored various gel nail brands, and I've discovered some gems that deliver quality without the hefty price tag. It's essential to do product comparisons; I often read reviews and watch tutorials to see how different brands perform. Some budget-friendly options I've found are surprisingly long-lasting and vibrant. Don't overlook lesser-known brands—they can sometimes outshine the pricier ones! By being selective and doing a bit of research, I always manage to find products that fit my budget and needs. Trust me, you don't need to spend a fortune to achieve stunning gel nails at home!
Step-by-Step Application Guide
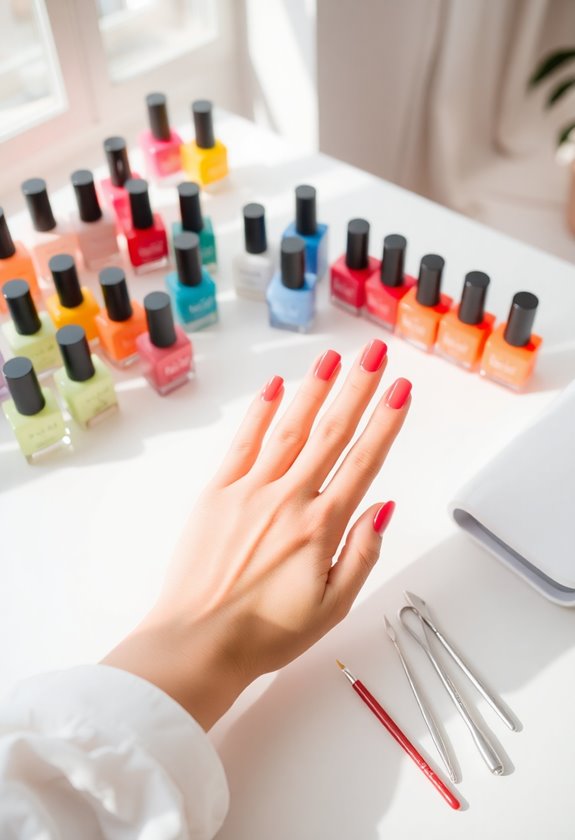
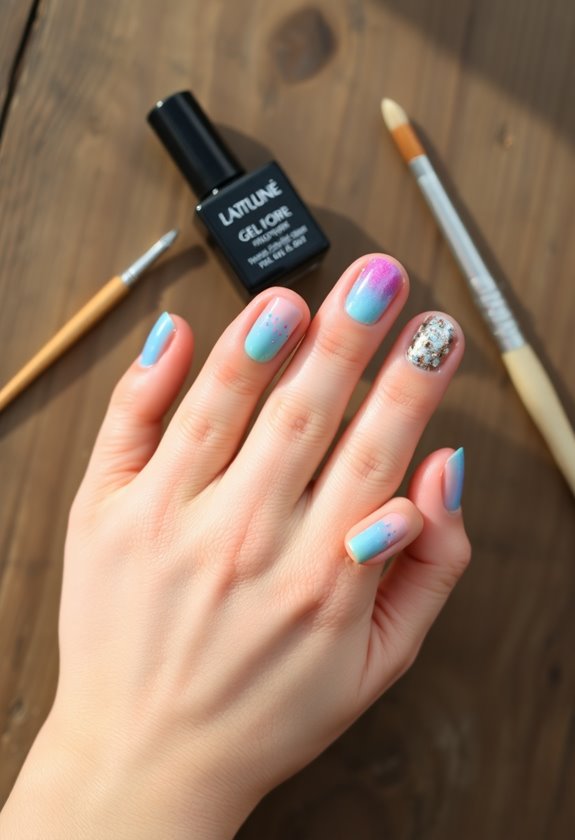
Applying gel nail art at home can be a fun and rewarding experience, and I've developed a simple step-by-step guide to make the process easier. First, start with nail prep techniques: gently push back your cuticles and buff the surface of your nails for better adhesion. Next, apply a base coat of gel polish, curing it under a UV or LED lamp for the recommended time. After that, apply your chosen gel polish color, ensuring an even layer, and cure again. If you want to add more depth, repeat this process with additional layers. Finally, seal your design with a top coat and cure once more. Finish by wiping off the tacky layer with alcohol for a glossy finish. Enjoy your beautiful nails!
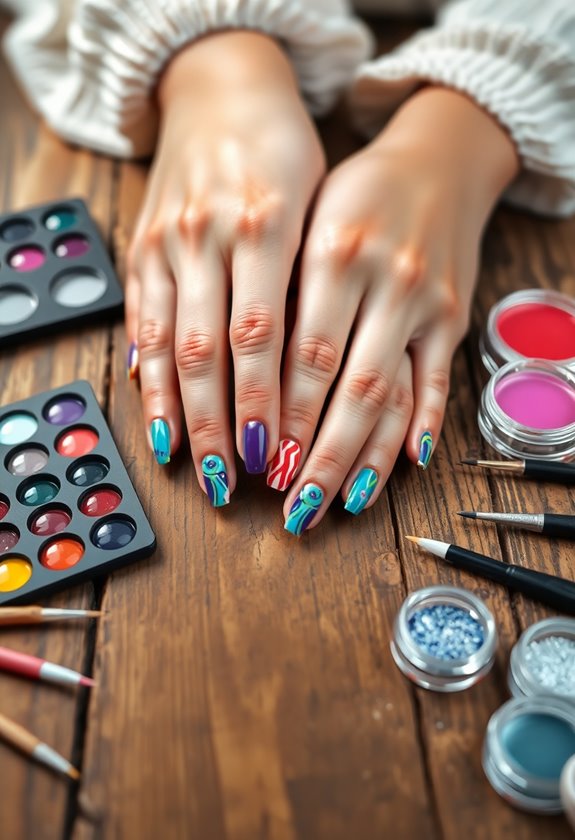
Creative Nail Art Techniques
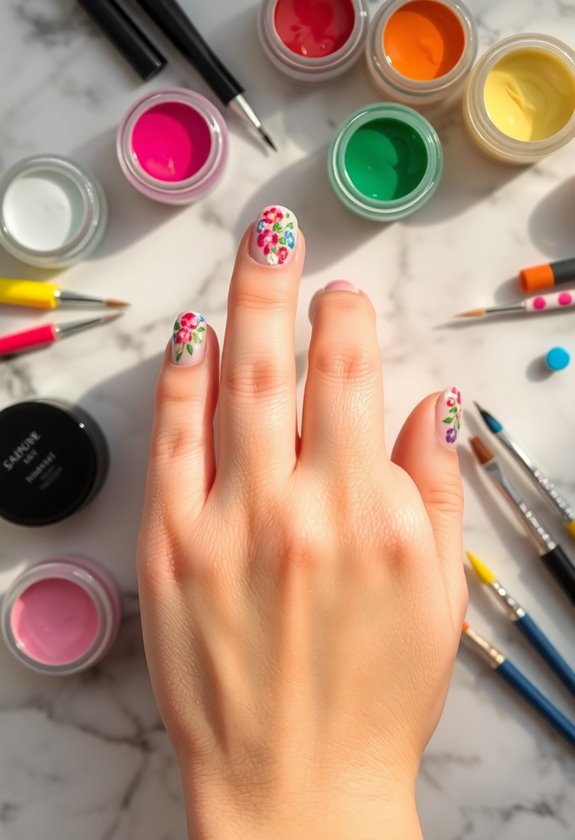
Now that you've mastered the basics of gel nail application, it's time to explore some creative nail art techniques that can elevate your designs. One of my favorite approaches is to play with abstract designs. These allow for freedom and imagination, letting you mix colors and shapes in unique ways. You could follow the latest nail art trends by incorporating geometric patterns or splashes of color that mimic a modern painting. Don't hesitate to experiment with a sponge for that trendy ombre effect or use a fine brush for intricate details. Remember, the key is to have fun and let your creativity shine. With these techniques, your nails can become a canvas for your artistic expression!
Using Household Items for Decor

When it comes to enhancing your gel nail art, seek no additional sources than the everyday items you already have at home. I love using household items to create unique designs without breaking the bank. Here are some ideas to inspire you:
- Kitchen utensils: Use a fork or a toothpick for fun textures.
- Recycled materials: Transform old jewelry into nail embellishments.
- Fabric scraps: Cut them into shapes for a chic, textured look.
- Spice powders: Mix colors into your gel for a stunning effect.
You can also incorporate natural elements, like dried flowers, or craft supplies such as paper cutouts. Even adhesive tape can help create crisp lines! Get creative and repurpose what you already have!
Tips for Nail Art Design
Before diving into your nail art project, it's essential to have a clear design in mind. I often start by brainstorming various design themes that inspire me. Think about seasonal motifs, geometric shapes, or even floral patterns. Once I settle on a theme, I focus on color combinations that complement each other. For instance, pairing pastels with bold hues can create a stunning contrast. I also find it helpful to sketch my ideas; this way, I can visualize how the colors and shapes will interact. Remember, simplicity can be just as striking as intricate designs. Don't hesitate to experiment with different styles and techniques until you find what resonates with you. Happy designing!
Maintaining Your Gel Nails
After perfecting your nail art design, it's important to keep those gel nails looking fresh and vibrant. Maintaining your gel nails not only enhances their appearance but also promotes nail health. Here are my top tips for effective nail care:
- Moisturize regularly: Use cuticle oil to keep your nails hydrated.
- Avoid harsh chemicals: Stay away from acetone and other strong cleaners that can damage your nails.
- Wear gloves: Protect your hands while doing chores to prevent chipping.
- Limit exposure to water: Excess moisture can weaken the gel, so try to keep your hands dry when possible.
Troubleshooting Common Issues
At some point, you might encounter issues with your gel nails, and it's essential to tackle them promptly to maintain their beauty. One common problem I've faced is poor gel polish adhesion. If your polish peels or chips easily, make sure you prep your nails properly by removing oils and moisture before application. A good base coat can also help with adhesion.
Another issue could be curing light problems. If your nails aren't curing properly, check if the light is strong enough or if you're holding your nails in the right position. Sometimes, it's just a matter of extending the curing time. By addressing these issues as they arise, I've managed to keep my gel nails looking fabulous without breaking the bank!
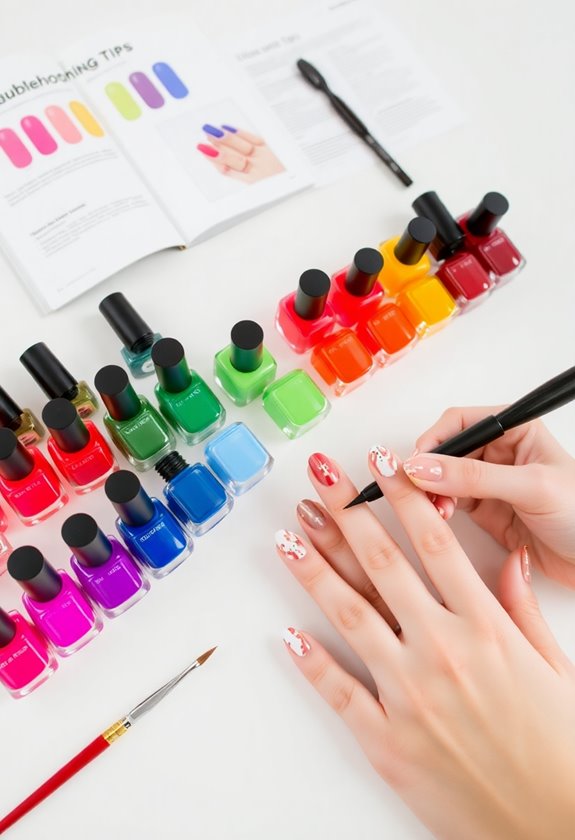
Budget-Friendly Nail Art Inspiration
When I'm on the hunt for budget-friendly nail art inspiration, I often turn to everyday items around my home. These items can spark creativity and help me stay up-to-date with nail art trends without breaking the bank. Here are a few things I love to use:
- Old makeup brushes for detailing
- Tape or stickers for clean lines
- Straws for dotting techniques
- Kitchen sponges for textured effects
I also explore budget colors that can mimic high-end shades, allowing me to create stunning designs at a fraction of the cost. By mixing and matching these items, I find endless ways to innovate my nail art while keeping my budget in check. Remember, creativity is key!
Resources for Learning More
Exploring the world of gel nail art can be thrilling, especially with the wealth of resources available to help you sharpen your skills. I've found that online tutorials are a fantastic way to learn new techniques. Platforms like YouTube offer step-by-step guides from talented artists who share their tips and tricks for achieving stunning designs. Additionally, nail art blogs can be a goldmine of inspiration and advice. They often feature detailed articles on products, tools, and even seasonal trends. By following these resources, you can expand your knowledge while keeping your budget in check. Don't hesitate to immerse yourself in these online spaces; you'll be amazed at how much you can learn without spending a fortune!
Frequently Asked Questions
Can I Use Regular Nail Polish With Gel Products?
I've tried using regular nail polish with gel products, but they don't mix well. For best results, I recommend sticking to gel polish compatibility for nail art techniques to guarantee a long-lasting finish.
How Often Should I Change My Gel Nail Design?
I change my gel design every two to three weeks, especially to match seasonal themes. It keeps my nails fresh and fun, and I love experimenting with different styles and colors to reflect the seasons.
Are There Any Allergic Reactions to Gel Products?
I know you might think gel products are safe, but they can cause allergic reactions. I've experienced symptoms like itching and redness due to gel product allergens. Always patch test before using new products to stay safe.
How Can I Remove Gel Nails Without Damage?
To remove my gel nails safely, I soak them in acetone for about 10-15 minutes, gently file the top layer, and then use a wooden stick to lift the gel. It's effective and minimizes damage.
What Are the Best Tips for Nail Care Between Applications?
Back in the day, I never thought nail care mattered. Now, I prioritize nail hydration and cuticle care between applications. I always use a nourishing oil and keep my nails moisturized for lasting health and strength.