I've discovered some fantastic thrifty manicure ideas that won't empty my wallet. For DIY nail art, I love using simple tools like dotting pens and nail tape to create stunning designs at home. Kitchen items, like plastic wrap or coffee grounds, can add unique textures too. I stick to affordable polish brands like Sinful Colors and Wet n Wild, which offer great quality without the hefty price tag. Regular nail care, like moisturizing and trimming, keeps my nails healthy. With a bit of creativity, I can transform my nails without spending much. There's so much more to learn about maximizing your manicure fun!
Key Takeaways
- Utilize DIY nail art techniques with simple tools like dotting pens and striping brushes for creative designs without salon costs.
- Repurpose household items like plastic wrap and coffee grounds to create unique textures and natural exfoliants for your nails.
- Opt for affordable nail polish brands such as Sinful Colors and Wet n Wild, which offer vibrant colors and quick-dry formulas.
- Maintain nail health with regular trimming, cuticle oil, and a strengthening base coat to prevent breakage and enhance polish longevity.
- Experiment with minimalist or geometric designs using neutral tones or bold contrasts for chic and stylish manicures at home.
DIY Nail Art Techniques
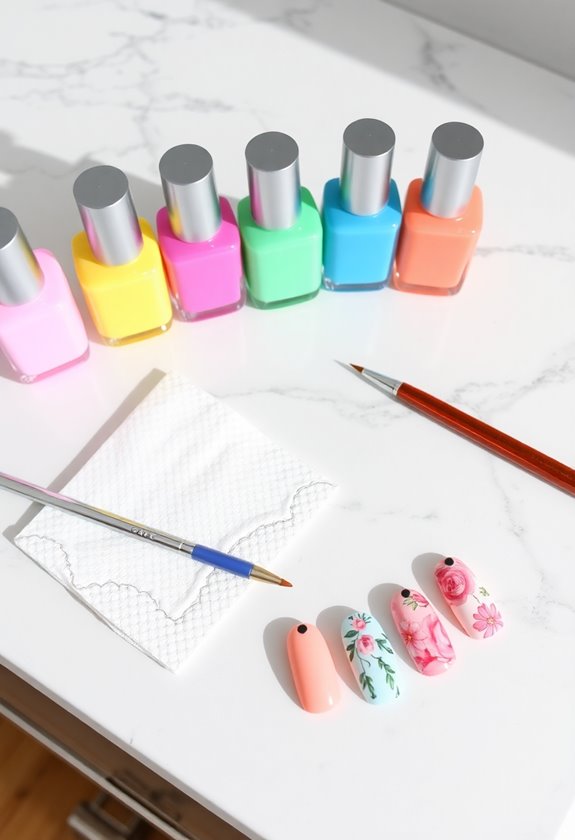
When it comes to DIY nail art techniques, I've found that just a few simple tools can help you create stunning designs right at home. First, invest in essential nail art tools like dotting pens, striping brushes, and nail tape. These tools make it easy to add intricate details, like polka dots and lines. Next, don't underestimate the power of color mixing! By blending different nail polish shades, you can achieve unique colors that will make your designs pop. I often combine a couple of shades to create my custom hues. Experimenting with techniques like ombre or marbling can elevate your nail art game. With a bit of practice, you'll be amazed at what you can achieve without splurging at a salon!
Using Household Items
Getting creative with household items can be a game changer for your manicure routine. I love using kitchen tools like plastic wrap to create unique textures on my nails. For added flair, I grab fabric swatches to dab on color for a fun sponge stamp effect. If I want a natural exfoliant, coffee grounds work wonders when mixed with clear polish. Fruit peels can also add a splash of color and scent! I've even used paper straws to create perfect dots for nail art. Tape art is fantastic for clean lines, while cotton swabs help with precision touch-ups. Finally, sprinkling salt on wet polish gives a cool textured look. Who knew my home had so many manicure possibilities?
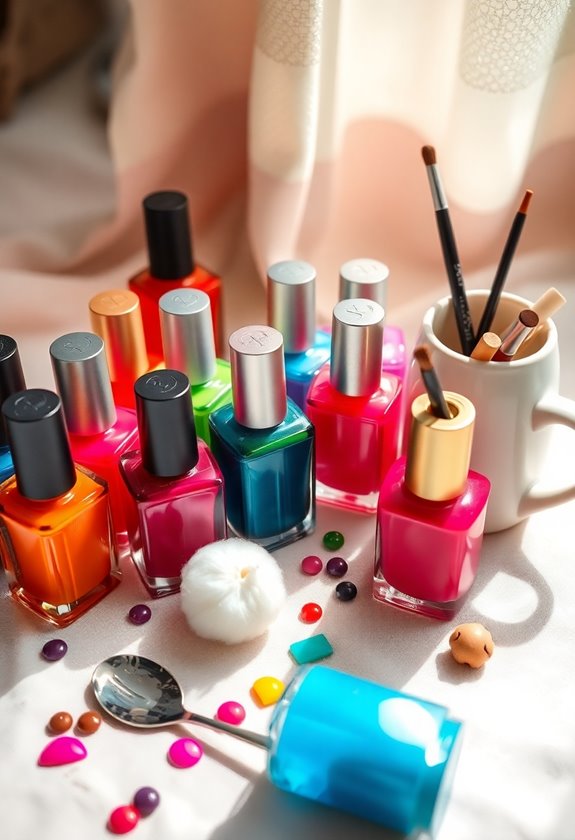
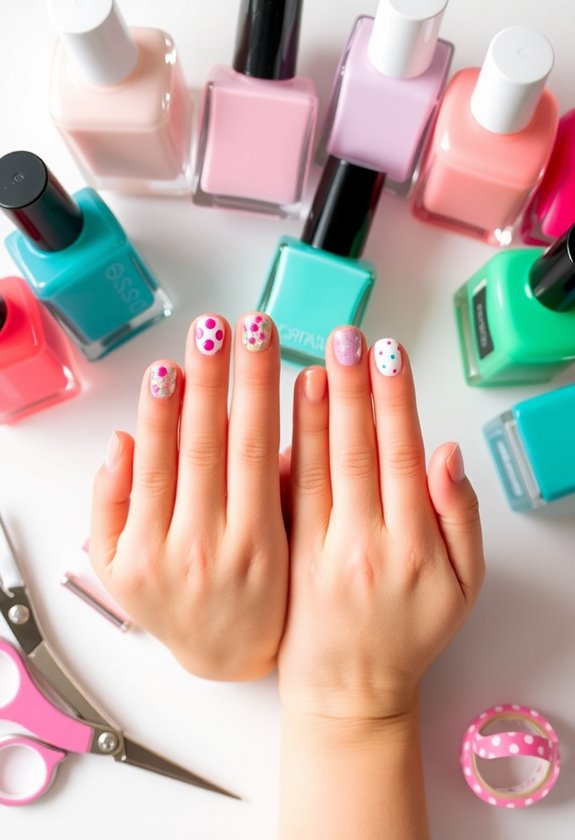
Affordable Nail Polish Brands
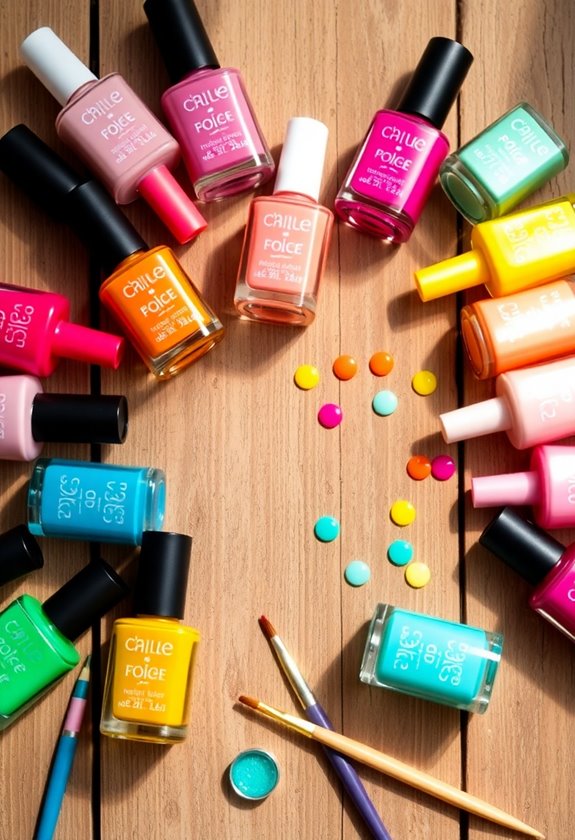
I often find myself reaching for affordable nail polish brands that don't compromise on quality. It's amazing how many options there are for budget-friendly colors and affordable finishes that look salon-worthy. Here are some of my top picks:
| Brand | Notable Features |
|---|---|
| Sinful Colors | Variety of vibrant shades |
| Wet n Wild | Quick-dry formulas |
| Essie Gel Couture | Long-lasting wear |
| Sally Hansen | Strong and chip-resistant |
These brands offer a great selection, so I can switch up my manicure without breaking the bank. Whether I'm feeling bold or subtle, I know I'll find a perfect match in these affordable options. Happy polishing!
Nail Care Essentials
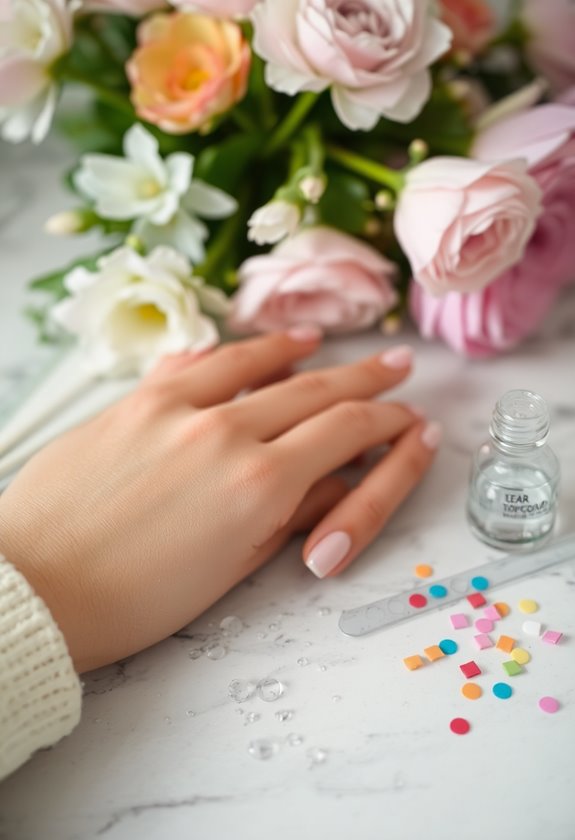
Maintaining beautiful nails goes beyond just choosing the right polish. To truly enhance your nail health, I always prioritize proper nail and cuticle care. First, I make it a habit to keep my nails trimmed and shaped regularly, preventing breakage and promoting growth. I also invest in a good cuticle oil; it's a game changer for keeping my cuticles hydrated and healthy. A gentle pushback of cuticles after a warm soak helps prevent hangnails, too. Additionally, I moisturize my hands often to maintain skin elasticity around the nails. Ultimately, I don't forget to apply a strengthening base coat before any polish. By incorporating these simple steps, I've noticed a significant improvement in the overall look and strength of my nails.
Creative Nail Design Ideas
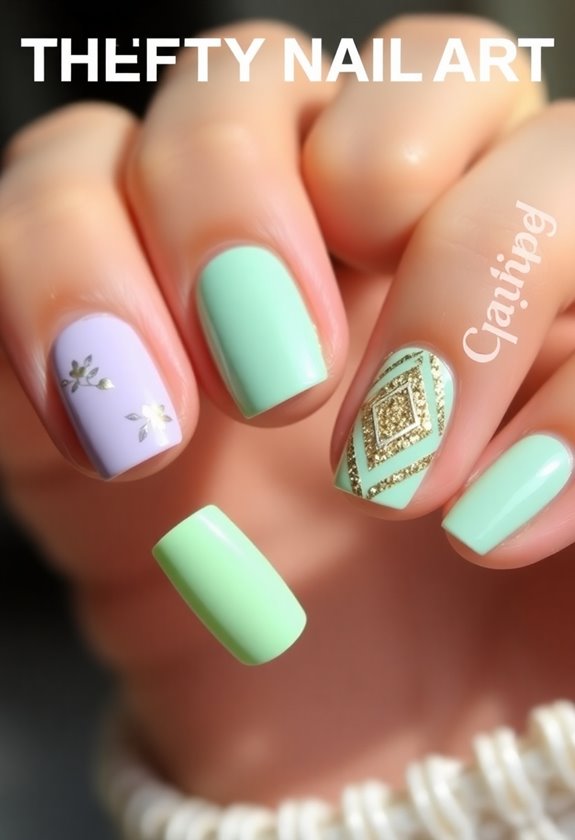
Creative nail design ideas can transform your manicure from ordinary to extraordinary. I love experimenting with nail design trends that fit any occasion. Minimalist nail art offers a chic look, while bold color combinations can make a statement. Geometric patterns add a modern twist, and floral nail designs bring a touch of nature. I often play with textured finishes to elevate my style, and mixed media nails allow for endless creativity. Here's a quick reference table for inspiration:
| Nail Design | Style | Color Palette |
|---|---|---|
| Minimalist | Simple lines | Neutral tones |
| Floral | Nature-inspired | Pastels |
| Geometric | Shapes and angles | Bold contrasts |
With these ideas, you can easily create stunning looks that fit your personality!
Seasonal Manicure Inspiration
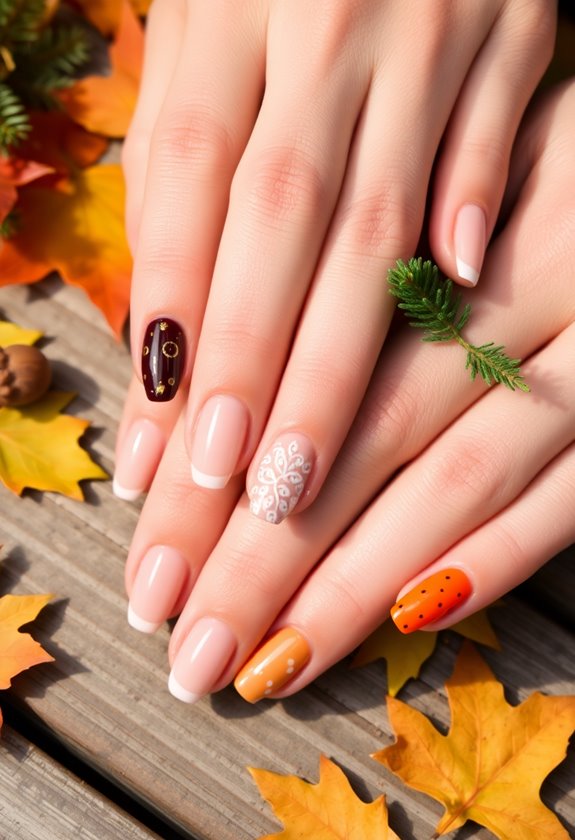
Seasonal inspiration brings a fresh perspective to your manicure, allowing you to embrace the beauty of each time of year. In winter, I love to incorporate snowflakes or icy blues and whites, creating a serene look that reflects the chilly season. You can easily achieve this with a simple white base and a few delicate snowflake designs.
As autumn rolls in, I gravitate towards warm, earthy tones like deep reds, burnt oranges, and golden yellows. A gradient of autumn colors can be a stunning choice that captures the essence of falling leaves. By switching up your colors and themes with the seasons, you not only save money but also keep your nails looking fresh and vibrant all year round.
Nail Accessories on a Budget
On a budget, adding some flair to your nails doesn't have to break the bank. I've found that nail wraps are a game changer for a quick and stylish manicure. They're easy to apply, last for weeks, and come in countless designs—perfect for any occasion. Plus, you can often find them on sale or at discount stores.
Another great option is budget stickers. These little gems can transform a simple polish into a creative masterpiece. I love using them to add designs or accents that catch the eye. Just stick them on your nails after painting, and voilà! With these affordable accessories, I can keep my nails looking fabulous without spending a fortune. So go ahead and experiment!
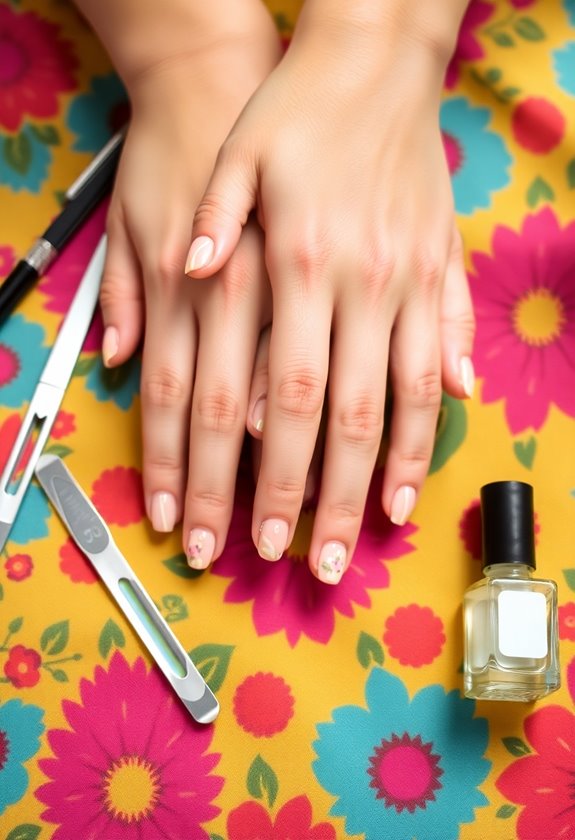
At-Home Manicure Steps
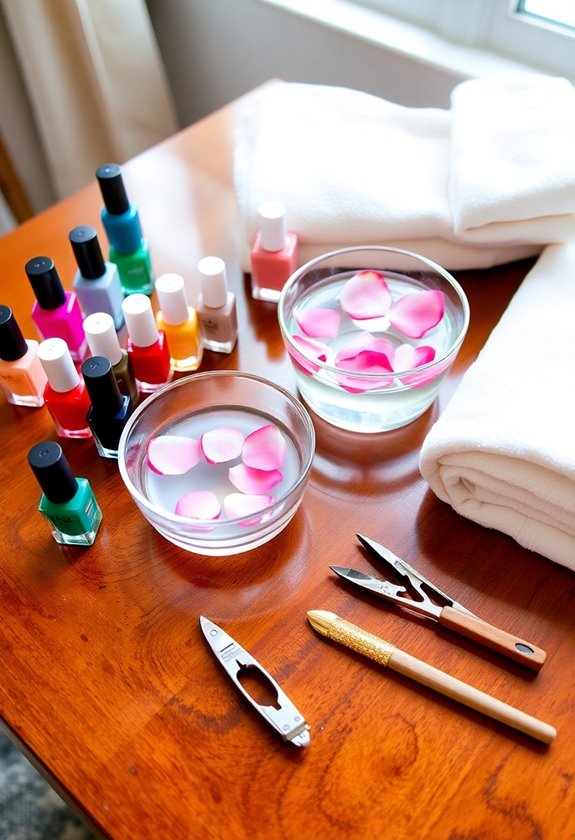
Getting a salon-quality manicure at home is easier than you might think. First, gather your manicure tools: a nail file, cuticle pusher, clippers, and a buffer. Start by sanitizing your hands and tools to maintain nail hygiene. Next, trim your nails to your desired length, then file them into your favorite shape. Gently push back your cuticles using the cuticle pusher, but be careful not to damage the skin. After that, buff your nails for a smooth surface. Apply a base coat to protect your nails, followed by your chosen polish. Finish with a top coat for shine and durability. Clean up any mistakes with a small brush dipped in remover, and you're ready to show off your beautiful nails!
Upcycling Old Nail Polish
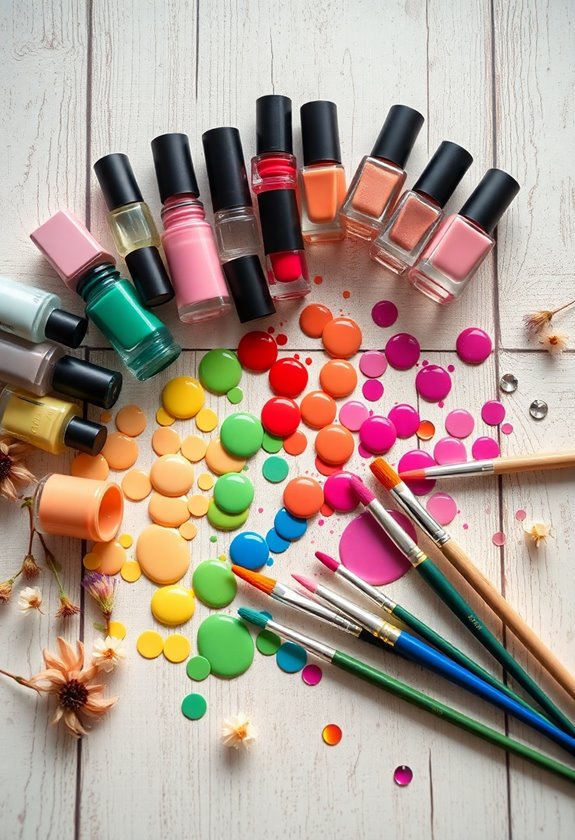
If you've got old nail polish sitting unused in your drawer, it's time to breathe new life into those bottles. I love nail polish repurposing because it allows me to create unique shades and textures without spending a dime. First, I check the consistency of each polish; if it's thickened, I add a few drops of nail polish thinner. Then, I experiment with color mixing techniques. By combining two or more polishes, I can craft a custom hue that's perfect for my mood or outfit. You'd be surprised how a little creativity can transform that forgotten bottle into something fabulous! Plus, it's a sustainable way to enjoy nail art without contributing to waste. Happy upcycling!
Tips for Long-Lasting Manicures
After revamping old nail polish, the next step is ensuring your manicure lasts as long as possible. I've found that starting with a good base coat is essential for nail strength; it provides a protective layer and helps the polish adhere better. Once that's dry, I apply my color and finish with a top coat for that added shine and durability. To speed things up, I always opt for quick drying top coats, which can save you from smudges. Also, remember to avoid using your nails as tools; this can lead to chips and breaks. Finally, reapply the top coat every few days to maintain that fresh look. Trust me, these tips can really extend your manicure's life!
Frequently Asked Questions
Can I Do a Manicure Without Professional Tools?
I often do my manicures without professional tools. Using DIY techniques and budget supplies like nail polish, a file, and a cuticle stick works wonders. You'd be surprised at the results you can achieve!
How Often Should I Do My Nails at Home?
I've found that regular nail maintenance is key, so I do my nails at home every week. Using DIY techniques keeps them looking fresh and healthy, and it's a fun way to unwind and express creativity.
What Are the Best Colors for Different Skin Tones?
I love experimenting with nail color trends! For my warm skin tone, I find coral and peach seasonal hues really pop. Cool tones like lavender and deep blue look stunning on cooler skin tones, too!
How Can I Avoid Nail Damage While Doing My Own Nails?
It's ironic, right? We love DIY techniques, yet we can damage our nails. I focus on gentle nail care, using non-acetone removers, nourishing oils, and proper tools to keep my nails healthy while saving money.
Are There Any Allergies to Consider With Nail Products?
I've learned that nail product allergies can be common. I always check for common irritants like formaldehyde and toluene. It's essential to read labels and prioritize my health while enjoying my DIY manicures.