I love creating stunning nail art without breaking the bank! Simple dotting tool designs let me create beautiful gradients with minimal effort. Striped nail art brings personality to my nails; I often use striping tape for crisp lines. Ombre techniques are great for blending shades seamlessly, and floral patterns add a touch of elegance. For a modern twist, I play around with geometric shapes in bold colors. With minimal costs and creativity, I can achieve salon-worthy designs at home. If you're curious about more ideas and techniques, you won't want to miss what's next!
Key Takeaways
- Use a dotting tool to create stunning gradients with two colors for an easy yet impressive design.
- Striped nail art can be achieved with tape for clean lines, offering a variety of color combinations.
- Ombre techniques using a makeup sponge allow for seamless color transitions and dramatic effects.
- Floral patterns can be made with a small brush or dotting tool, using vibrant colors for an eye-catching look.
- Experimenting with geometric shapes and mixing colors can elevate your manicure without requiring advanced skills.
Dotting Tool Designs
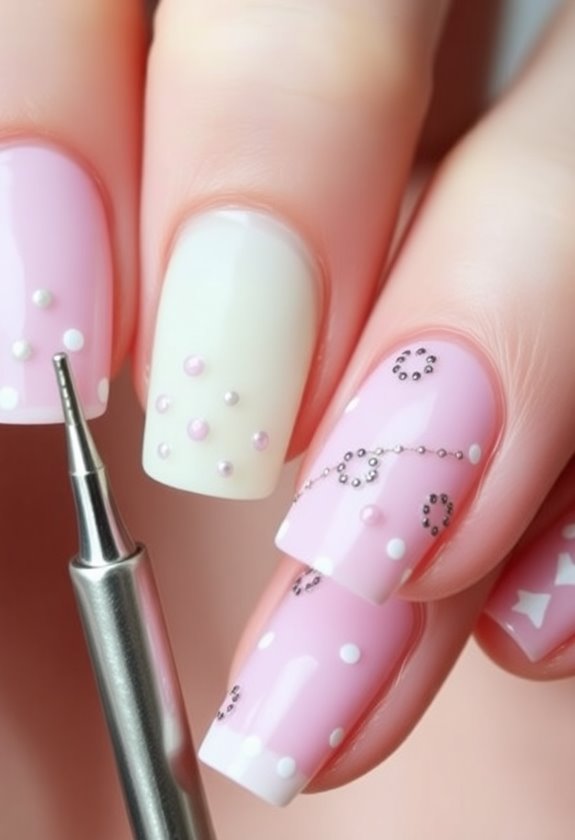
Have you ever wondered how to create stunning nail art with just a simple tool? I'm talking about the dotting tool, which can transform your nails into a work of art. One of my favorite techniques is creating dotted gradients. I love using two dual color polishes to achieve a beautiful ombre effect. Start with a base color, then use the dotting tool to apply smaller dots of the second color, gradually increasing the size as you move up the nail. This method not only looks impressive but is also surprisingly easy. Plus, you can customize the colors to match any outfit or occasion. Trust me, once you try it, you'll be hooked on dotting tool designs!
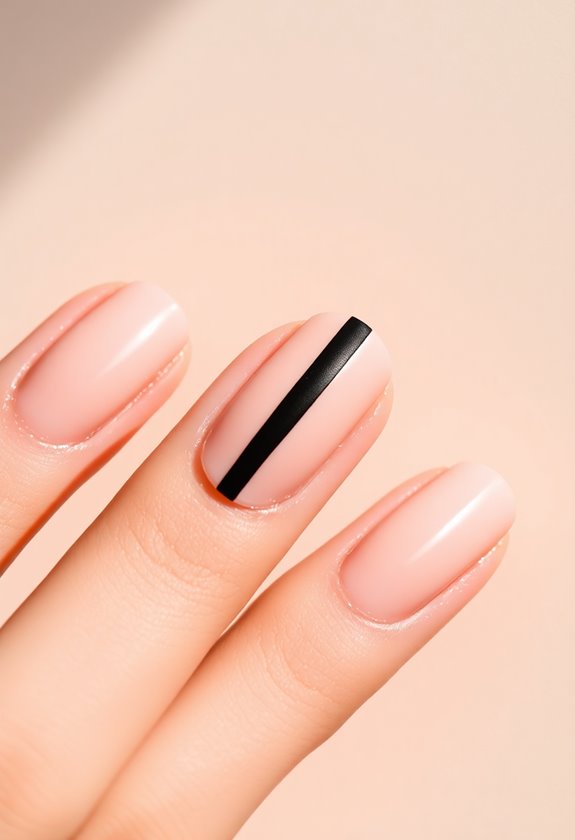
Striped Nail Art
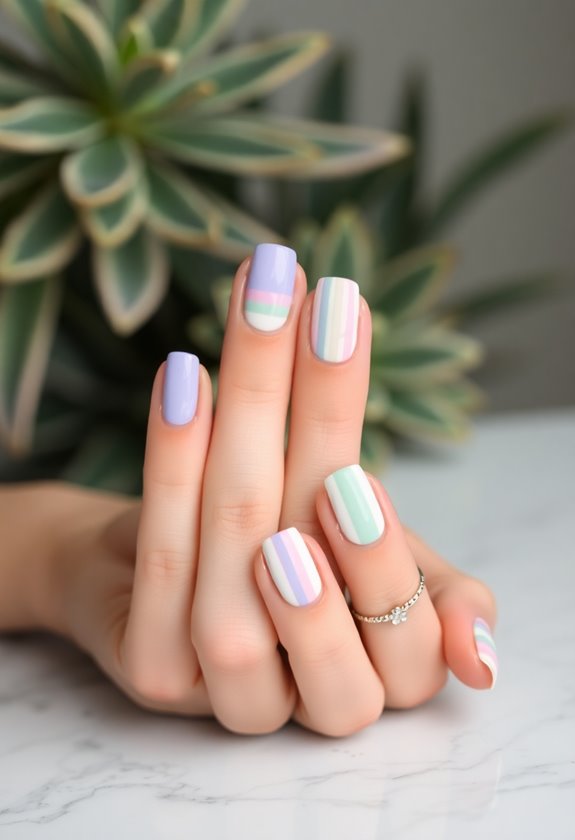
Striped nail art is a fantastic way to add a pop of personality to your manicure. I love experimenting with different striped color combinations to create unique looks that reflect my mood. For a classic vibe, I often go for black and white stripes, but bright colors can really make the design stand out. One of my favorite methods is using striped tape techniques. By applying tape in various directions, I can easily create clean, sharp lines without any mess. After painting my base color, I place the tape strategically and paint over it with my chosen stripes. Peeling off the tape reveals a stunning design that always gets compliments. Trust me, it's a simple yet effective way to elevate your nail art game!
Ombre Techniques
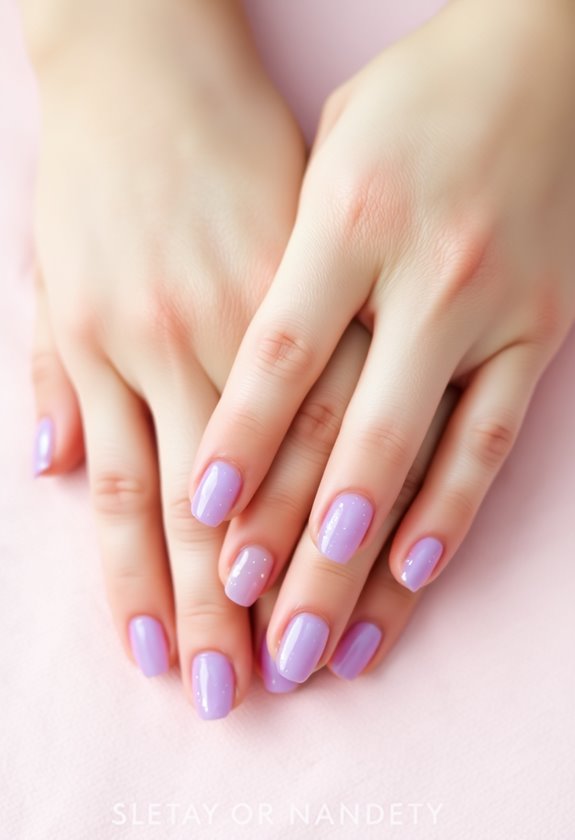
Ombre techniques bring an eye-catching gradient effect to your nails, effortlessly blending two or more colors for a stunning look. I love using ombre color blending because it creates that beautiful shift that catches everyone's attention. For a simple gradient nail application, start with a base coat and let it dry. Then, apply your first color, and while it's still wet, use a makeup sponge to dab on the second color. This technique allows the colors to mix seamlessly, achieving that perfect ombre effect. You can experiment with different color combinations or even go for a more dramatic look with bold shades. Trust me, once you master this technique, you'll want to show off your gorgeous nails everywhere!
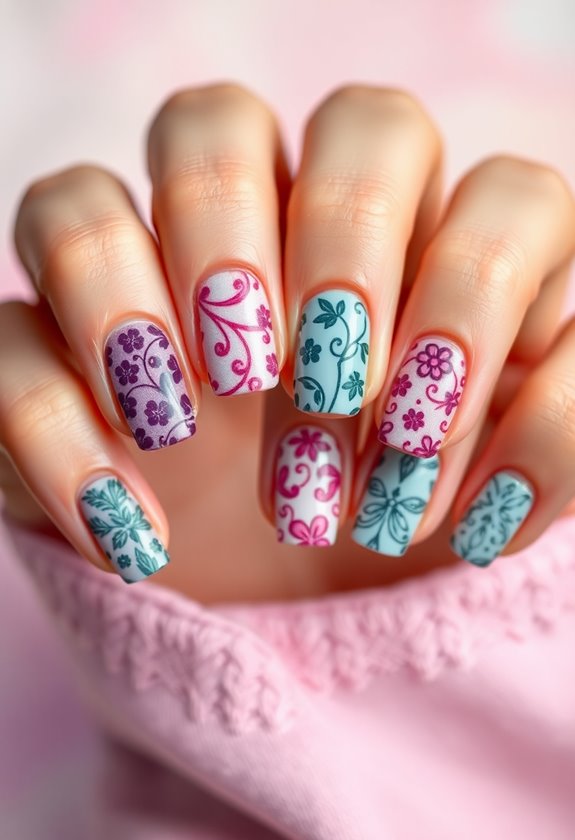
Floral Patterns

After mastering ombre techniques, you might want to explore floral patterns for a fresh and vibrant nail design. Floral nail art can be a delightful way to express your creativity. I love experimenting with different flower arrangements, whether it's delicate daisies or bold roses. Start by choosing a base color that complements your floral design; pastel shades work wonderfully for a soft look, while bright colors can make your flowers pop. Once you've picked your color combinations, use a small brush or dotting tool to create your flowers. Don't be afraid to mix colors for the petals or add tiny leaves for detail. With a little practice, you'll have gorgeous floral nails that brighten your day and showcase your style!
Geometric Shapes
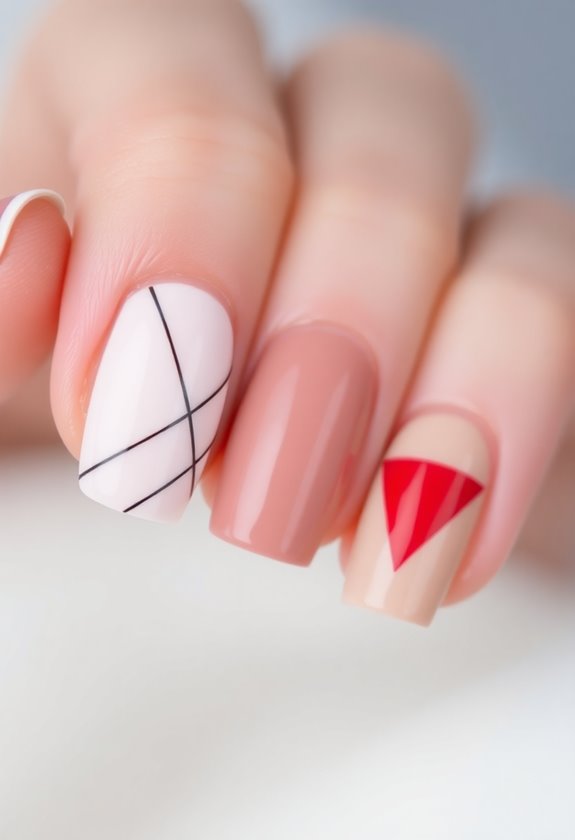
Geometric shapes are a fantastic way to add a modern twist to your nail art. I love how easy they are to create and how versatile they can be. You can mix and match different shape variations and color combinations to express your style. Here are some ideas to get you started:
- Triangles: Use bold colors for a striking look.
- Stripes: Alternate colors for a dynamic effect.
- Circles: Try using polka dots or solid circles for a playful vibe.
- Squares: Create a checkerboard pattern with contrasting shades.
These simple designs can elevate your manicure without requiring advanced skills. Just grab some tape and your favorite polish, and let your creativity shine!
Negative Space Art
Have you ever wondered how to make your nail art truly stand out with minimal effort? Negative space art is the perfect solution! By using negative space techniques, you can create stunning designs that play with the empty areas of your nails. I love experimenting with different negative space colors, like a classic nude base paired with bold, vibrant hues. For instance, I'll often paint half-moons or stripes, leaving parts of my natural nail exposed. This not only adds an artistic flair but also gives my nails a fresh look that's easy to achieve. Plus, it's a great way to showcase your creativity without needing intricate designs. Trust me, negative space art is a game changer!
Glitter Accents
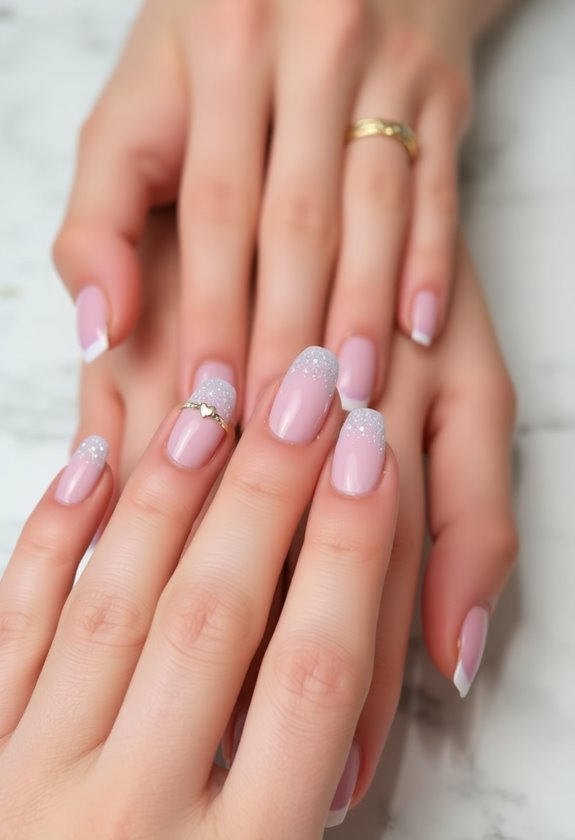
While negative space art offers a sleek and modern look, adding glitter accents can elevate your nail designs to a whole new level. I love how glitter can transform any manicure, making it pop with personality. You can easily create stunning effects with just a bit of creativity. Here are some simple ideas to get you started:
- Glitter Gradients: Blend glitter from the cuticle to the tip for a soft, ombre effect.
- Glitter Placement: Strategically place glitter on tips or specific areas for a chic touch.
- Accent Nails: Choose one or two nails to feature glitter while keeping the rest simple.
- Layering: Combine different types of glitter for a unique, textured look.
These techniques are quick and can be done at home without breaking the bank!
Stamping Methods
Stamping methods can be a game changer for your nail art routine. I've found that nail stamping allows me to create intricate designs effortlessly, making it perfect for those busy days. With just a few tools—like a stamping plate, scraper, and stamper—you can reveal endless design techniques. I love how easy it is to transfer beautiful patterns onto my nails, from floral motifs to geometric shapes.
What's even better is that I can mix and match colors to customize my look. Whether I'm going for something bold or subtle, nail stamping gives me the freedom to express my style without spending hours on my nails. Trust me, once you try it, you'll wonder how you ever lived without it!
Minimalist Nail Art
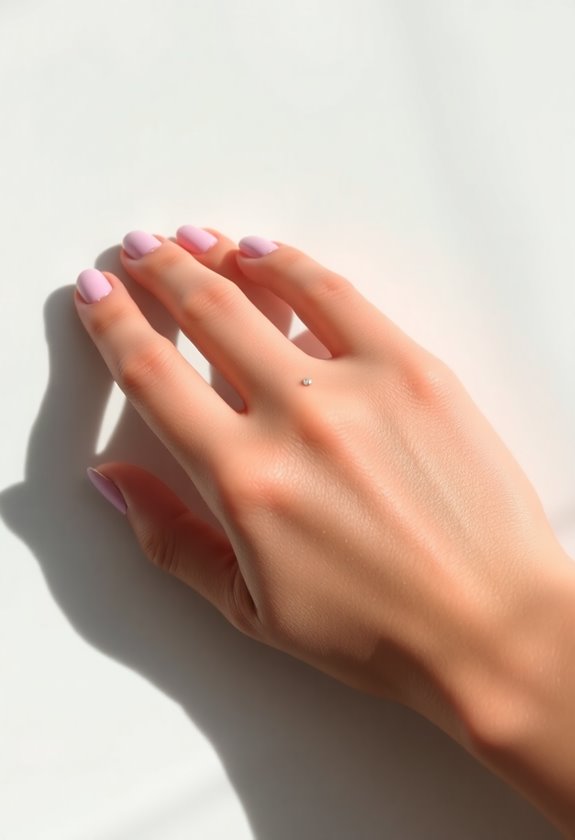
I adore minimalist nail art for its clean and effortless elegance. It's perfect for anyone who appreciates simple designs that make a statement without being overwhelming. I often find myself experimenting with various color combinations to achieve that understated look. Here are a few ideas I love:
- Negative space: Leave parts of your nails unpainted for a chic effect.
- Single stripes: A thin line in a contrasting color can add just the right amount of flair.
- Dots: Simple polka dots can transform your nails subtly.
- Monochrome: Choose a single color and vary the shades for a sleek gradient.
Minimalist nail art is all about celebrating simplicity while showcasing your personal style!
Seasonal Themes
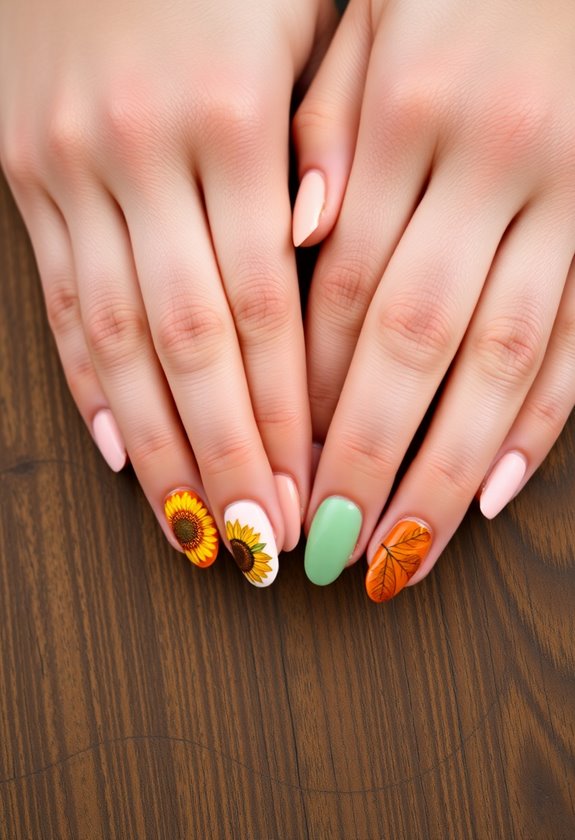
Seasonal themes in nail art allow for a fun and creative way to express your personality throughout the year. I love switching up my designs to reflect the changing seasons! For autumn, I often create charming nail art with autumn leaves in warm hues. When winter rolls around, I can't resist adding winter snowflakes for a frosty touch. As spring approaches, I embrace vibrant spring blossoms, bringing life to my nails. Finally, summer sunshine inspires me to use bright yellows and playful designs. Check out my favorite seasonal ideas in the table below:
| Season | Nail Art Ideas |
|---|---|
| Autumn | Autumn Leaves |
| Winter | Winter Snowflakes |
| Spring | Spring Blossoms |
| Summer | Summer Sunshine |
Frequently Asked Questions
What Materials Do I Need for Simple Nail Art?
For simple nail art, I usually gather basic nail art tools like dotting tools and brushes. I also choose various nail polish types—like matte, glossy, and glitter—to create fun and unique designs that stand out!
How Long Does Nail Art Typically Last?
I've often wondered how long my nail art would last. With proper nail care tips, I find nail art durability can stretch from a few days to two weeks, depending on the design and maintenance I choose.
Can I Do Nail Art on Short Nails?
I love creating short nail designs. With easy techniques like dotting, striping, or accent nails, you can achieve stylish looks that really pop. Don't underestimate the beauty of nail art on shorter lengths!
What Is the Best Base Coat for Nail Art?
I've found choosing the right base coat essential for nail art. The benefits of a good base coat include smoother application and longer-lasting designs. I always opt for one that protects my nails while enhancing color vibrancy.
How Do I Remove Nail Art Without Damaging My Nails?
I've found that gentle removal is key for my nails. I soak a cotton ball in acetone, apply it, and wait a bit. These nail art tips guarantee my nails stay healthy and undamaged.