If you're looking for the best cheap nail ideas, I've got you covered! I love minimalist nail art like negative space designs or geometric shapes, which are super easy to achieve. DIY nail stickers are a cost-effective way to express creativity, too! If you're in the mood for something colorful, ombre techniques create stunning gradients, while striped patterns let you match your nails to any outfit. I also find dotting tools perfect for adding intricate details. These ideas are just the beginning, so keep exploring to discover even more fabulous nail art options!
Key Takeaways
- Minimalist nail art using negative space and geometric shapes is cost-effective and easy to achieve with basic tools.
- DIY nail stickers allow for creative designs at a low cost, using clear adhesive sheets and nail polish or markers.
- Ombre nail techniques create stunning gradient effects with simple tools, making them a fun and affordable option to try.
- Striped patterns can be customized with various colors for a stylish look, and they require minimal supplies for execution.
- Dotting tools are affordable and versatile, enabling intricate designs like polka dots and flowers without breaking the bank.
Minimalist Nail Art
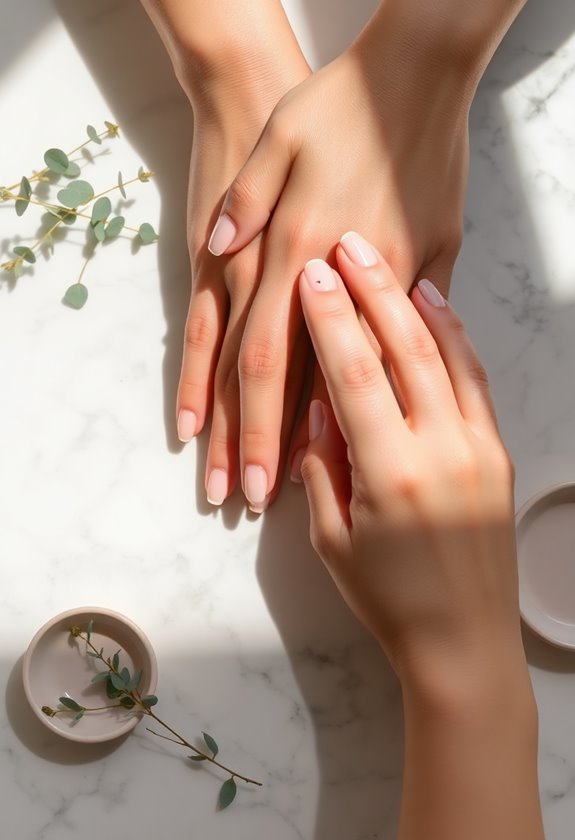
Minimalist nail art has become my go-to for stylish yet affordable manicures. I love how it allows me to express my creativity without breaking the bank. Using negative space is a game-changer; it creates a striking contrast that draws attention to the design. I often play with geometric shapes like triangles and lines, which give my nails a modern edge. You don't need to be a nail art expert to achieve this look—just a steady hand and some basic tools. I find it's perfect for any occasion, whether I'm heading to work or a night out with friends. Plus, it's super easy to customize, so I can always switch it up based on my mood.
DIY Nail Stickers
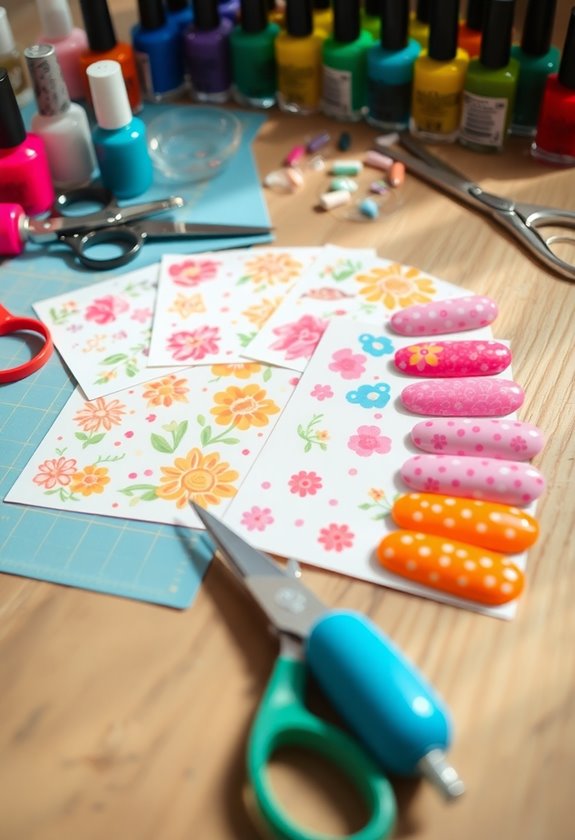
After experimenting with minimalist nail art, I discovered the fun of creating DIY nail stickers. These stickers let me express my creativity without spending a fortune. I started by using clear adhesive sheets, which I cut into various shapes for my nail sticker designs. Using nail polish or markers, I added colors and patterns to each piece, making them uniquely mine. One of my favorite DIY sticker techniques involves printing designs from my computer, then cutting them out and applying them directly to my nails. It's super easy, and I can change my look whenever I want. Plus, I love how they can last for days with a top coat. Give it a try; you won't be disappointed!
Ombre Nail Techniques
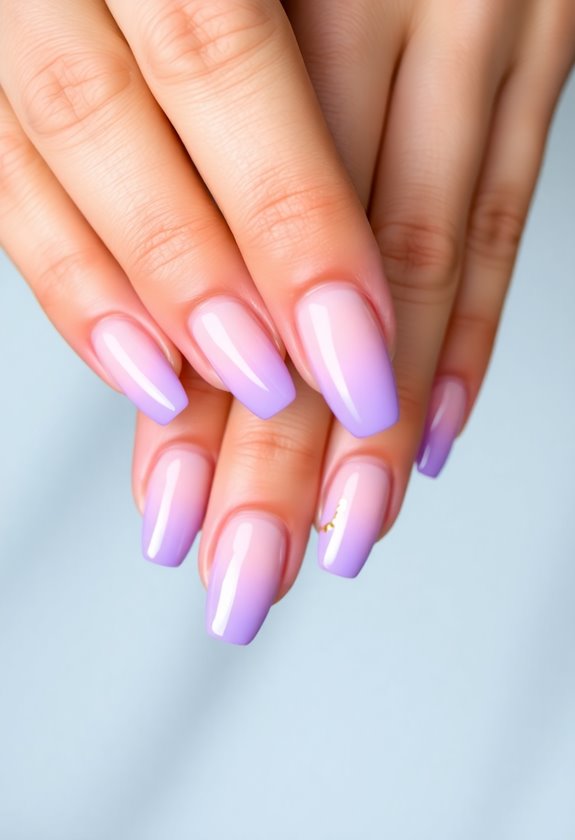
There's something magical about ombre nails that instantly elevates your manicure game. I love playing with ombre color blending because it creates a beautiful gradient effect that can suit any occasion. To master gradient nail techniques, I recommend using a makeup sponge to apply the colors in a dabbing motion. This helps achieve that seamless shift.
Here's a quick reference table for some popular ombre combinations:
| Base Color | Ombre Color |
|---|---|
| Pink | White |
| Blue | Purple |
| Orange | Yellow |
Experimenting with different shades can lead to stunning results. Trust me, once you try these techniques, you'll be hooked on the charm of ombre nails!
Striped Patterns
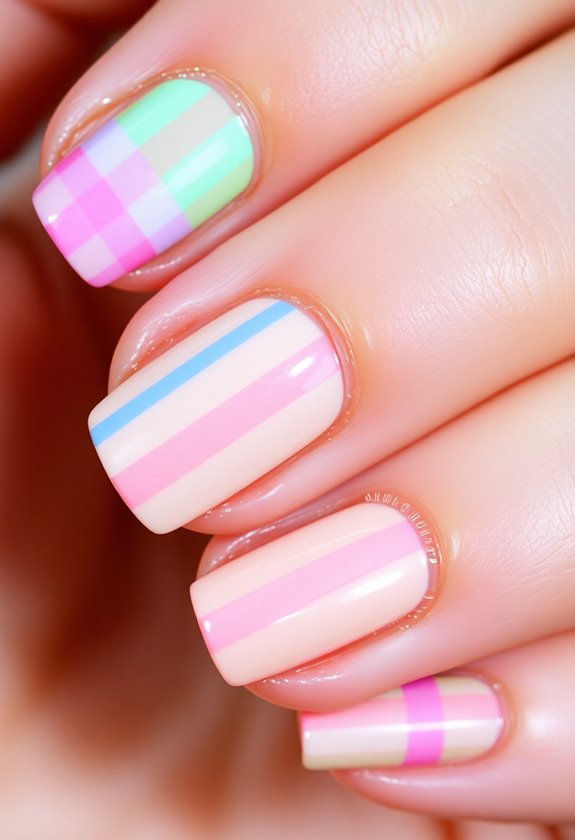
Striped patterns can transform your nails into a stylish statement. I love how easy it is to create fun designs with just a few simple steps. You can experiment with various color combinations to match any outfit or mood. Plus, the look works well with different nail shapes, enhancing your overall style. Here are some of my favorite striped nail ideas:
- Classic French Stripes: Thin white stripes on a nude base for a chic look.
- Bold Color Blocks: Use vibrant colors to create thick, alternating stripes.
- Diagonal Lines: Angle your stripes for a dynamic twist.
- Pastel Rainbow: Soft pastel stripes for a playful and fresh vibe.
With striped patterns, the possibilities are endless, and it's so much fun to mix and match!
Dotting Tool Designs
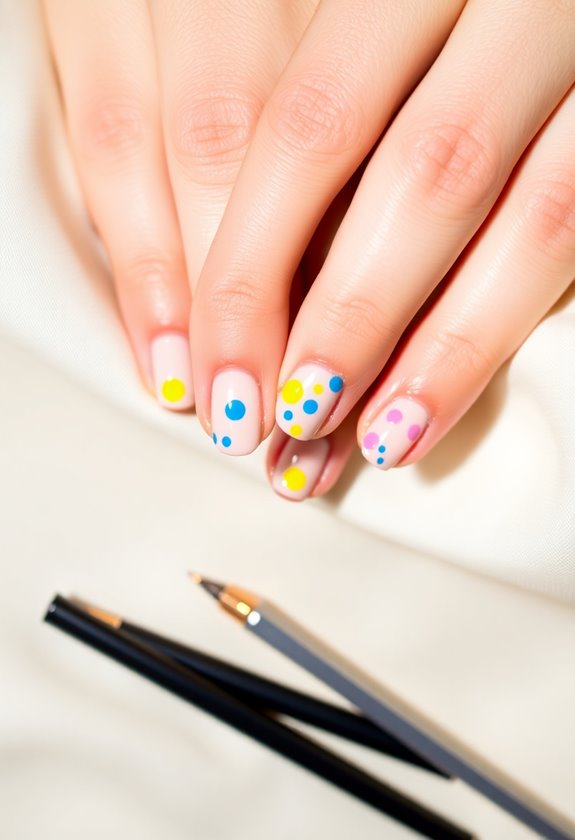
Dotting tool designs are a fantastic way to add intricate details to your nails without a lot of effort. I love experimenting with different dotting techniques to create unique and creative patterns. For a simple look, I often use a single color and create clusters of dots for a chic, minimalistic vibe. If I'm feeling adventurous, I'll mix colors and create polka dots, flowers, or even abstract designs. The beauty of dotting tools is their versatility; you can create anything from tiny delicate dots to larger, bolder ones. Plus, they're super affordable! With just a little practice, you can transform your nails into a work of art that showcases your personality. Trust me, you'll have fun with this!
Color Blocking

After playing around with dotting tool designs, I love switching things up with color blocking. It's such a fun way to express creativity, and the bold contrasts really catch the eye. I usually choose two or three colors that complement each other for a striking look. Here are my go-to color combinations:
- Navy Blue and Mustard Yellow – A chic duo that pops.
- Coral and Mint Green – Fresh and fun for warmer weather.
- Black and Hot Pink – Perfect for a bold statement.
- Light Gray and Lavender – Subtle yet sophisticated.
These combinations allow me to mix and match, creating unique styles that reflect my mood. Color blocking is definitely an affordable way to elevate any nail design!
Glitter Accents

Adding glitter accents can instantly transform any nail design from simple to stunning. I love using glitter gradients to create a dreamy effect on my nails. It's super easy, too—just blend a fine glitter from the base of the nail toward the tips. You get a beautiful ombre look without any fuss!
Another favorite of mine is adding sparkling tips. I'll paint my nails in a solid color and then dip just the tips in glitter or use a glitter polish to brush on a shimmering finish. This small detail makes a big impact! Whether you're dressing up for an event or just want to feel fabulous every day, glitter accents are a fun and affordable way to elevate your manicure.
Nature-Inspired Nails

Nature-inspired nails bring a rejuvenating touch to your manicure, reflecting the beauty of the outdoors. I love how these designs make my nails feel fresh and vibrant. Here are some ideas to spark your creativity:
- Floral motifs: Paint delicate flowers on a neutral base for a subtle yet charming look.
- Leaf patterns: Use green shades to create intricate leaf designs that pop against a pastel background.
- Nature colors: Opt for earthy tones like browns and greens to mimic natural landscapes.
- Watercolor effects: Blend various colors to achieve a dreamy, organic feel reminiscent of a sunset or sky.
With these ideas, you'll channel the essence of nature right at your fingertips!
Frequently Asked Questions
Where Can I Find Affordable Nail Art Supplies?
I've found great budget supply sources for nail art at local craft stores and online. DIY nail kits are perfect for experimenting without breaking the bank, so I always check for deals before buying supplies.
How Can I Make My Nail Designs Last Longer?
If my nails could talk, they'd beg for nail care tips! To boost their longevity, I use a top coat and avoid dishwashing. Little tricks like these make my designs last longer—no nail drama, just fabulous!
What Are the Best Nail Polish Brands for Budget-Friendly Options?
I've found that budget polish comparisons really help when choosing. For affordable brand reviews, I love brands like Sinful Colors and Essie's gel line—they offer great quality without breaking the bank. You won't regret trying them!
Can I Use Regular Paint for Nail Art Designs?
I know you might think regular paint's too harsh for nails, but I've tried it! Nail paint alternatives can work wonders with DIY nail techniques. Just guarantee you use a top coat for protection and longevity.
How Do I Remove Nail Art Without Damaging My Nails?
Removing nail art without damaging my nails involves gentle nail care. I soak cotton in acetone, place it on my nails, and wrap them in foil. After a few minutes, I gently wipe away the design.