DIY nail art hacks are essential because they save me money while allowing my creativity to shine. I can experiment with unique designs and colors that reflect my personality, all from the comfort of home. Plus, I've learned time-saving techniques that make the process efficient and enjoyable. With so many online resources, I can access fresh ideas and tutorials to refine my skills. The more I practice, the better I become at creating stunning nail art. Trust me, once you start experimenting, you'll discover so much more about your own style and creativity along the way.
Key Takeaways
- DIY nail art hacks save money by reducing the need for salon visits while maintaining high quality in nail care.
- They foster creativity and self-expression, allowing individuals to showcase their unique personality through vibrant designs.
- Time-saving techniques streamline the nail art process, making it easier and less stressful to achieve beautiful results.
- Access to online tutorials and communities provides endless inspiration and ideas for unique nail designs.
- Regular practice of DIY techniques enhances skills, boosting confidence in creating intricate nail art masterpieces.
Cost-Effective Beauty Solution
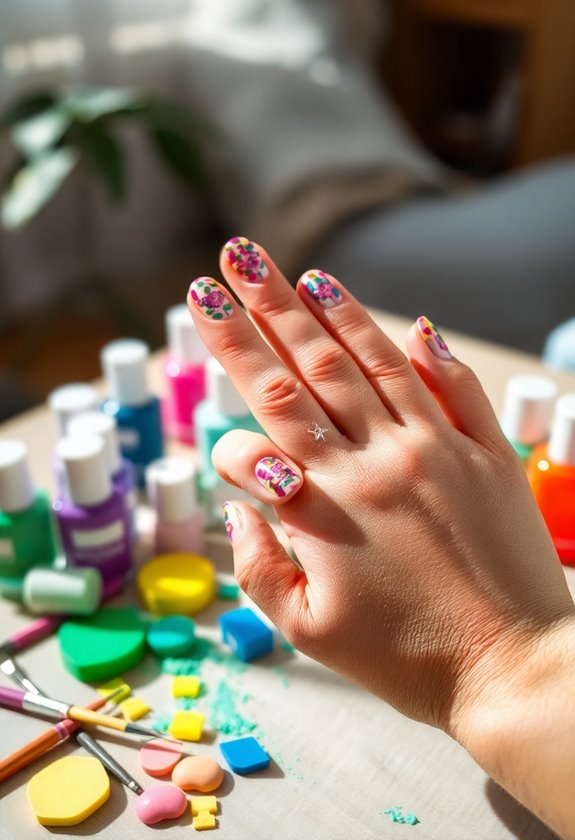
When I realized how much money I was spending at nail salons, I knew I had to find a better solution. That's when I started exploring budget-friendly alternatives for my nail care. Instead of shelling out cash for manicures, I invested in a few nail care essentials, like a quality nail file, cuticle oil, and a good base and top coat. With these tools, I could maintain my nails at home without sacrificing quality. I discovered that simple techniques, like buffing and moisturizing, made a huge difference. Plus, I could experiment with colors and designs without the pressure of a salon appointment. Embracing DIY nail care not only saved me money but also empowered me to take control of my beauty routine.
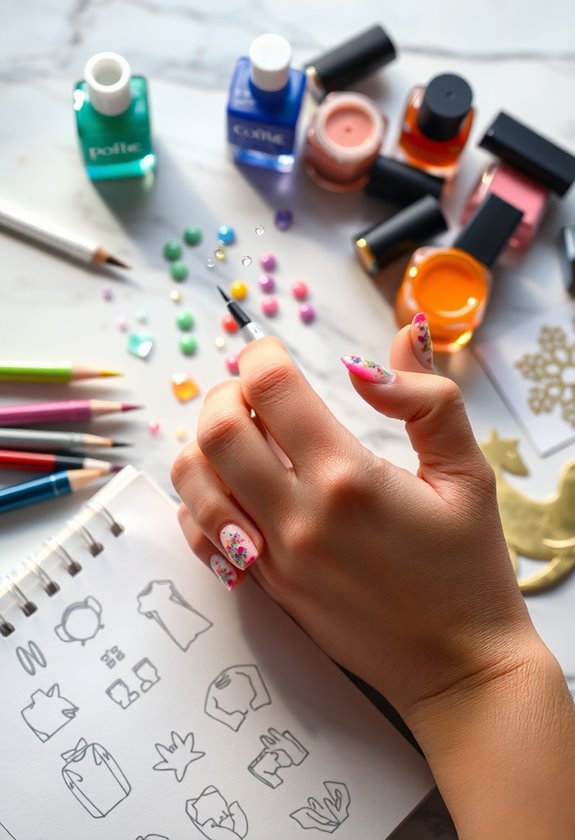
Creative Freedom and Expression
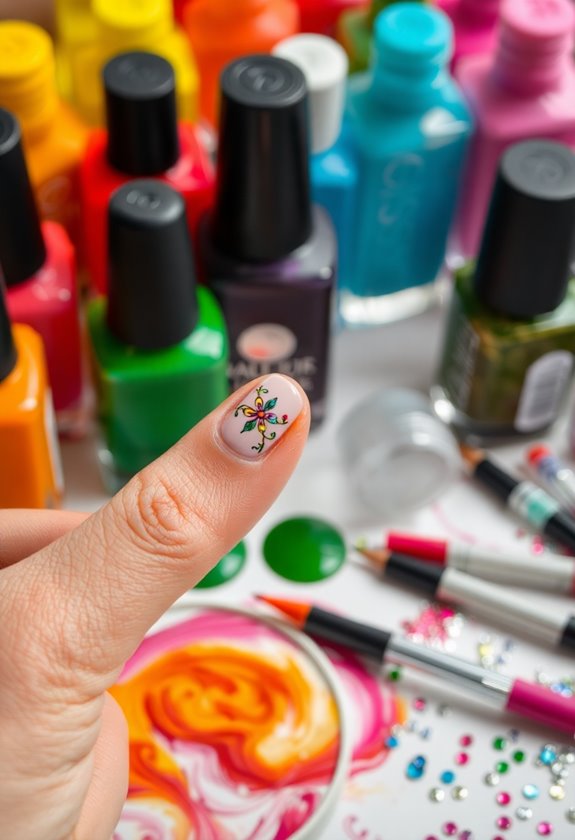
Nail art became my canvas for self-expression, allowing me to showcase my personality in vibrant colors and unique designs. I love experimenting with different color theory concepts and artistic techniques, transforming my nails into a reflection of my mood and style. Each design tells a story, making my manicure a conversation starter.
Here are some ways to release your creativity:
- Mix and match colors to create custom shades.
- Use nail tape for geometric patterns.
- Experiment with gradients for a stunning effect.
- Incorporate nail stamps for intricate designs.
- Try freehand painting for a personal touch.
With DIY nail art, I can express myself freely, embracing my creativity and individuality while having fun in the process!
Time-Saving Techniques
Finding ways to streamline my nail art process has made a world of difference in how I approach my designs. I've discovered that using techniques for quick application allows me to achieve stunning results without spending hours on my nails. One of my favorite time-saving hacks is using a dotting tool or a nail art brush, as they require minimal tools and provide precise control. I also love using nail wraps and stickers for an effortless look that saves me time. By prepping my nails beforehand and keeping my workspace organized, I can focus on creativity instead of getting bogged down in the details. Embracing these time-saving techniques means I can enjoy my nail art without the stress!
Access to Unique Designs
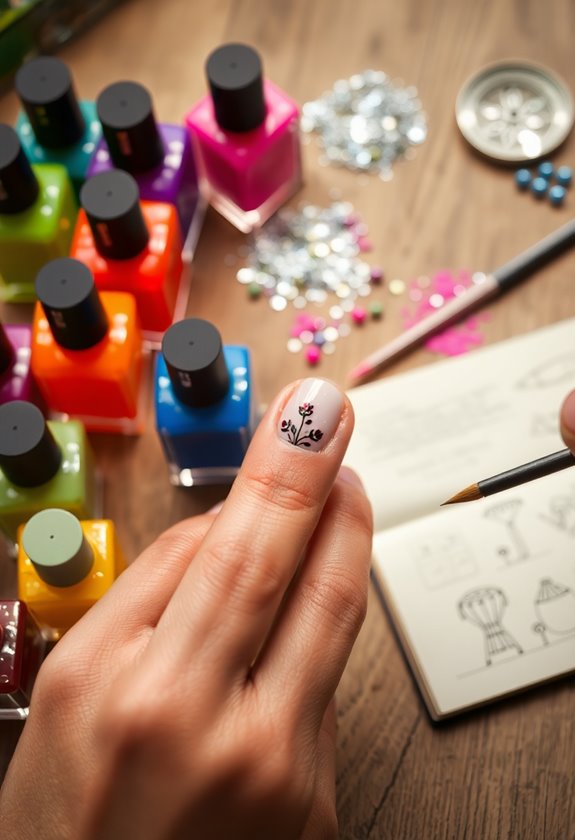
With an ever-expanding world of nail art, access to unique designs has never been easier. I love how I can find countless sources of design inspiration right at my fingertips. Whether I'm scrolling through social media or browsing DIY blogs, I'm always discovering fresh ideas. The best part? I can create these looks with just a few nail art supplies. Here are some ways I find unique designs:
- Online tutorials and videos
- Nail art communities and forums
- Pinterest boards dedicated to nail designs
- Instagram hashtags for trending styles
- Craft stores with seasonal nail art kits
This diversity allows me to express my personality and creativity through my nails, making each manicure a true work of art.
Skill Development and Practice
Exploring unique designs is just the beginning of my nail art journey; honing my skills through practice is what truly elevates my creations. I've found that consistent practice techniques are essential in mastering nail art. Watching nail art tutorials has been a game changer for me. They've provided valuable insights and shortcuts that I wouldn't have figured out on my own.
Here's a quick reference table of practice techniques I've used:
| Technique | Purpose | Frequency |
|---|---|---|
| Dotting | Create intricate patterns | Weekly |
| Striping | Lines and geometric shapes | Bi-weekly |
| Gradient | Blending colors | Monthly |
| Stamping | Detailed designs | Occasionally |
| Freehand | Personal creativity | As inspired |
These methods not only refine my skills but also boost my confidence in creating stunning nail art.
Frequently Asked Questions
What Tools Do I Need for DIY Nail Art?
When I first tried DIY nail art, I realized I needed essential supplies like a dotting tool. You'll also want nail polish, brushes, and tape to create stunning designs. Trust me, it's worth it!
How Do I Remove Nail Art Without Damaging My Nails?
When I remove nail art, I always use a good nail polish remover and gentle techniques. Soak a cotton pad, press it on my nails, and gently wipe away the art without damaging my nails.
Can Beginners Successfully Try DIY Nail Art?
Absolutely, beginners can jump into DIY nail art! I've learned beginner techniques simplify the process, but I've also made common mistakes. Embrace the journey, practice often, and you'll see improvement in no time!
How Long Do DIY Nail Art Designs Typically Last?
Have you ever wondered how long your DIY nail art will last? Nail durability factors like base coats and topcoats can impact design longevity. I've found that proper care can make designs last up to two weeks!
Are There Any Safety Precautions for DIY Nail Art?
When I do DIY nail art, I always prioritize nail health and product safety. I make sure to use non-toxic products, avoid harsh chemicals, and give my nails breaks to prevent damage and maintain their strength.