I've discovered three quick DIY nail art tips that can transform your nail game from basic to breathtaking in no time. First, I love using dotting tools for creating vibrant polka dots or floral patterns—it's super easy! Next, tape is my go-to for achieving clean lines; it can help me make geometric shapes or chic half-moon designs. Finally, a glitter gradient effect adds a dazzling touch. I simply blend two glitter shades with a sponge for a seamless finish. If you want to impress with even more creative designs, you might want to explore additional nail art techniques.
Key Takeaways
- Use a dotting tool to create polka dots or floral designs quickly and easily on your nails.
- Apply tape to create straight lines or geometric shapes for a clean and polished look.
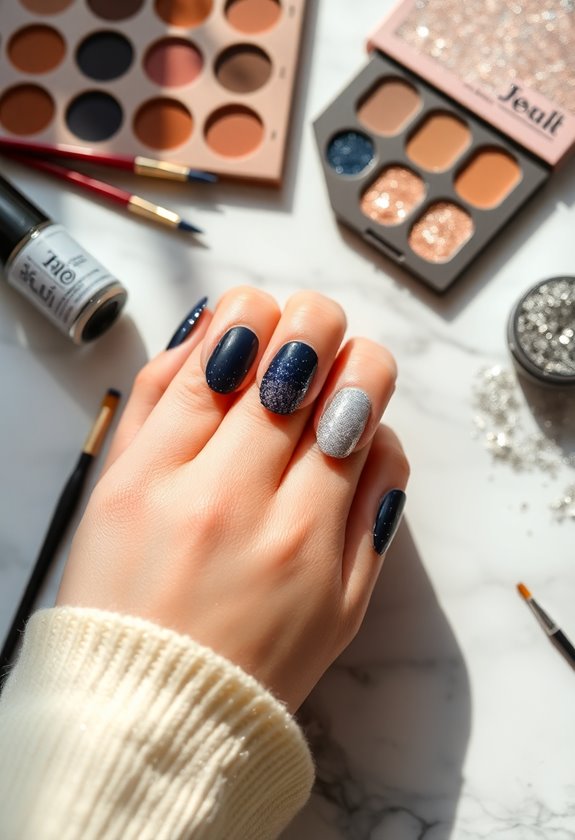
- Create a glitter gradient by sponging multiple glitter shades over a base color for a dazzling effect.
- Experiment with bold color combinations to add visual interest and playful vibes to your nail art.
- Invest in essential nail art tools like brushes, dotting tools, and quality topcoats for better results and longevity.
Dotting Tool Techniques
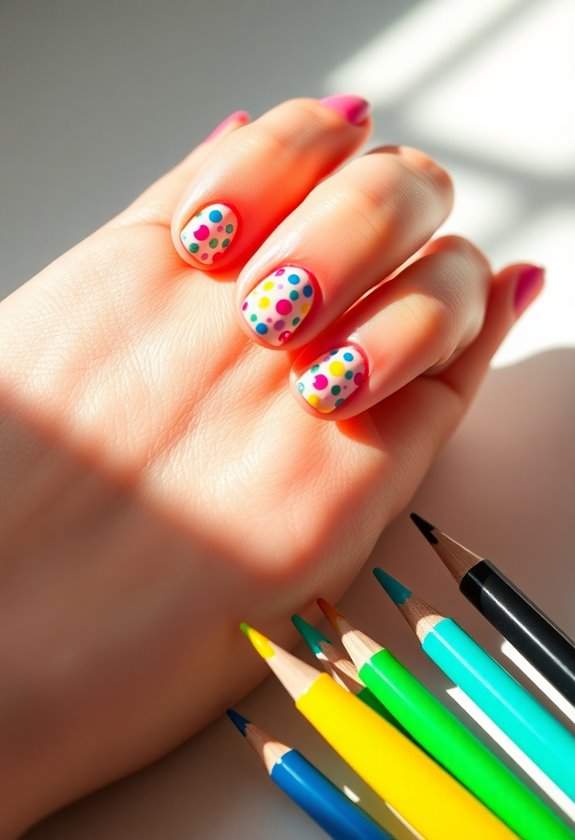
When I first discovered dotting tools, I realized just how versatile they are for creating stunning nail art. These simple little tools opened up a world of possibilities for me. I love experimenting with dotting tool patterns, from delicate polka dots to intricate floral designs. The key is to play around with different sizes of dots; it adds depth and dimension to your artwork.
I also enjoy mixing and matching colors to craft creative color combinations that pop. For instance, pairing a vibrant pink with a soft yellow creates a playful vibe. Don't be afraid to mix it up—layering dots in various colors can lead to a unique masterpiece. Trust me, once you start, you won't want to stop!
Tape for Clean Lines

Achieving clean lines in nail art can be a game changer, and using tape is one of my favorite tricks. With the right nail tape techniques and careful tape placement, you can create stunning designs that look professionally done.
Here's a quick reference of tape techniques:
| Technique | Description |
|---|---|
| Straight Lines | Use strips of tape for crisp edges. |
| Geometric Shapes | Cut tape into shapes for unique designs. |
| Half-Moon Manicure | Tape around the nail for a chic look. |
| Negative Space | Leave parts of the nail bare using tape. |
| Layering | Tape sections for multi-colored nails. |
Glitter Gradient Effect
For a dazzling touch to your nail art, the glitter gradient effect is a must-try. It's super easy and adds a stunning flair to any look. Here's how I achieve it with some helpful application tips:
- Choose Your Base Color: Select a solid color that'll complement your glitter. Pastels work beautifully.
- Pick Glitter Shades: Use at least two different glitter colors for a gradient effect. I love mixing gold and silver!
- Sponge Application: Dip a makeup sponge in glitter and dab it onto the tips of your nails, blending downward.
- Seal It Up: Finish with a clear topcoat to smooth everything out and make the glitter pop!
Experiment with various color combinations to find your perfect match!
Frequently Asked Questions
What Are the Best Nail Polish Brands for DIY Art?
When it comes to nail polish brands, I've found that choosing vibrant colors like Essie and OPI makes a difference. Their diverse nail polish types offer endless color selection for any DIY nail art project I tackle.
How Do I Remove Nail Art Without Damaging My Nails?
When it comes to removing nail art, I've found gentle nail care is key. I soak cotton in remover, wrap it around my nails, and wait. It's a simple removal technique that protects my nails.
Can I Use Regular Tape for Nail Art Designs?
I've found that using regular tape for nail art designs can work well. With tape techniques, I achieve great design precision, ensuring clean lines and unique patterns that elevate my nail game effortlessly. Give it a try!
What Base Coat Should I Use Before Nail Art?
When it comes to prepping my nails, I always choose a high-quality base coat. It's like a protective shield, enhancing polish longevity and preventing stains. I prefer gel or strengthening types for extra benefits.
How Long Should I Wait Between Layers of Polish?
I usually wait about two to three minutes between layers of polish to guarantee proper drying time. This layering technique helps avoid smudges and gives my nail art a smooth, polished finish.