I've found some fantastic inexpensive nail art tutorials that deliver stunning results without breaking the bank. You can start with simple dotting techniques using bobby pins or dotting tools, which create cute designs. Stripes and lines can elevate your look, especially with tape for crisp edges. If you're feeling adventurous, try creative stamping for intricate patterns that are super easy to achieve. For something truly unique, experiment with the water marble technique using various nail polish colors. Each method is accessible and fun, so stick around to discover more tips and tricks to enhance your nail art skills!
Key Takeaways
- Explore dotting techniques using tools like bobby pins to create unique patterns and designs on a budget.
- Master simple striped designs with tape or a steady hand for a polished look without expensive tools.
- Utilize nail art stamping for intricate designs, requiring only a stamper and nail polish for impressive results.
- Try water marble designs using room temperature water and floating polishes for stunning patterns at minimal cost.
- Use household items like toothpicks to enhance your nail art creativity without spending on specialized tools.
Essential Tools for Nail Art
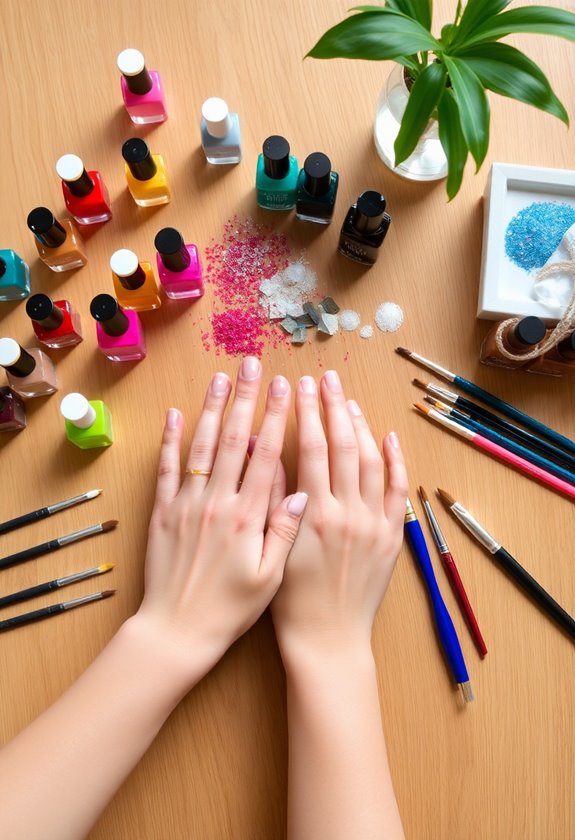
When I plunge into nail art, having the right tools is vital for achieving stunning designs. I always start with a good base coat and topcoat; these nail art essentials not only protect my nails but also enhance the longevity of my designs. A set of quality nail brushes is important, too—they allow me to create intricate details. I've found that dotting tools, even inexpensive ones, can make a huge difference in adding unique patterns. For nail art on a budget, I often use household items like toothpicks or bobby pins for creative effects. Finally, investing in a few vibrant nail polishes can transform any look. Overall, with the right tools, I can unleash my creativity without breaking the bank!
Simple Dotting Techniques
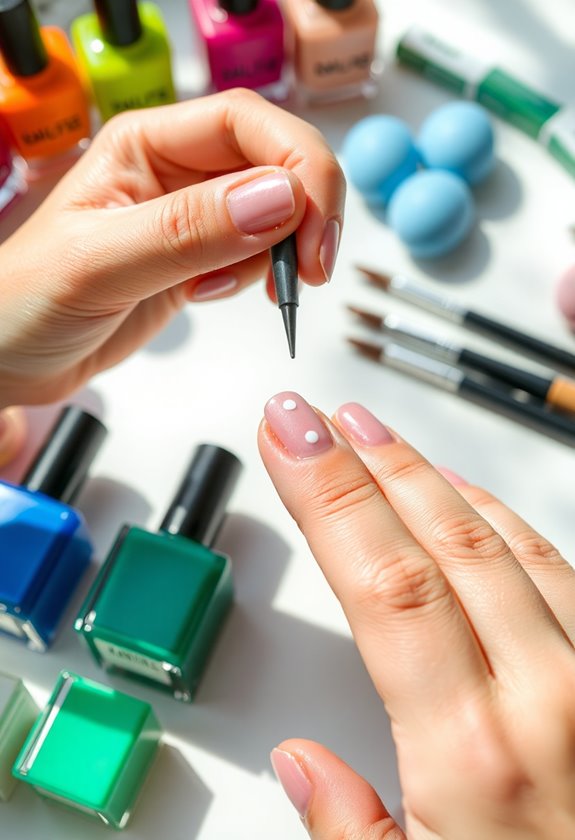
Mastering simple dotting techniques can elevate your nail art game effortlessly. I love using a dotting tool or even a bobby pin to create stunning dotting designs. Start with a base coat of your favorite color and let it dry completely. Then, choose a couple of contrasting colors for your dots. You can create polka dots, flowers, or even abstract patterns by varying the size and spacing of your dots. Don't be afraid to experiment with different color combinations—pastels look great in spring, while bold hues can make a statement in winter. Just dip your tool in polish and press it onto your nails; it's that easy! Trust me, dotting techniques are fun and perfect for any skill level.
Stripes and Lines Masterclass
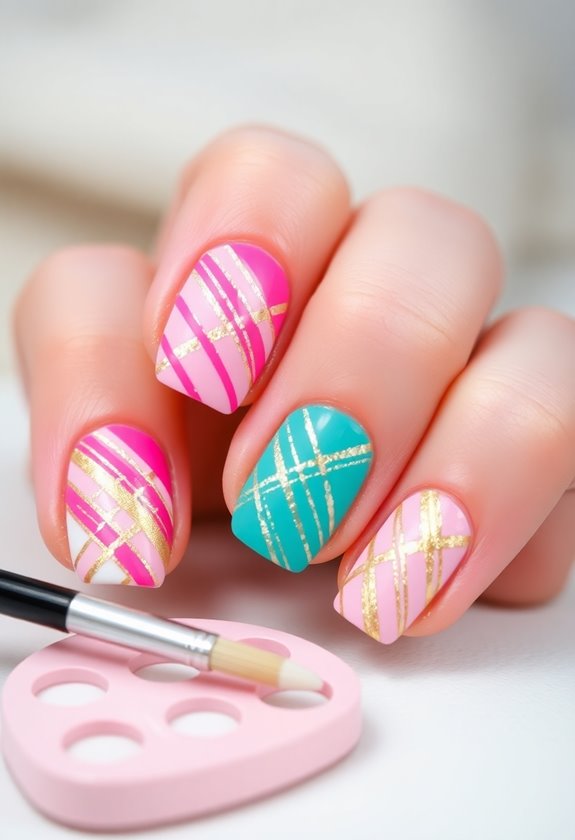
After you've played around with dotting techniques, it's time to explore the clean and chic world of stripes and lines. I love how easy it is to create a stylish striped gradient or sharp diagonal lines that instantly elevate my nail art game. Start with a base coat in your favorite color, then choose a contrasting polish for the stripes. Using tape can help you achieve those crisp lines, but I've also found that a steady hand works wonders! For a striped gradient, blend two or more colors together, shifting from light to dark or vice versa. Don't forget to seal your design with a top coat to keep everything looking fresh. Trust me, you'll love the results!
Creative Stamping Methods
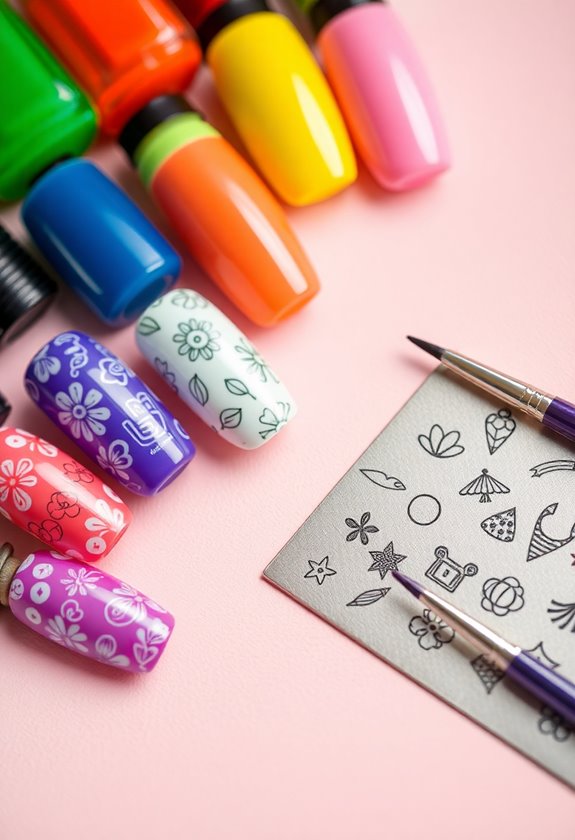
Nail art stamping opens up a world of creativity that can transform your manicure in minutes. I love using stamping plates to create intricate designs without the need for steady hands or hours of practice. All you need is your favorite nail polish and a good quality stamper.
Start by applying a base coat and letting it dry completely. Choose a stamping plate with a design you like, apply nail polish over the design, and scrape off the excess. Then, use the stamper to pick up the image and press it onto your nail. It's that simple! You can mix and match colors or even layer designs for a more personalized look. Trust me, once you try it, you'll be hooked on stamping!
Easy Water Marble Designs
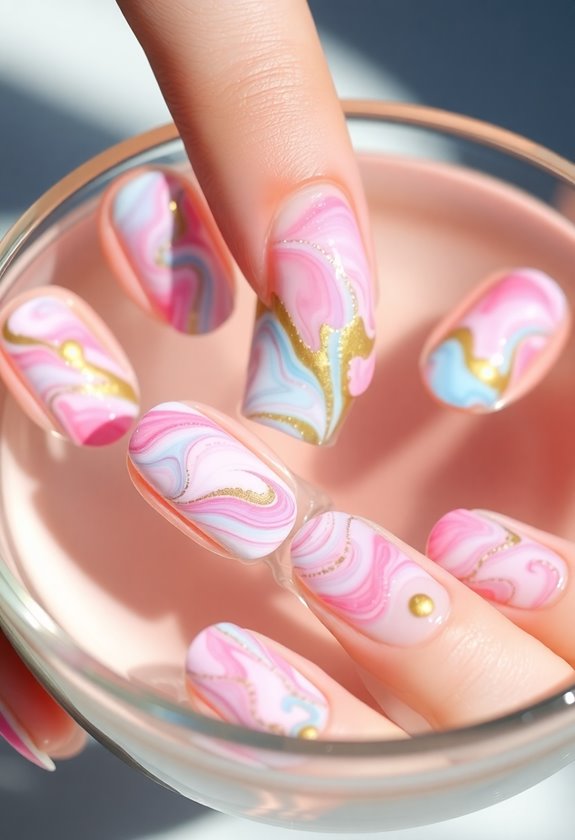
If you're looking for another fun technique to elevate your nail art, easy water marble designs might just be what you need. This method can create stunning patterns with minimal effort. To get started, all you need is a cup of room temperature water, a few nail polish colors, and a toothpick for swirling. I love experimenting with different color combinations; pastels look dreamy, while bold colors add a striking effect. For design inspiration, think about seasonal themes or patterns you adore. Just remember to use polishes that work well together and float on water. With practice, you'll achieve beautiful marbled nails that'll turn heads. So grab your supplies, and let's get swirling!
Frequently Asked Questions
Can I Use Regular Nail Polish for Nail Art?
I often use regular nail polish for my nail art creativity. By experimenting with different nail polish techniques, I've discovered that you can achieve stunning designs without needing fancy products. Just let your imagination flow!
How Can I Remove Nail Art Without Damaging My Nails?
Imagine gently peeling away a delicate flower's petals; that's how I approach nail art removal. I prefer acetone alternatives like coconut oil or warm water, ensuring my nails remain healthy and beautiful after every design.
What Are the Best Budget-Friendly Nail Art Supplies?
When I'm looking for budget-friendly nail art supplies, I always grab essential nail tools like dotting pens and brushes. Stamping kits are also great for creating intricate designs without breaking the bank. They work wonders!
How Long Does Nail Art Typically Last?
I've noticed nail art longevity really varies, but with proper nail care tips, it can last up to two weeks. I always make sure to use a top coat to seal my designs!
Are There Any Quick Fixes for Nail Art Mistakes?
When I make common nail mistakes, I rely on easy correction techniques. A toothpick can fix smudges, and a quick coat of clear polish often hides imperfections. Don't stress; nail art's all about creativity!