At-home gel nails can look just as stunning as those done in a salon if I focus on a few key tips. First, I always choose high-quality gel products to guarantee durability. Properly preparing my nails is essential too; I wash my hands and push back cuticles before starting. I apply thin layers of gel for even coverage and make sure to use a UV/LED lamp for curing. Finally, I remember to maintain my nail health with cuticle oil and breaks for my nails. If you're curious about how to experiment with designs or safely remove gel nails, there's plenty more to discover.
Key Takeaways
- Choose high-quality gel products to ensure durability and vibrant finishes for your at-home manicure.
- Prepare your nails by cleaning, trimming, filing, and buffing for optimal gel application.
- Apply gel polish in thin layers for even coverage and to prevent streaks or bubbling.
- Use a UV/LED lamp for proper curing to ensure your gel nails last longer.
- Maintain nail health with regular moisturizing and breaks from gel polish to prevent damage.
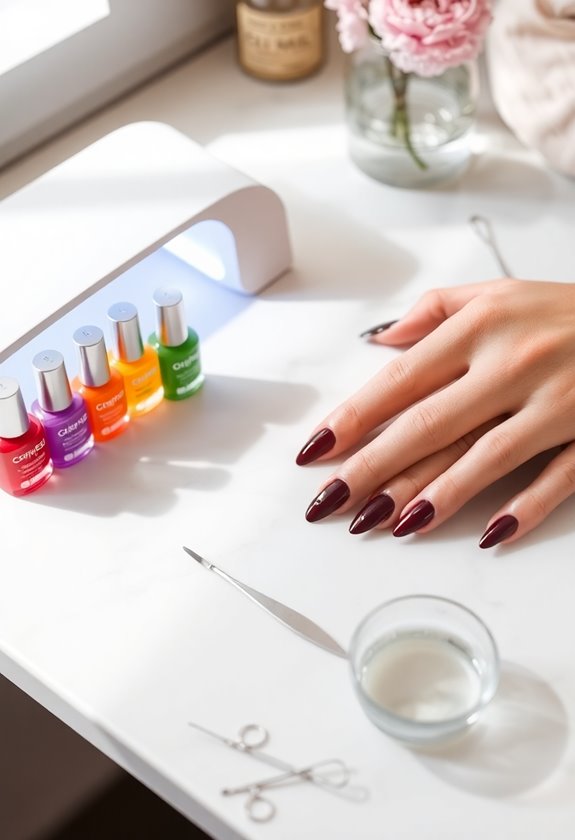
Choose Quality Gel Products
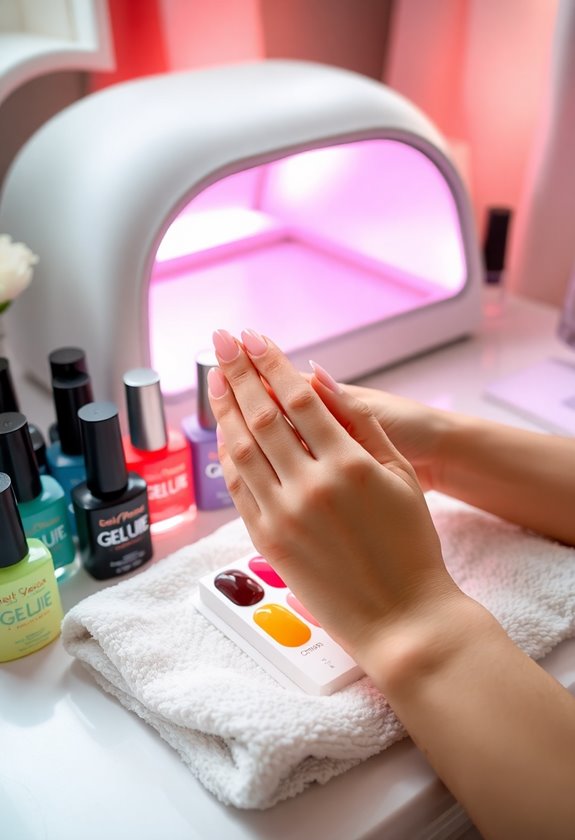
When I choose gel products for my at-home manicure, I always prioritize quality. I've learned that not all gel product brands are created equal. Some offer amazing colors and finishes, while others can leave me frustrated with peeling or chipping. I search for brands that are known for their durability and vibrant gel finish types. I prefer options that provide a professional look without having to visit a salon. It's crucial to check reviews and ratings, as they often reveal how well the product performs over time. Investing in high-quality gel products makes all the difference, ensuring my nails look fabulous and last longer. Trust me, you won't regret opting for the best!
Prepare Your Nails Properly
Properly preparing your nails is essential for a flawless gel manicure. First, I always focus on nail hygiene. I begin by washing my hands thoroughly and pushing back my cuticles gently. This keeps my nail beds clean and prevents any bacteria from affecting the gel application. Next, I trim and file my nails to achieve my desired nail shape, whether it's square, oval, or another style. I make sure to file gently to avoid damage. Once I've shaped them, I buff the surface lightly to create a smooth canvas for the gel. Finally, I wipe my nails with a lint-free wipe and some rubbing alcohol to remove any oils. This prep work makes a world of difference in my gel manicure's longevity and appearance!
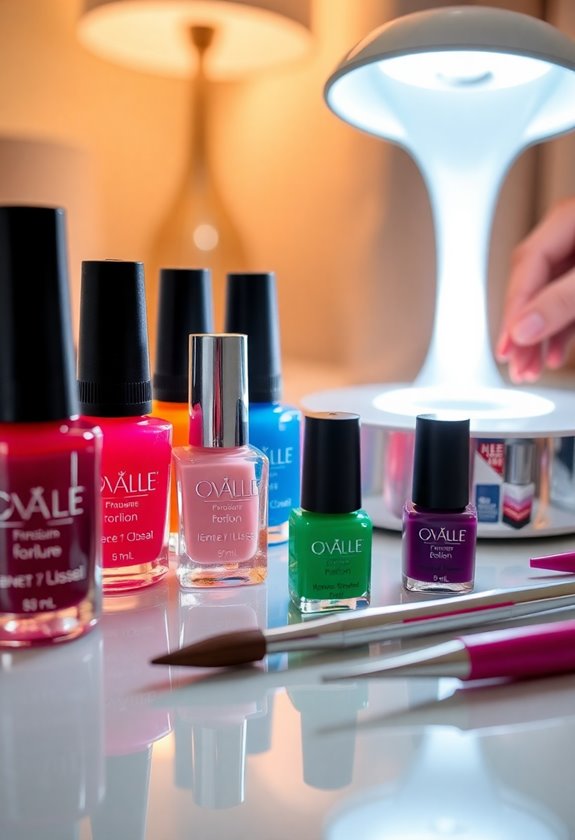
Master the Application Technique
Nailing the application technique is essential for achieving a salon-quality gel manicure at home. I've found that mastering the right approach can make a huge difference. First, choose your color selection wisely; vibrant shades might need more precise application to avoid streaks. Next, consider your nail shapes; round or square shapes may require different techniques for polish application.
Here's a quick guide for reference:
| Nail Shape | Best Color Selection | Application Tips |
|---|---|---|
| Round | Bright colors | Focus on the edges |
| Square | Darker shades | Maintain a clean line |
| Almond | Pastels | Use thin layers |
| Coffin | Metallics | Apply with a steady hand |
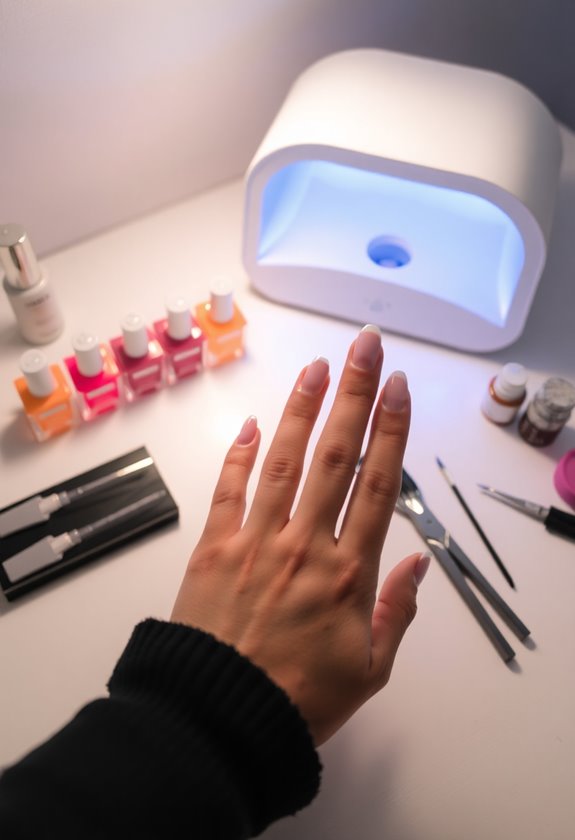
Use the Right Tools
Getting the application technique right sets the foundation for a great gel manicure, but using the right tools can elevate your results even further. Tool selection is essential in achieving salon-quality nails at home. Here are four vital tools I always use for ideal nail care:
- UV/LED Lamp: This is a must for curing your gel polish effectively.
- Nail File and Buffer: They help shape your nails and create a smooth surface for application.
- Cuticle Pusher: This tool guarantees your cuticles are pushed back, preventing polish from lifting.
- Lint-Free Wipes: Perfect for cleaning your tools and removing sticky residue after curing.
Investing in these tools will make a significant difference in your gel manicure experience!
Set the Proper Curing Time

One of my key tips for achieving a flawless gel manicure is setting the proper curing time. I always read the instructions on my gel polish because curing times can vary depending on the brand. Typically, I use a curing lamp that's specifically designed for gel nails, as it guarantees even drying. I usually cure my first layer for about 30 seconds to 1 minute, depending on the polish. After applying my second layer, I cure it for the same duration. If I'm unsure, I tend to err on the side of caution and extend the curing time slightly. Trust me, taking this extra step prevents smudging and helps my manicure last longer. So, don't skip this crucial part!
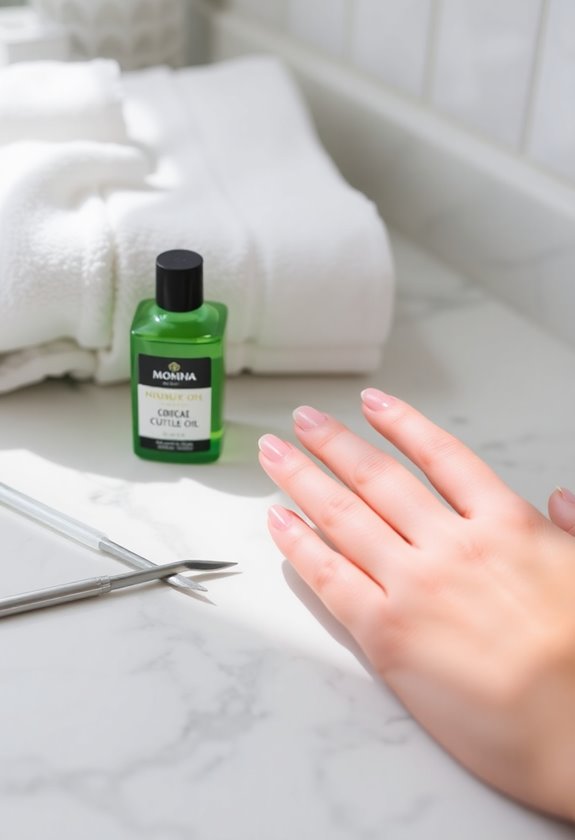
Maintain Nail Health
After ensuring my gel polish is properly cured, I focus on maintaining nail health. I've learned that a good hydration routine is essential for strong, healthy nails. Here are my top tips for effective nail care:
- Moisturize Regularly: I apply cuticle oil daily to keep my nails and surrounding skin hydrated.
- Limit Water Exposure: Too much water can weaken nails, so I wear gloves while washing dishes or cleaning.
- Take Breaks: I give my nails a break from gel polish every few weeks to prevent damage.
- Eat Well: I include plenty of vitamins and minerals in my diet, particularly biotin, to support nail strength.
These simple steps help me maintain healthy nails while enjoying my gel polish!
Remove Gel Nails Safely

When it's time to remove my gel nails, I always prioritize safety to avoid damaging my natural nails. For effective gel nail removal, I start by gently filing the top layer of the gel to help the solution penetrate. I then soak cotton balls in acetone or use acetone alternatives like rubbing alcohol or vinegar. I place the soaked cotton on my nails, securing them with aluminum foil to keep them in place. After about 10-15 minutes, I check if the gel is soft enough to gently push off. If needed, I repeat the process. Finally, I moisturize my nails and cuticles to restore hydration. This method guarantees my natural nails stay healthy through the removal process.
Experiment With Designs
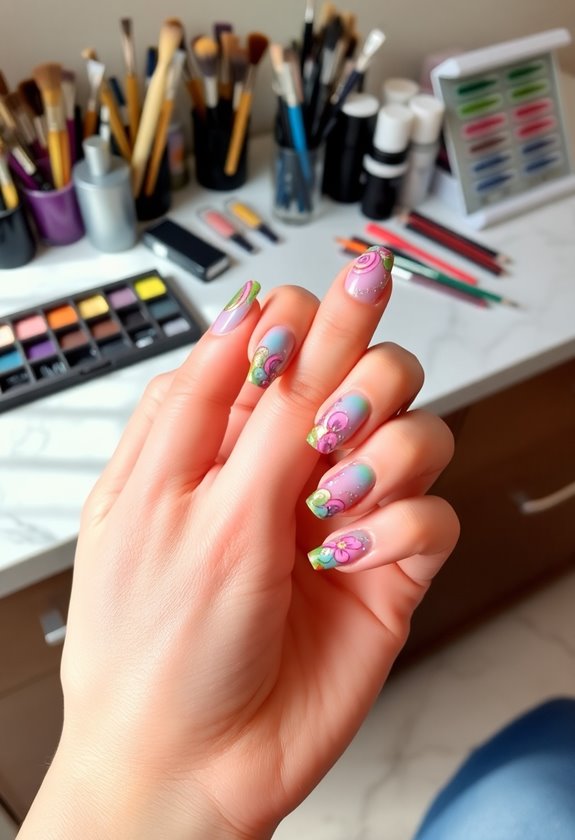
There are countless ways to express your creativity with at-home gel nails, and I love experimenting with different designs to make my manicure stand out. Playing with nail art and color combinations lets me showcase my personality. Here are some ideas I enjoy:
- Ombre Effects: Blend two or more colors for a stunning gradient look.
- Geometric Patterns: Use tape to create sharp lines and shapes with contrasting colors.
- Floral Designs: Paint delicate flowers or use nail stickers for a fresh touch.
- Accent Nails: Choose one nail to feature a unique design, like glitter or intricate art.
Frequently Asked Questions
Can I Use Regular Nail Polish With Gel Products?
I've often wondered if regular nail polish works with gel products. Turns out, it doesn't adhere well during gel polish application and complicates gel nail removal. Stick to gel products for the best results!
How Often Should I Take Breaks From Gel Nails?
I usually take breaks every three to four weeks for ideal nail health. This break frequency helps prevent damage and allows my nails to recover, ensuring they stay strong and healthy between gel applications.
Are There Any Allergies Related to Gel Nail Products?
When it comes to gel nails, I've learned the hard way that certain product ingredients can trigger allergy symptoms. Always check labels to avoid reactions—better safe than sorry, right? Your nails will thank you!
Can I Do Gel Nails if I Have Sensitive Skin?
If I have sensitive skin, I'd definitely consider gel nail alternatives. It's essential to prioritize sensitive skin care, so I'd patch test products first to avoid irritation and guarantee a safer experience.
What Should I Do if I Experience a Gel Nail Infection?
If I notice infection symptoms after doing my gel nails, I'd remove them immediately, clean the area, and consult a doctor. Prioritizing gel nail prevention can help avoid these issues in the future.