When it comes to frugal gel nail care, I've found five essential tips that really work. First, I always choose quality gel products with safe, non-toxic ingredients. Then, I've mastered DIY application techniques to get salon-quality results at home. Maintaining nail health is vital, so I regularly clean and moisturize my cuticles. To extend the life of my gel nails, I apply a top coat and avoid exposure to harsh chemicals. Finally, I use a simple soaking solution for budget-friendly removal. These practices not only save money but also keep my nails looking fabulous. Stick around for more insights!
Key Takeaways
- Choose quality gel products with non-toxic ingredients to ensure nail health without overspending.
- Use high-quality application tools and master techniques for salon-quality results at home.
- Maintain good nail hygiene and moisturize cuticles to promote healthy nail growth.
- Regularly apply a top coat and limit exposure to harsh chemicals to prolong gel nail life.
- Utilize budget-friendly removal methods like acetone soaking to save money while avoiding damage.
Choose Quality Gel Products

When it comes to gel nail care, I can't stress enough the importance of choosing quality gel products. I've tried various gel product brands, and trust me, the difference is night and day. Always check for ingredient safety; some brands use harsh chemicals that can damage your nails over time. I look for products that prioritize safe, non-toxic ingredients because they're better for my nails and overall health. You don't have to break the bank, either. Many affordable brands offer high-quality options that won't compromise your nail health. By investing in reliable gel products, you'll save money in the long run by reducing the risk of nail issues. Your nails deserve the best, so choose wisely!
Master DIY Application Techniques
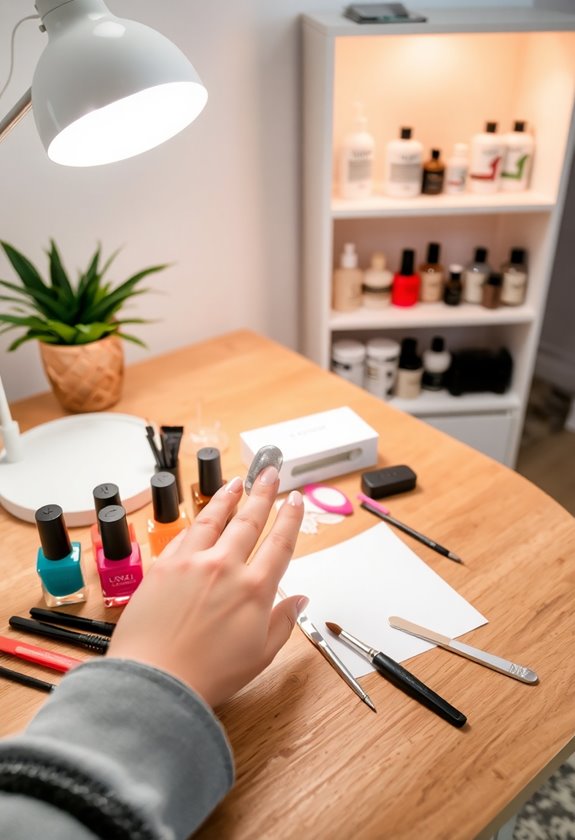
Choosing quality gel products sets the foundation for a successful nail care routine, but mastering DIY application techniques takes it to the next level. I've found that understanding proper application and curing techniques can really elevate your gel nails at home.
- Invest in high-quality application tools for smooth, even coats.
- Practice the right curing techniques to guarantee your gel sets perfectly.
- Take your time with each layer to avoid bubbles and uneven finishes.
Start by prepping your nails and applying a thin base coat. Use a fine brush to get into the corners, and cure each layer under the UV lamp. Mastering these techniques will not only save you money but also give you salon-quality results at home!
Maintain Nail Health
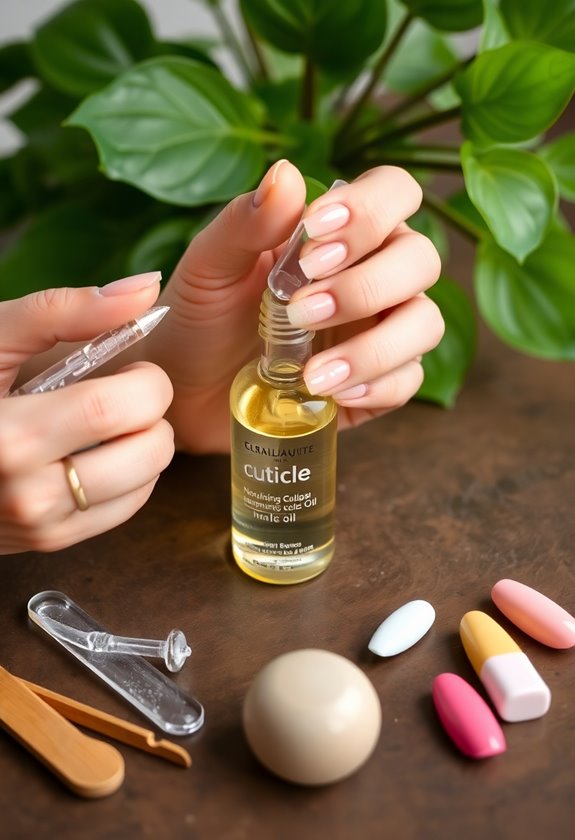
Maintaining nail health is essential for enjoying beautiful and long-lasting gel nails. I've found that adopting good nail hygiene practices makes a significant difference. Regularly cleaning my nails and keeping them trimmed prevents buildup and promotes growth. I also make sure to moisturize my cuticles, which helps keep them healthy and prevents hangnails.
The nutrition importance can't be overlooked, either. I've noticed that eating a balanced diet rich in vitamins and minerals supports my nail strength and appearance. Foods high in biotin, like eggs and nuts, have become staples in my meals. By focusing on nail hygiene and proper nutrition, I'm setting the stage for gorgeous gel nails that last longer and look fabulous.
Extend the Life of Gel Nails
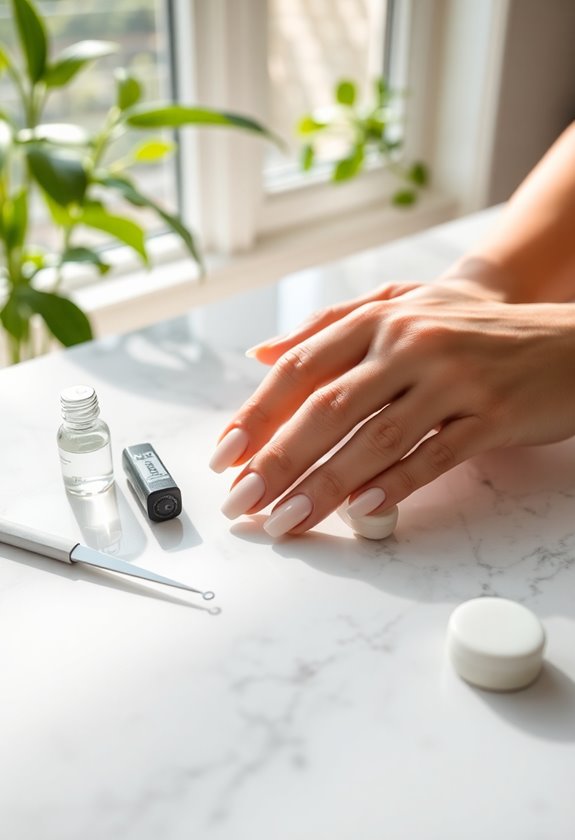
To extend the life of gel nails, I've discovered a few key practices that really make a difference. By incorporating these strategies into my nail care routines, I've managed to keep my gel nails looking fresh and vibrant for longer.
- Apply a top coat regularly to enhance shine and add protective coatings.
- Limit exposure to harsh chemicals or water to prevent lifting.
- Moisturize your cuticles and nails to maintain flexibility and prevent breakage.
These simple habits have helped me avoid premature chipping and lifting. I've learned that investing a little time in protective coatings and mindful care pays off in the long run. Trust me, your gel nails will thank you, and you'll save money on frequent touch-ups!
Budget-Friendly Removal Methods
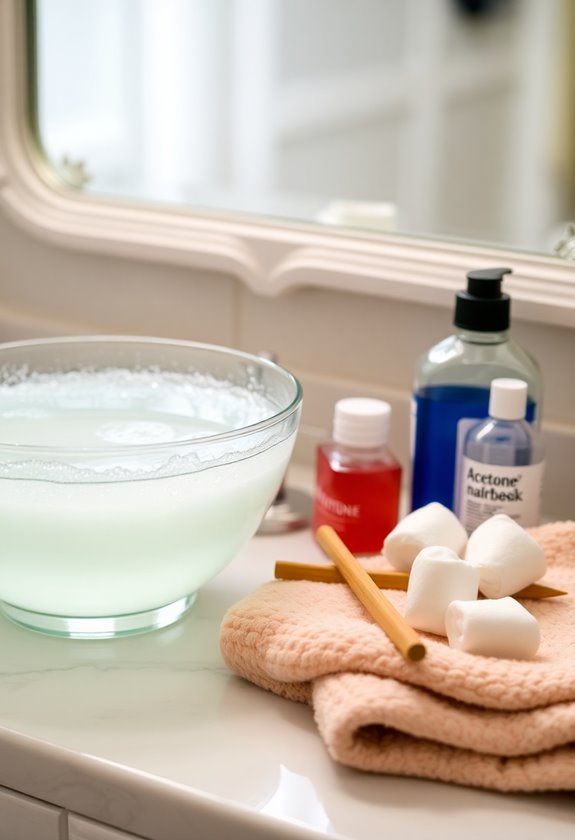
When it's time to remove gel nails, you don't have to spend a fortune at the salon. I've found some budget-friendly methods that work just as well. First, you can create a soaking solution by mixing acetone with warm water. Just soak cotton balls in this mixture, place them on your nails, and wrap them with aluminum foil. This helps the gel lift off easily.
I also recommend investing in a set of safe tools—like a wooden stick or a nail file—to gently push off any remaining gel without damaging your natural nails. Remember, patience is key! With these methods, you can save money while keeping your nails healthy and beautiful. Happy removing!
Frequently Asked Questions
Can I Use Regular Nail Polish Over Gel Nails?
I've found that using regular nail polish over gel nails can affect gel polish compatibility, sometimes compromising gel nail longevity. If you want to enhance your look, consider using gel topcoats instead for better results.
How Often Should I Redo My Gel Nails?
Think of your gel nails as a garden; they need care to thrive. I usually redo mine every two to three weeks for ideal gel nail longevity and maintenance, ensuring they always look fresh and vibrant.
Are There Any Allergic Reactions to Gel Products?
Yes, I've experienced allergic reactions to gel products. It's essential to check the gel product ingredients. Common gel allergy symptoms include itching and redness, so I always do a patch test before using a new product.
What Tools Do I Need for DIY Gel Application?
When I tried my first DIY gel application, I was thrilled! For a successful experience, you'll need essential tools from DIY nail kits, like a UV lamp and quality gel polish brands to guarantee stunning results.
Can I Apply Gel Nails on Natural Nails Without a Base Coat?
I've tried applying gel nails directly on my natural nails without a base coat, but I've found it's risky. Instead, I recommend using base coat alternatives for better adhesion and to enjoy gel nail benefits longer.