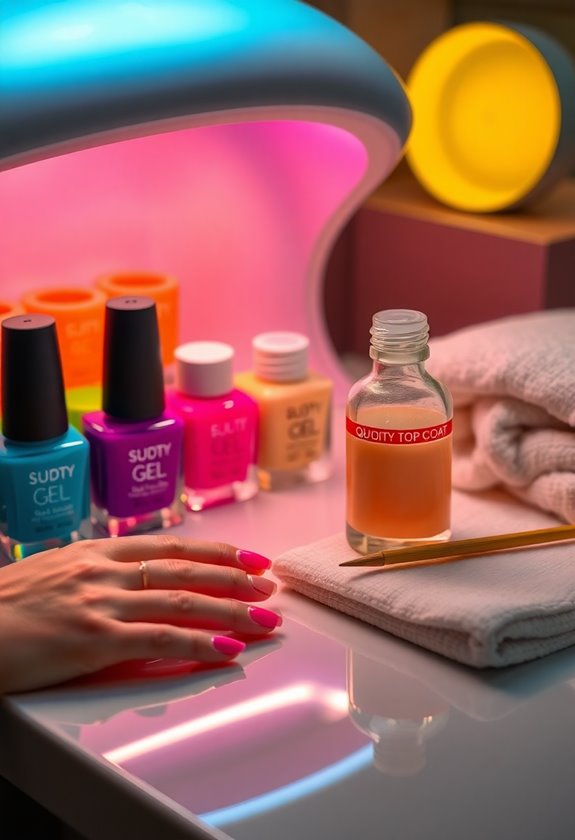
I know you want stunning nails without spending a fortune, so here are my favorite DIY gel manicure hacks. First, invest in a UV/LED lamp and high-quality base and top coats; they make a huge difference. Make sure to prepare your nails by cleaning them and pushing back cuticles. I apply gel polish in thin layers for the smoothest finish. To speed up drying, I use olive oil or a cool water soak. For a long-lasting look, moisturize your cuticles regularly and protect your nails during chores. Keep going to discover even more handy tips and tricks!
Key Takeaways
- Invest in a quality UV/LED lamp to cure gel polish effectively, ensuring a professional finish at home.
- Choose affordable gel polish brands that offer durability and mimic salon-quality results to save money.
- Use a quick-dry top coat to lock in color and reduce drying time, enhancing the longevity of your manicure.
- Maintain your manicure by regularly moisturizing cuticles and wearing gloves during chores to prevent chipping.
- Experiment with creative nail art ideas using inexpensive tools like tape or dotting tools for a unique look without breaking the bank.
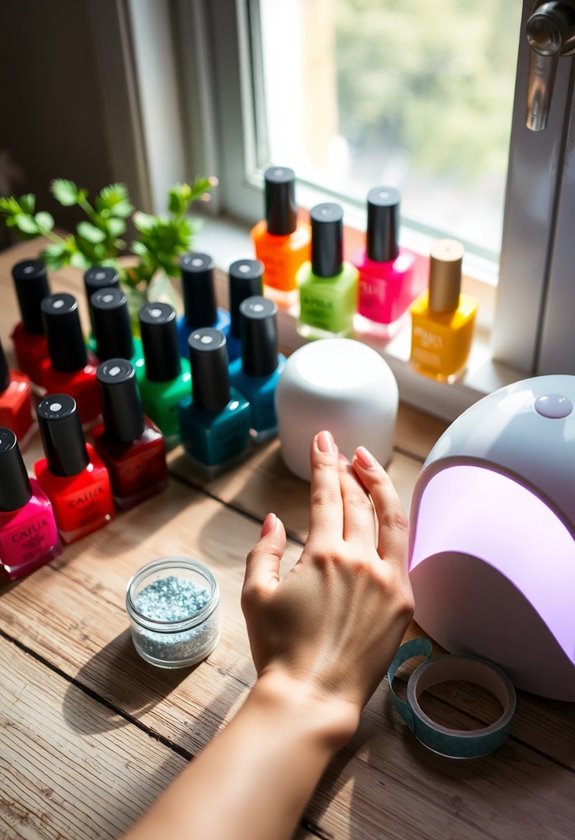
Essential Tools for DIY Gel Manicures
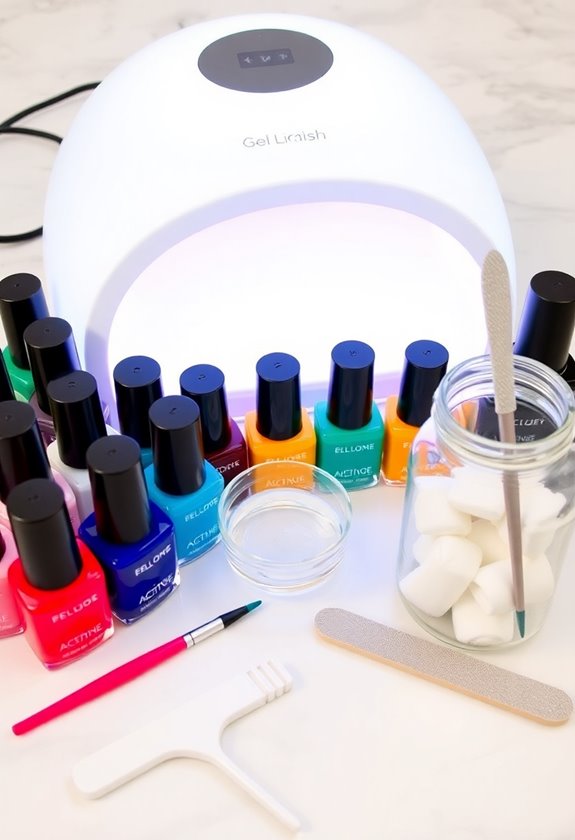
When it comes to achieving a perfect DIY gel manicure, having the right tools is essential. I've learned that investing in quality nail care tools makes all the difference. Start with a UV or LED lamp; it's important for curing the gel polish properly. You'll also need a good base coat and top coat—these are fundamental for longevity and shine. Don't forget about nail files and buffers; they help shape your nails and create a smooth surface. As for color selection, I recommend having a few versatile shades on hand. A classic red or a soft nude can elevate any look while ensuring you're always ready for any occasion. With the right tools, your DIY gel manicure will shine!
Choosing the Right Gel Polish
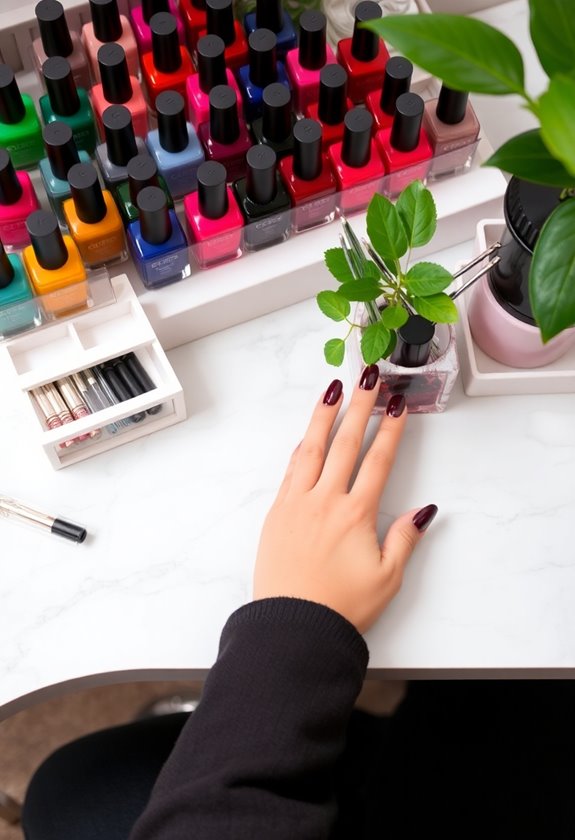
Choosing the right gel polish can feel overwhelming, but it doesn't have to be. I always start with color selection. Think about what shades you love and what fits your style. Don't shy away from trying bold colors or trendy hues! Next, I suggest doing a brand comparison. Some brands offer better durability and shine than others, so look for reviews and swatches online. I've had great experiences with certain brands that provide a salon-quality finish without breaking the bank. Remember, not all gel polishes are created equal—some chip faster than others. So, take your time to find the perfect combination of color and brand that suits your needs and keeps your nails looking fabulous!
Preparing Your Nails Properly
After selecting the right gel polish, prepping your nails is the next step to achieving that flawless manicure. First, I like to remove any old polish and wash my hands thoroughly. This not only keeps dirt away but also promotes nail health. Next, I gently push back my cuticles using a wooden stick; this helps create a clean canvas for the gel. I never cut my cuticles, as this can lead to infection and damage. If I notice dry skin around my nails, I apply cuticle oil to nourish and hydrate. Finally, I buff the surface of my nails lightly to guarantee the gel adheres well. With these simple steps, I'm ready to plunge into the application process!
Mastering the Application Technique
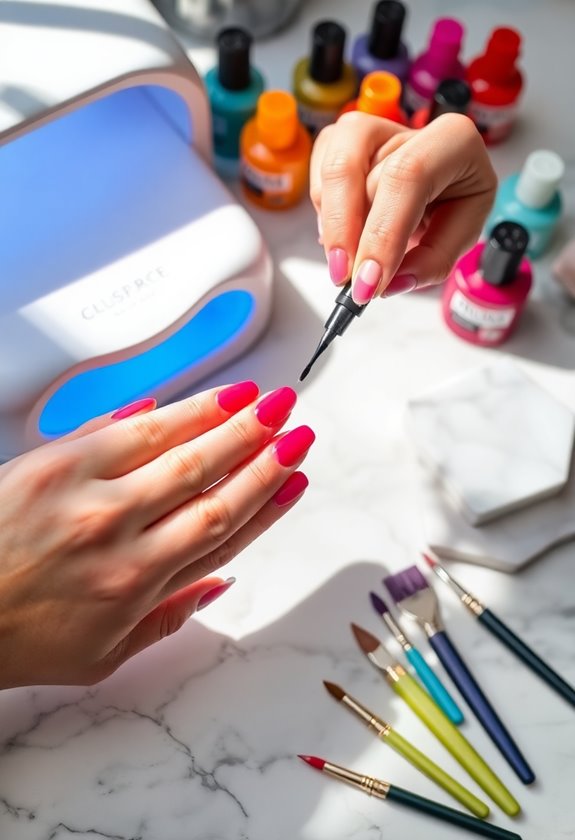
Getting the application technique down is essential for a long-lasting gel manicure. I've found that mastering your brush strokes and nail angles really makes a difference. When applying the gel, hold the brush at a slight angle to get into the corners without flooding your cuticles. Use smooth, even strokes and work in thin layers to avoid clumping. Here's a quick reference table to help you:
| Brush Stroke Technique | Nail Angle Tips |
|---|---|
| Start from the base | Hold at 45 degrees |
| Use light pressure | Tilt for edges |
| Finish with a flick | Angle for precision |
| Practice consistency | Adjust based on nail shape |
| Clean the brush often | Rotate for coverage |
With these tips, your gel manicure will look salon-fresh!
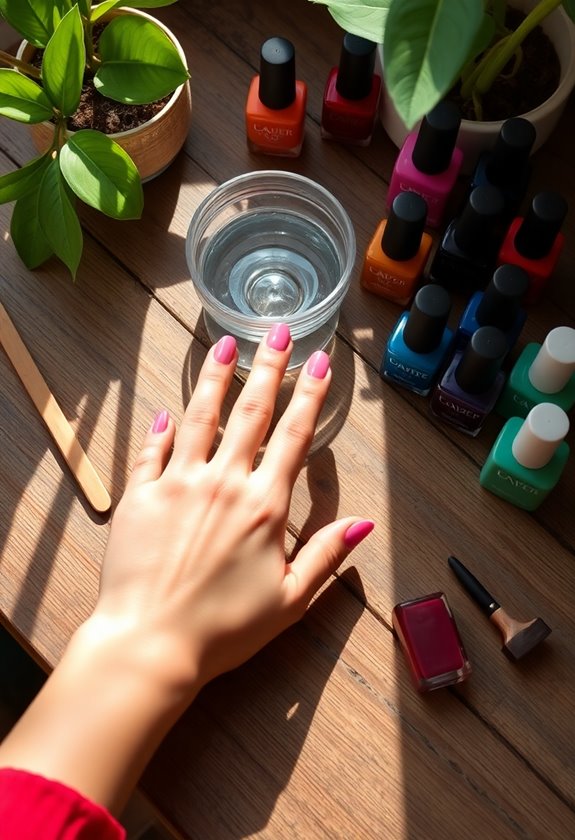
Quick Drying Hacks
Want to speed up your gel manicure drying time? I've found some fantastic fast drying hacks that work wonders, especially if you're looking for natural alternatives. These tips will have your nails dry in no time:
- Cool Water Soak: Dip your fingers in ice-cold water for a few minutes to set the polish.
- Hair Dryer: Use a cool setting on your hair dryer to blow air over your nails.
- Olive Oil: A drop of olive oil on each nail can speed up drying while conditioning your cuticles.
- Quick-Dry Top Coat: Invest in a fast-drying top coat to lock in your manicure.
- Fan: Position a fan nearby to circulate air and speed up the drying process.
Try these out, and you'll be ready to go in a flash!
Long-lasting Finish Tips
Once your gel manicure is dry and looking fabulous, the next step is ensuring it lasts as long as possible. One of my best topcoat tips is to apply a high-quality gel topcoat to seal in your color and add extra shine. Make sure you cure it under the UV lamp for the recommended time. For maintenance methods, I recommend avoiding harsh chemicals and always wearing gloves when doing chores. Regularly moisturize your cuticles with oil to keep them healthy and prevent peeling. Additionally, try to avoid using your nails as tools; this can lead to chipping. Following these simple tips will help your gel manicure stay stunning and chip-free for weeks!
Creative Nail Art Ideas

Five creative nail art ideas can transform your gel manicure from simple to stunning. I love experimenting with different nail art techniques, especially when the seasons change. Here are some ideas to inspire your next manicure:
- Geometric Patterns: Use tape to create sharp lines and shapes.
- Floral Accents: Paint tiny flowers for a fresh, spring vibe.
- Ombre Effects: Blend two colors for a gradient look.
- Seasonal Designs: Embrace themes like snowflakes in winter or leaves in fall.
- Metallic Foil: Add a touch of glam with shiny foil pieces.
These ideas not only add personality to your nails but also let you express your creativity. So go ahead, give them a try, and impress everyone with your stunning nails!
Frequently Asked Questions
Can I Use Regular Nail Polish With Gel Topcoat?
Did you know that 60% of people prefer gel polish for its longevity? I've found gel polish compatibility with regular polish tricky. For nail health tips, always test before applying a gel topcoat over regular polish!
How Often Should I Take Breaks From Gel Manicures?
I usually take breaks every three weeks to maintain my nail health. It's crucial to monitor break frequency, as constant gel applications can weaken my nails. Listening to my nails helps me decide when to pause.
What Are the Signs of Nail Damage From Gel Manicures?
When I watch my nails wither like autumn leaves, I know gel risks are real. If they're brittle, discolored, or peeling, those are signs of nail health fading. I always listen and take breaks when needed.
How Do I Remove Gel Polish Safely at Home?
Removing gel polish safely at home is key. I've found gel removal techniques like using acetone alternatives, such as soaking cotton in vinegar or alcohol, work well. Just be patient and gentle to avoid nail damage!
Are There Any Budget-Friendly Brands for Gel Polish?
Finding budget-friendly gel polish feels like searching for gold! I've discovered affordable alternatives like Essie and Sally Hansen. These budget brands deliver vibrant colors without breaking the bank, making my nails look fabulous every time!