If you're looking to create beautiful DIY nail art on a budget, I've got some tips to share. First, gather essential tools like dotting tools, nail brushes, and striping tape. I love using affordable polishes; they come in so many fun colors! Don't underestimate household items — bobby pins and kitchen sponges can work wonders. Nail stencils make intricate designs easy, and a bit of tape helps with clean lines. Finally, upcycle old nail products for new creations. Your nails can look fabulous without spending a fortune. Keep going, and you'll discover even more creative ideas!
Key Takeaways
- Invest in budget-friendly nail polishes that offer a variety of finishes without breaking the bank.
- Utilize household items like bobby pins and kitchen sponges for creative nail art techniques.
- Organize your nail art tools in a caddy for easy access and maintain a tidy workspace.
- Experiment with nail art stencils and tape for intricate designs and clean lines at low costs.
- Draw inspiration from cultural influences and color theory to enhance your designs creatively.
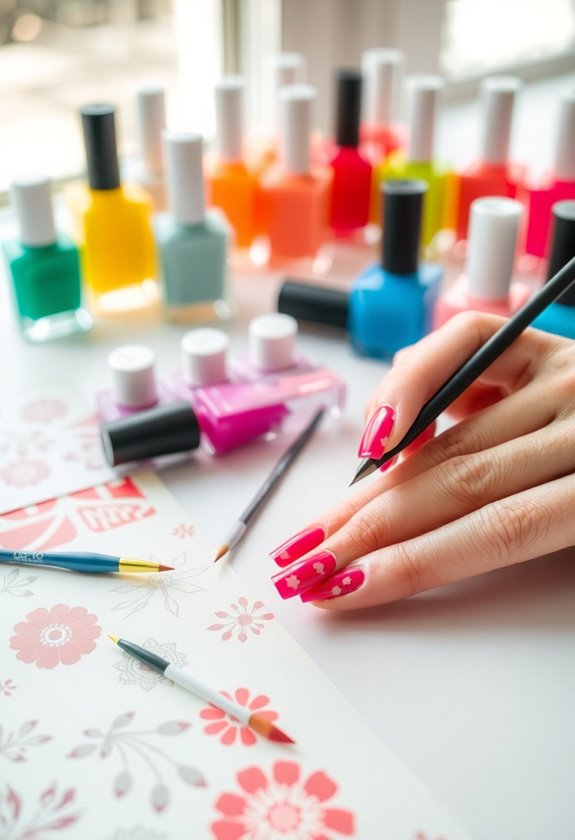
Gather Essential Tools
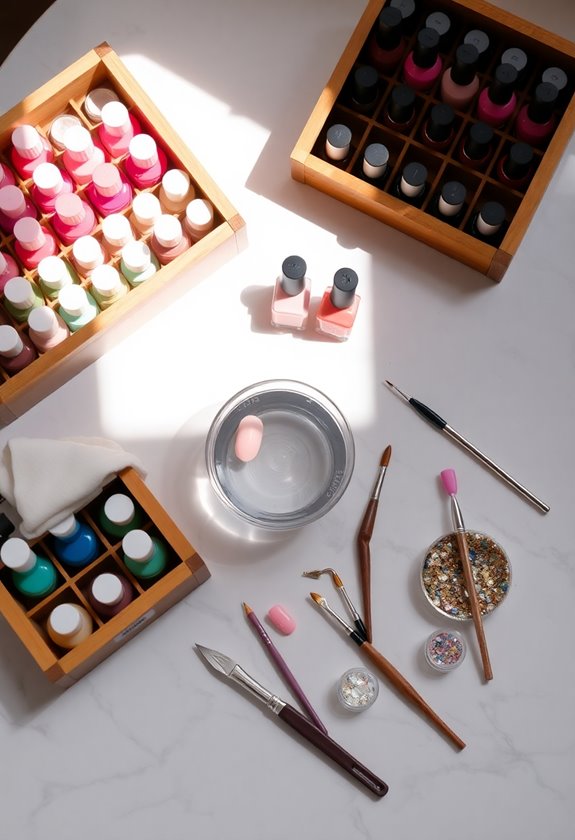
To create stunning nail art at home, you need to gather a few essential tools. First, invest in quality nail art supplies like dotting tools, nail brushes, and striping tape. These tools will help you achieve intricate designs and patterns. I also recommend getting a sturdy nail file, base coat, and topcoat to guarantee your art lasts.
Once you have your supplies, focus on tool organization. I use a small caddy to keep everything in one place, making it easy to find what I need. You might even want to label your tools for quick access. Trust me, having an organized workspace makes the creative process so much smoother and more enjoyable. Now, let's get started on your nail art journey!
Choose Budget-Friendly Polishes
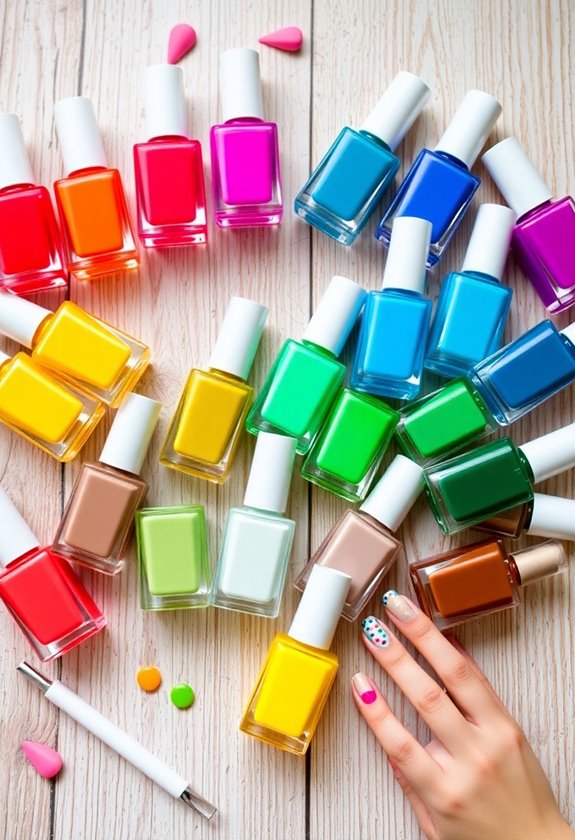
When building your nail art collection, it's essential to choose budget-friendly polishes that deliver quality without breaking the bank. I've found that many affordable brands offer a fantastic color selection, allowing me to experiment without feeling guilty about my spending. Look for polishes in various finish types, like glossy, matte, or shimmer, to elevate your designs. It's amazing how a simple change in finish can transform a basic look into something stunning. I always check for sales or multipack deals, as they can considerably reduce costs. Remember, you don't need to splurge on high-end brands to achieve beautiful nail art. With the right budget-friendly polishes, your creativity can truly shine!
Explore Simple Techniques
Building a collection of budget-friendly polishes opens up a world of creative possibilities, especially when you explore simple techniques that can elevate your nail art. I often turn to nail art history for creative inspirations, blending cultural influences to express my personal style. Understanding color theory helps me choose shades that pop, making seasonal designs feel fresh and vibrant.
I love experimenting with texture techniques, like sponging or marbling, to add depth to my nails. These methods not only enhance nail care but also make my designs unique. By focusing on these straightforward techniques, I can create stunning looks without breaking the bank, proving that nail art can be both affordable and expressive. Let's get creative!
Use Household Items
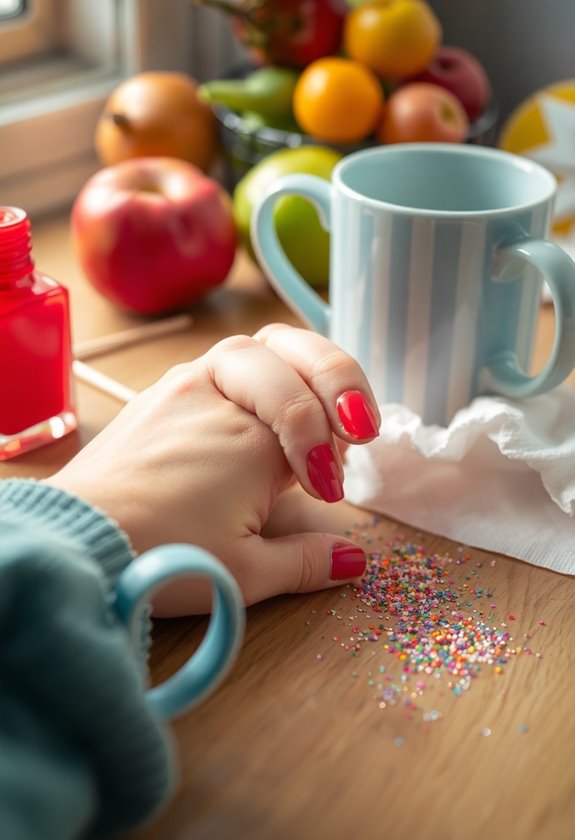
You'd be surprised at how many household items can help bring your nail art to life. For instance, use a bobby pin or a toothpick to create intricate designs or dots that add texture effects to your nail shapes. Kitchen sponges can be great for blending color combinations, giving your nails a fun ombre look. Seasonal themes are easy to achieve with things like tape for clean lines or even a cotton ball for a fluffy cloud effect. As I experiment, I always keep nail care in mind, ensuring my nails stay healthy despite all the creativity. Finally, don't forget the finishing touches—using clear polish can enhance your design and provide extra protection!
Embrace Nail Art Stencils
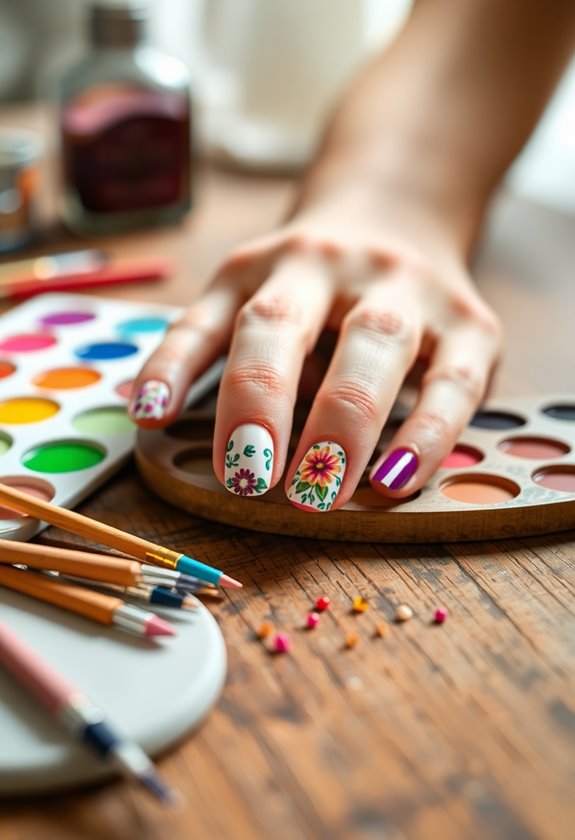
After exploring the creative possibilities with household items, I found that nail art stencils can take my designs to the next level. These stencils make it so easy to create intricate patterns without the need for steady hands or advanced skills. I love how I can simply place a stencil on my nail and paint over it to achieve perfect shapes every time. Whether I'm going for geometric patterns or floral designs, nail art stencils help me express my style effortlessly. Plus, they're often inexpensive and reusable, making them a fantastic investment. If you're looking to elevate your nail art game and release your creative designs, give stencils a try—you won't be disappointed!
Experiment With Dotting Tools
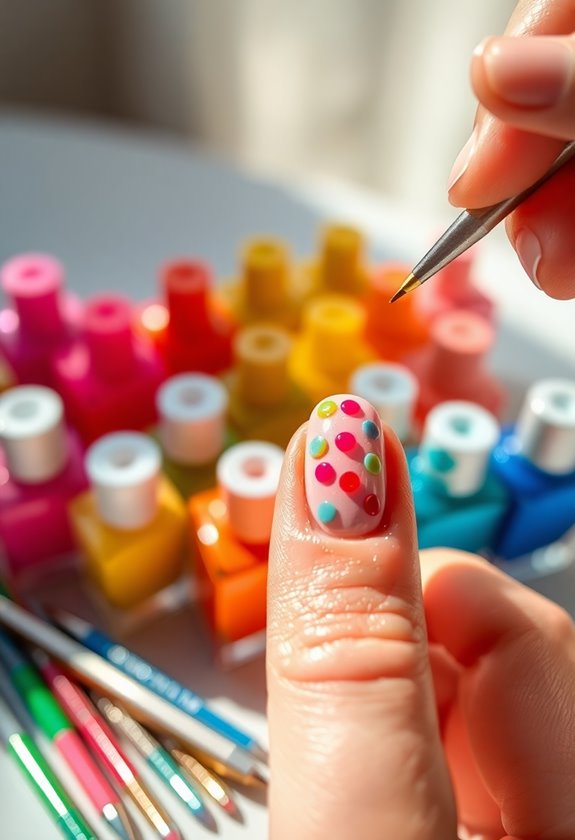
Experimenting with dotting tools has become one of my favorite ways to add unique flair to my nail art. These tools are perfect for creating intricate designs with various dotting techniques. I love how easy it is to make creative patterns, transforming a simple manicure into a masterpiece.
Here are some dotting techniques I enjoy:
| Technique | Description |
|---|---|
| Single Dots | Create uniform dots |
| Dot Clusters | Group multiple dots together |
| Lines of Dots | Form lines for designs |
| Gradient Dots | Blend colors with dots |
With just a little practice, you can achieve stunning results. So grab a dotting tool, and let your creativity flow!
Try Tape for Designs
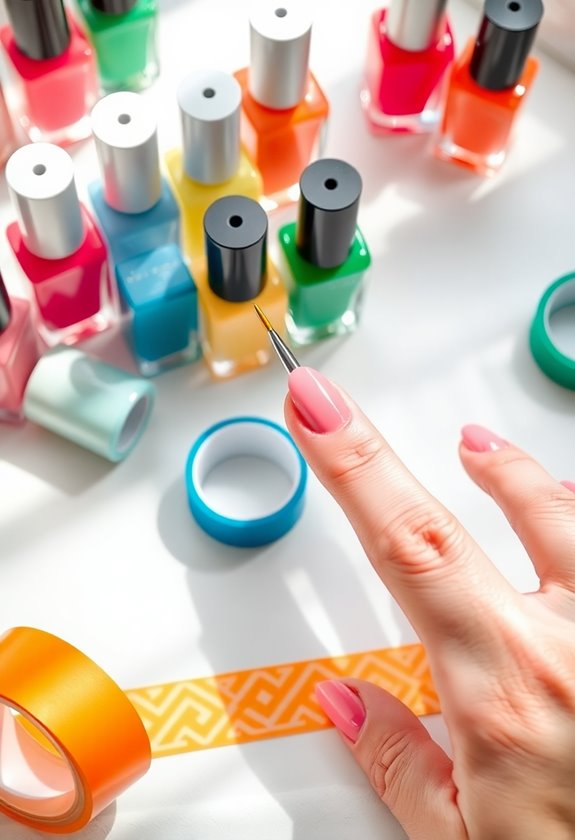
Using tape for nail art designs has quickly become one of my go-to techniques. It's incredibly versatile and perfect for creating clean geometric patterns. I love using nail tape to outline sections of my nails before applying polish. This way, I can achieve sharp lines and intricate designs without the fuss. Just cut small pieces of tape and place them on your nail in the desired shape. Once you paint over it and let it dry, carefully peel the tape off to reveal stunning nail tape designs! You can even layer different colors for a more vibrant look. Trust me, this method is not only inexpensive but also a fun way to elevate your nail art game!
Upcycle Old Nail Products
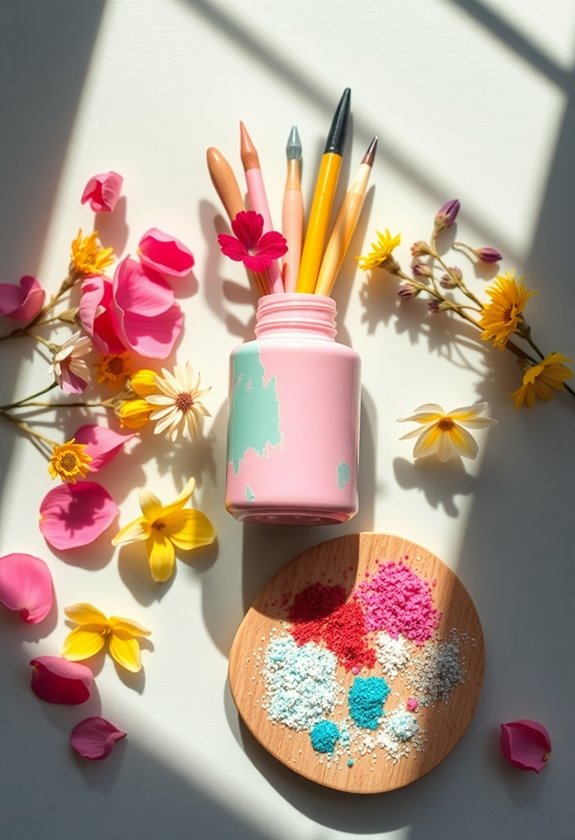
My collection of old nail products has turned into a treasure trove of possibilities! I've discovered that nail product repurposing is not only fun but also saves money. For instance, old nail polish bottles make excellent storage for small craft supplies like beads or glitter. You can even use the empty bottles to create custom mixes of nail colors, which adds a unique touch to your nail art.
Additionally, I've turned old nail files and buffers into creative storage solutions by decorating them and displaying them on my vanity. By reimagining these items, I'm not just decluttering; I'm giving them new life. So, before tossing out your old nail products, think about how you can creatively repurpose them!
Follow Online Tutorials
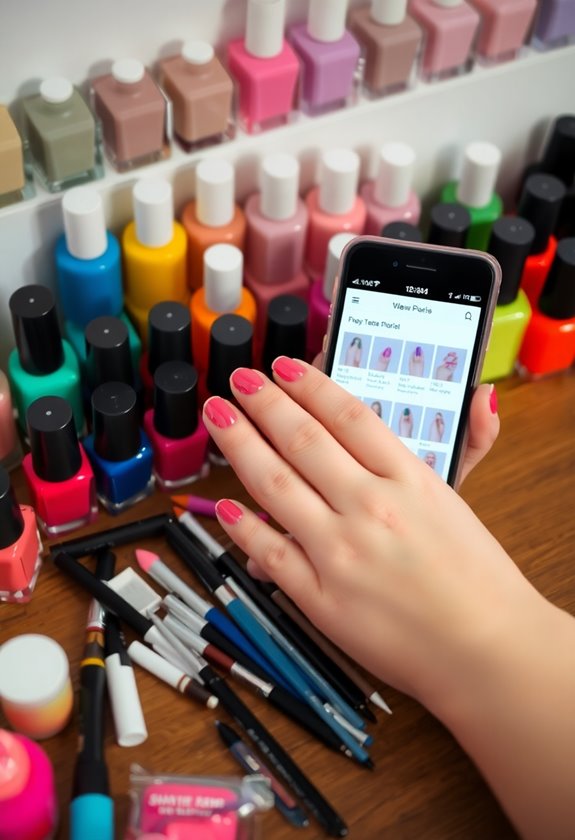
When it comes to mastering nail art, following online tutorials can be a game-changer. I've found that these resources are packed with nail art inspiration, making it easy to try new techniques without breaking the bank. From YouTube videos to Instagram reels, there's a wealth of information at my fingertips. I often start by picking a design I love, then watch a tutorial to see how it's done step-by-step. This hands-on approach helps me understand the process and build my skills. Plus, I can pause and rewind whenever I need to. So, immerse yourself in those online tutorials, get creative, and most importantly, have fun experimenting with your nails! You'll be amazed at what you can achieve.
Frequently Asked Questions
Can I Use Expired Nail Polish for DIY Nail Art?
They say, "One person's trash is another's treasure." I wouldn't recommend using expired polish for safety reasons. However, you can repurpose it for art projects or other creative endeavors, keeping your nails safe and stylish!
How Long Does DIY Nail Art Typically Last?
DIY nail art typically lasts about a week for me, depending on nail polish durability and how well I care for my nails. For better nail art longevity, I always use a good top coat.
Are There Any Allergy Concerns With Nail Art Products?
When it comes to nail art, I always keep an eye on the ingredients. Some products can cause skin sensitivity, so I recommend patch testing first. It's better to be safe than sorry!
What Are Some Common Mistakes to Avoid in DIY Nail Art?
When I started DIY nail art, I made mistakes like using too many supplies and skipping design techniques. I've learned to keep it simple and focus on quality nail art supplies for better results.
Can I Remove Nail Art Easily Without Damaging My Nails?
I've found that nail art removal can be gentle if I use polish alternatives like acetone-free removers. They're effective and don't damage my nails, keeping them healthy while I switch up my designs.